Operating Instructions
Read the ENTIRE IMPORTANT SAFETY INFORMATION section at the beginning of this manual including all
text under subheadings therein before set up or use of this product.
1. Lock the back Casters to prevent the Lift Table from moving. Safety Bars
2. Raise the Lift Table by pumping the Pump Lever.
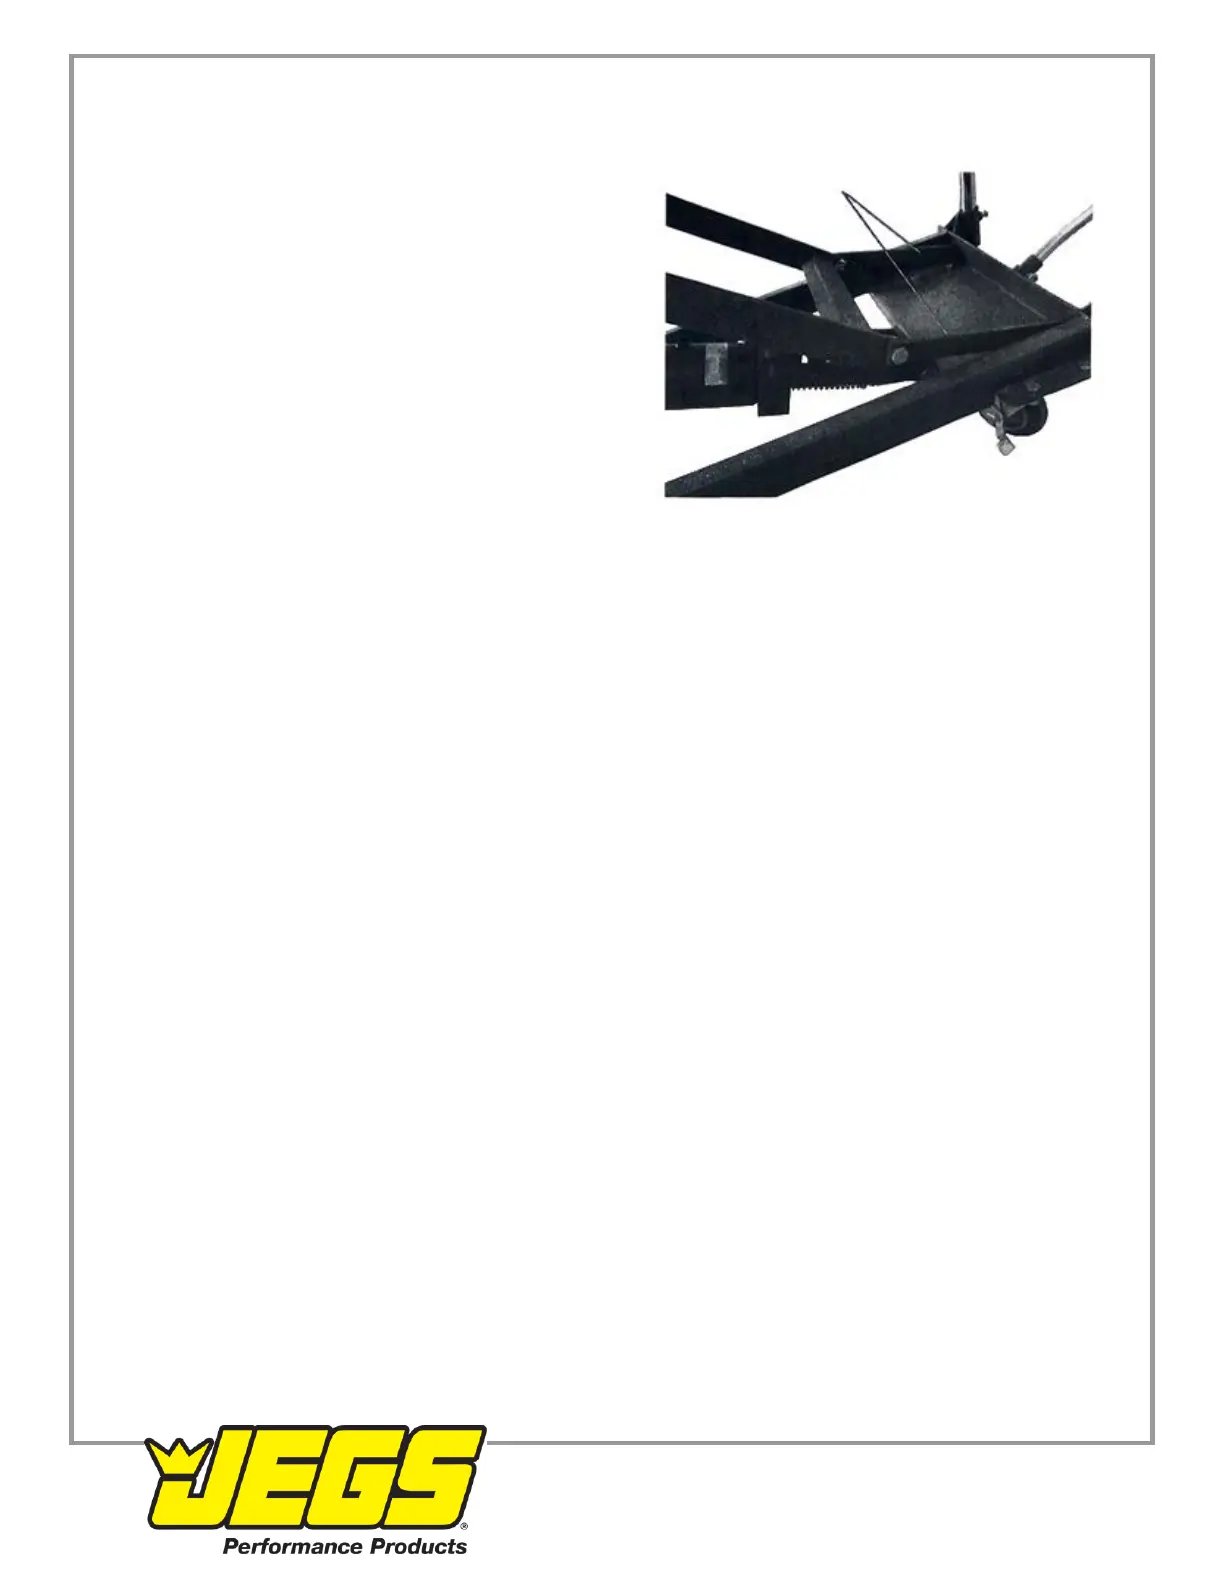
3. Once the desired height is reached, engage the Safety Bars
on sides of the Lift Frame by swinging them back towards the
handle. Lower the table slightly and make sure the bars lock
in place. See Figure E. This helps prevent uncontrolled Lift
Table drop.
4. To lower the Lift Table, pump the table up until the Safety
Bars can be disengaged.
5. Swing the Safety Bars up away from the Handle, towards
their original position.
6. Squeeze the Control Lever (33) to slowly lower the Lift Table.
Figure E
Maintenance
Procedures not specifically explained in this manual must be performed only by a qualified technician.
WARNING! TO PREVENT SERIOUS INJURY FROM TOOL FAILURE: Do not use damaged equipment. If
abnormal noise or vibration occurs, have the problem corrected before further use.
Cleaning, Maintenance, and Lubrication
1. BEFORE EACH USE, inspect the general condition of the tool.
Check for:
• loose hardware
• misalignment or binding of moving parts
• caster brake function
• hydraulic fluid leakage (hydraulic components not user-serviceable)
• cracked or broken parts
• any other condition that may affect its safe operation
2. AFTER USE, wipe external surfaces of the tool with clean cloth.
3. If the Control Lever does not lower the Lift Table easily, adjust the Pull Rod (32).
WARNING! Press the Control Lever only halfway down during adjustment. This will allow the Lift Table to lower slowly
for safety purposes.
a. With assistance, tip over Table Cart.
b. Loosen the Bolt (35) and Nut (25) and adjust the Pull Rod until it is tight.
c. Re-fasten the Nut and Bolt. Then test the Control Lever, making sure it is pressed halfway down.
Bleeding Instructions
If the Lift Table is not performing properly, it may be due to air in the hydraulic system. Follow these steps to bleed air
from the system.
1. Raise the Lift Table to its highest position.
2. Swing down the two Safety Bars so that they both rest on the top platform of the Base Assembly.
3. Carefully remove the rubber Fluid Plug (4a).
4. After the Fluid Plug is removed, swing the two Safety Bars back against their stops.
5. Squeeze the Control Lever to lower the Lift Table. This should purge the air out of the hydraulic system.
 Loading...