Page 5
7. When torch nozzle touches the work piece, there will be an arc starting. Depress the trigger to start the wire
feed. NOTE: A push, perpendicular, or drag technique can be used to weld the pieces together.
8. Once you depress the trigger and the arc has started, you will notice a molten puddle will form; this puddle is
the weld bead and will follow the motion of the Welding Gun. Watching the size of the puddle dictates how fast
you should be moving with the torch. If you burn through the material you are either moving to slow or you need
to set the machine to “LOW” voltage. If you’re not penetrating the base metal you’re either moving too fast or
you need to set the machine to “HIGH” voltage.
9. Release the trigger on the Welding Gun to stop the weld.
10. After finished welding, turn off the welder.
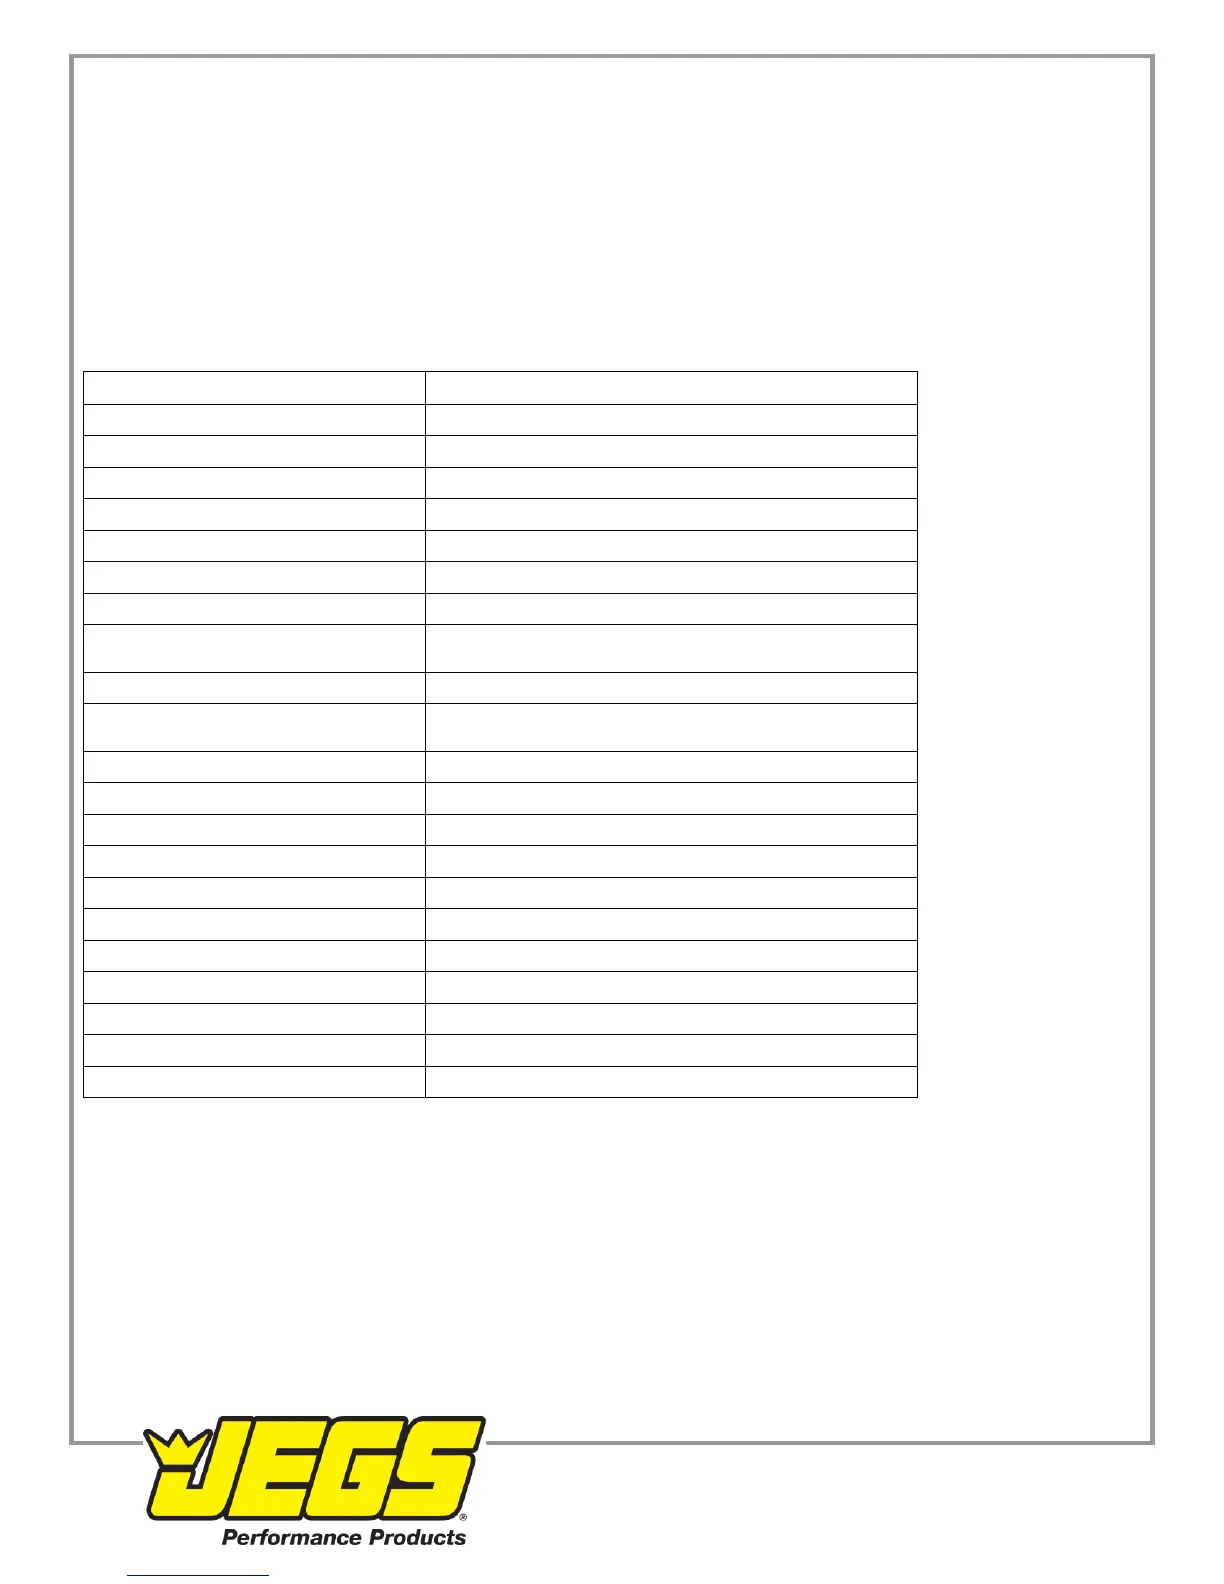
TROUBLE SHOOTING
Arc unable, excessive spatter
Burning holes in work piece
Welder does not operate(mains
indicator not lit, no arc produced)
Check main supply connection
Welder does not operate with trigger
pressed
Check main supply connection
Check torch trigger and it's connections
Thermal overload cut out - allow welder to cool
Check PCB correct or not – replace PCB
Incorrect size of contact tip for wire
Contact tip damaged – replace contact tip
Contact tip loose – tighten contact tip
Feed rollers worn – replace feed rollers
Welding wire corroded – replace welding wire
Pressure roller adjustment incorrect – adjust roller
Pressure roller sticking – lubricate or replace roller

 Loading...