Adjustments
WARNING
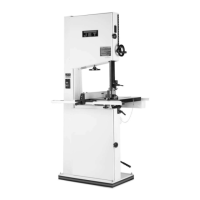
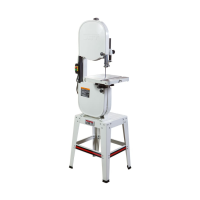
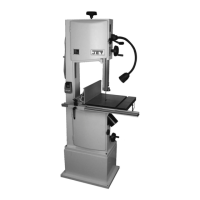
Blade Tensioning
1. Raise upper blade guide by looseninglock knob
(A, Fig. 6) and lifting blade guide handle (B, Fig.
6) to it's highest position.
2. Apply finger pressure to the blade. Travel from
vertical should be approximately3/8" each way.
3. To tighten blade, turn handwheel (C, Fig. 6)
clockwise.
4. To loosen blade, turn handwheelcounter-
clockwise.
5. Use the blade tension indicator(0, Fig. 6 - VBS-
1610 only) as reference only. Bladeshould be
tensioned using the finger pressure method.
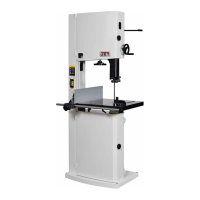
Blade Tracking Alignment (VBS-1408)
Blade tracking has been adjusted at the factory. Run
the bandsaw and observe the blade on the wheels.
The blade should run next to but notagainst the
flange at the rear. If adjustment is necessary:
1. Slightly loosen all four hex cap screws (A, Fig. 7)
found at the rear of the machine at the top.
2. Tighten two top set screws (8, Fig. 7) slightlyto
shift blade toward the front. Conversely,tighten
two set screws (C, Fig. 7) to shift blade toward
the rear. Once blade is tracking properly,slightly
tighten other two set screws and then tighten all
four hex cap screws.
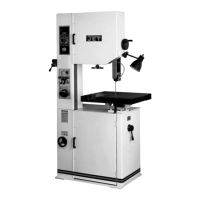
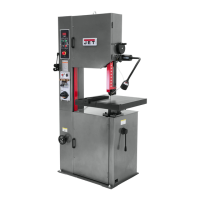
Blade Tracking Alignment (VBS-1610)
1. Open the idler wheel door and observethe
position of the blade on the wheel.
2. Turn the Idler wheel adjustment knob (A, Fig. 8)
clockwise or counter-clockwise untilthe blade
runs next to, but not against, the wheel flange.
Figure 6
Figure 7
Figure 8
.....................
A
B
!'
~O
"
.
A
-.
10
..L.
u
J
 Loading...