Jinma Tractor Introductory User Guide July 2007 Page 23
3-Point Hitch (Hydraulic Hitch System in the Jinma manual)
The 3-Point Hitch provides a method of firmly connecting the attachment to the tractor and
serves to lift and
lower attachments, as well as adjust and maintain the working position of the attachment in order to meet
different operating requirements. During installation, the position of the 3 Point Hitch to the implement can be
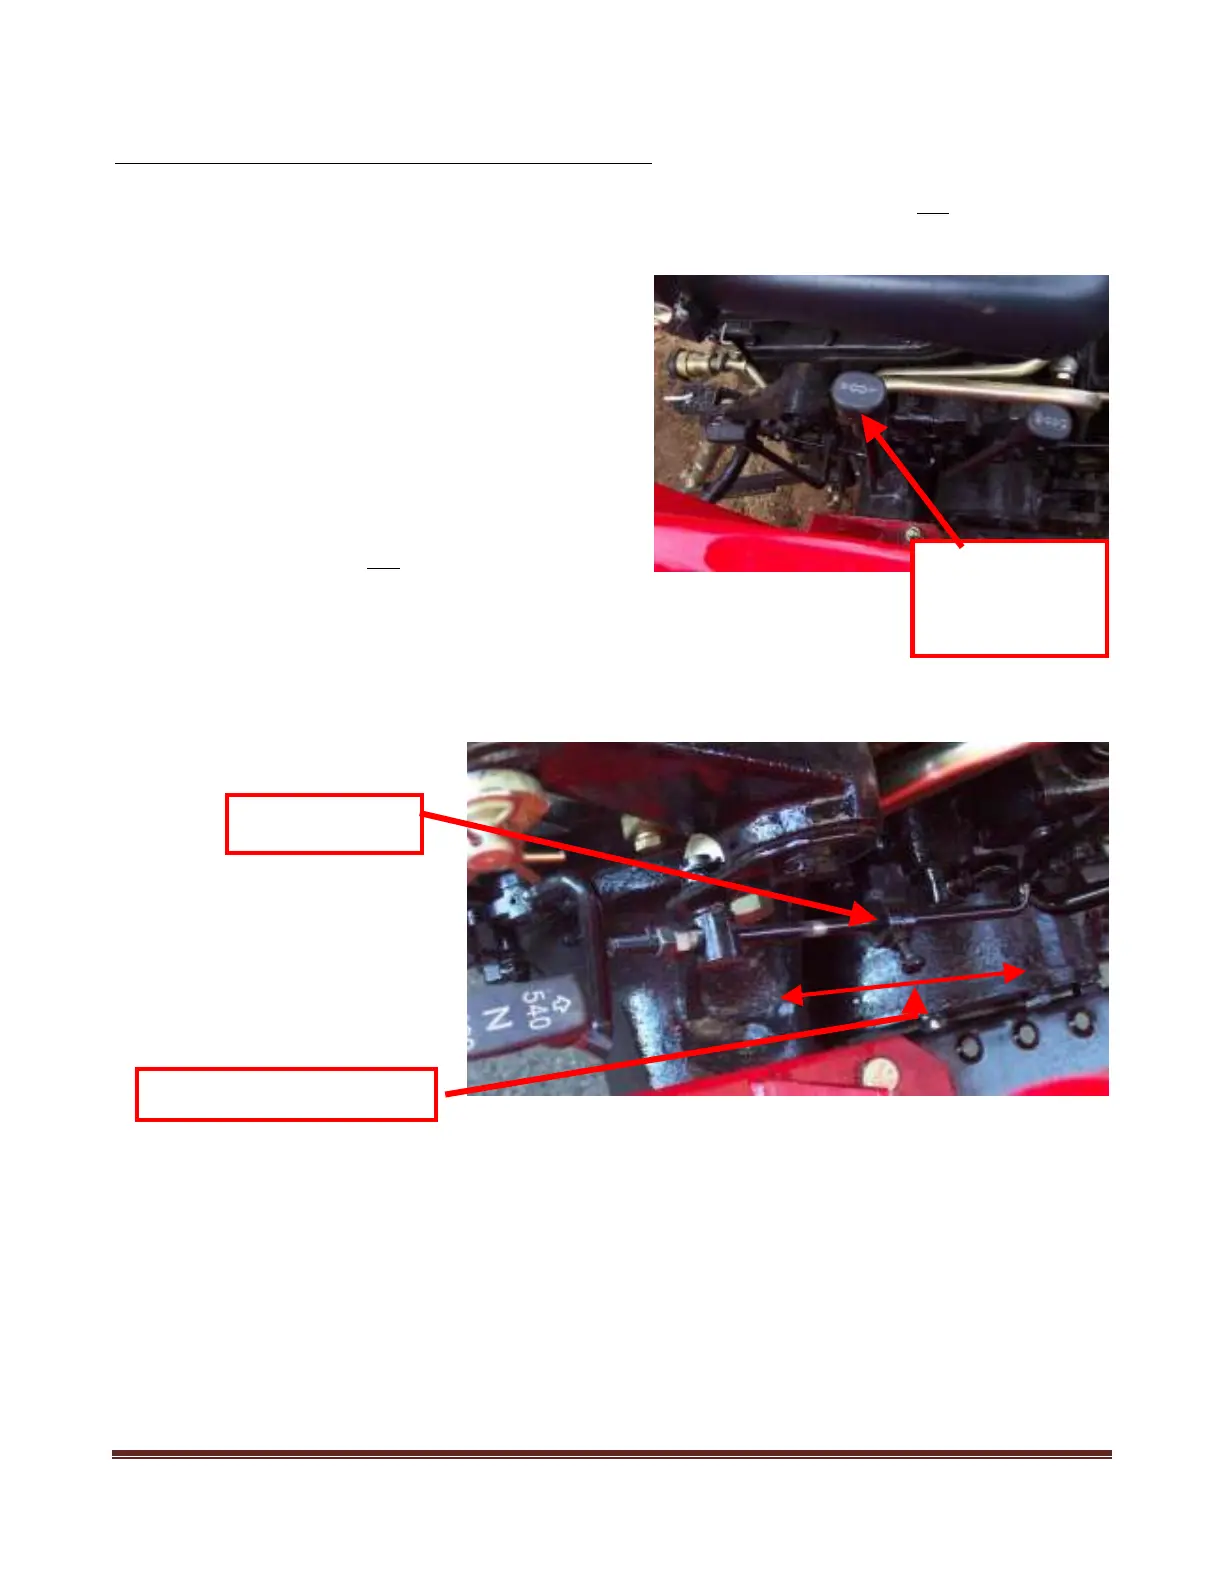
adjusted by moving the Hydraulic Control Lever to R
(raise) or L (lower) the hitch. Moving the Lever back to
the N (neutral) position during raising or lowering will
stop the motion. Once connected to the 3 Point Hitch,
make sure the locking pins on the 3-points are solidly set
in place. To raise and lower the implement, simply move
the Hydraulic Control Lever. Please refer to instructions
for the specific attachment to determine how the
attachment should be connected to the 3-Point Hitch.
The next step is to fine tune how far the implement can be
lowered. When the desired low
position of the implement
has been reached (again based on the instructions for the
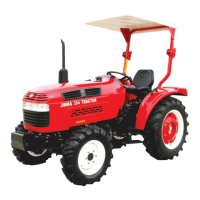
attachment) set the Hydraulic Control Lever to N and set the position of the Stopper
on the return rod to limit the range of the Control Lever. Tighten the stopper on the
rod with the screw, so that the lever can be pushed to the same position every time;
this assures the attachment will always be lowered to the same position. Different
adjustments will have to be made for different attachments.
Note: It is normally not necessary to change the lowering speed of the 3-Point Hitch. If necessary, turn the
Lowering Speed Adjustment Valve to control the lowering speed of the 3-Point Hitch and attachment (see
picture in Section 1). The lowering speed should be selected according to the weight of the implement and the
type of work being done. (Example: If you are using a plow which must dig itself into the dirt, you might set
the lowering speed toward a slower speed to allow the plow to enter the ground slowly.)
Note: Some attachments will connect to the rear hydraulic connections to power them. See the attachment
manual for further information. The rear hydraulic connections do not have to be connected to each other when
not in use
Hydraulic
Control Lever
Raise/Lower
Stopper
Stopper Adjustment Range