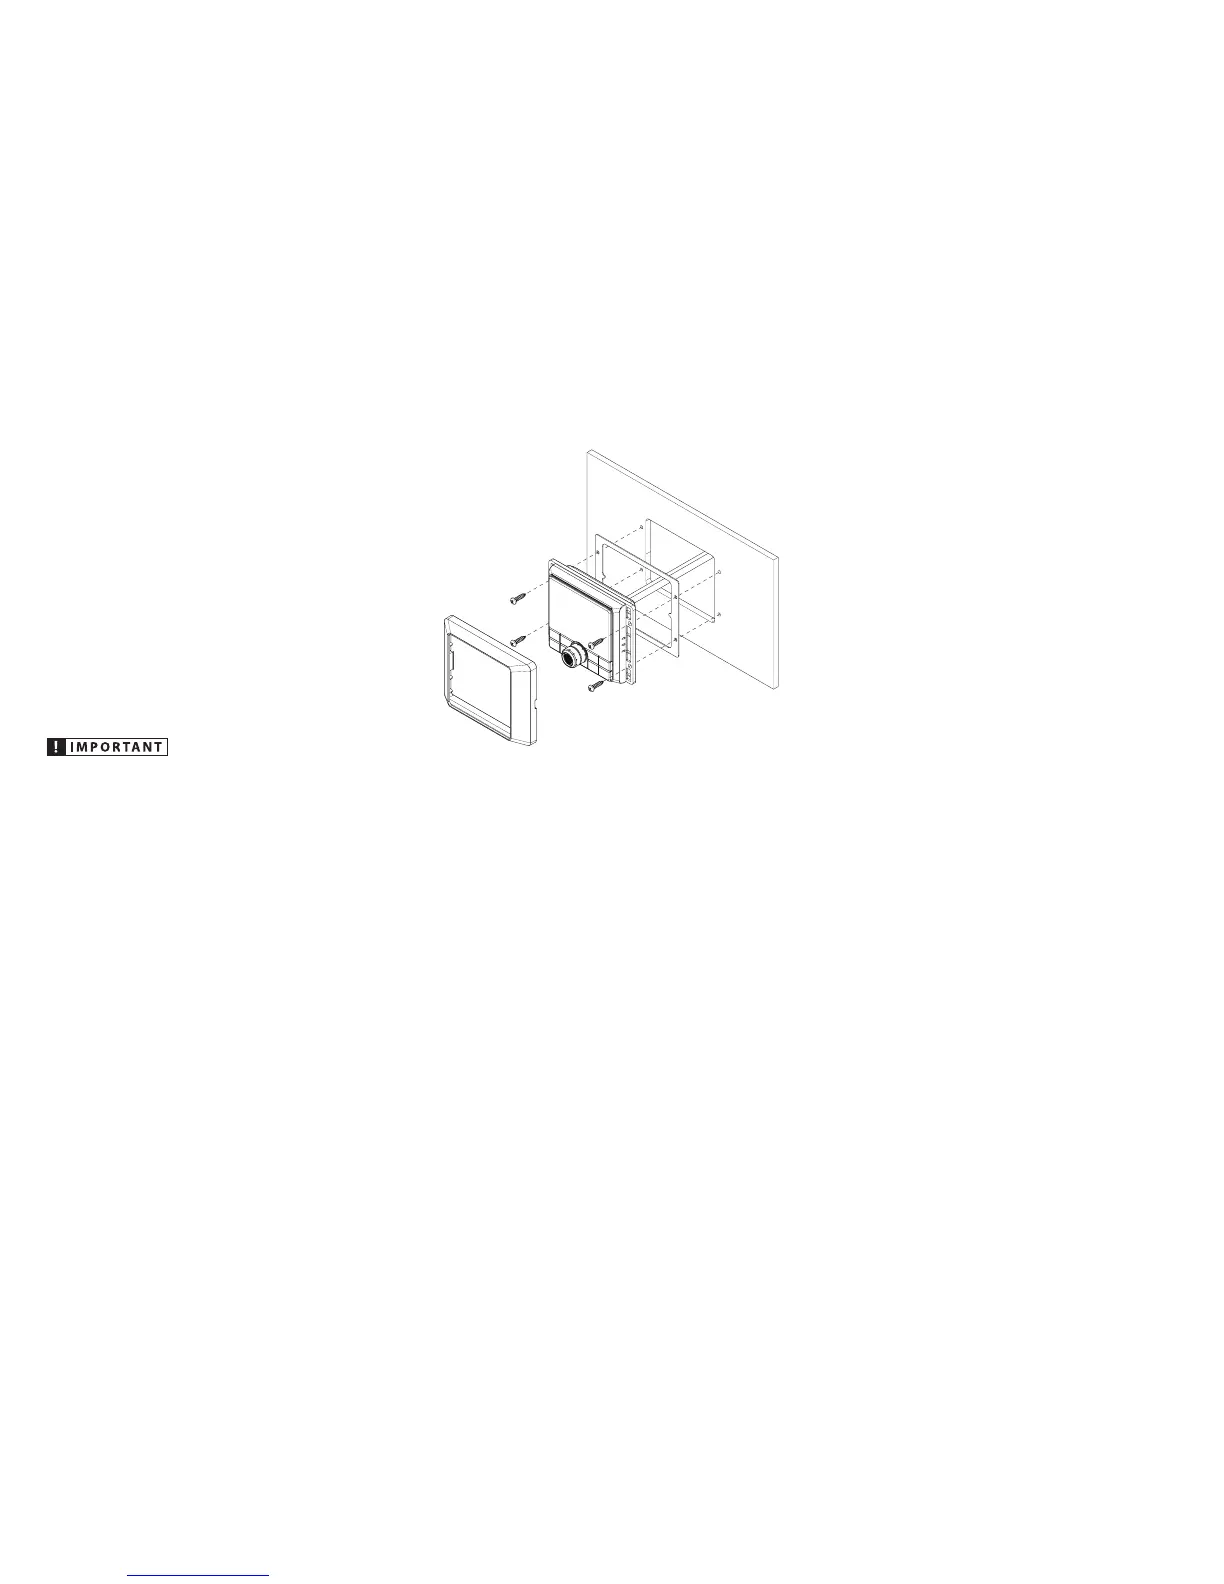
3. Place the MMR-40 into the opening and
check that the mounting holes remain
aligned with the pilot hole marks taken
from the template. If not, adjust and mark
new holes as necessary.
4. Remove the MMR-40 and drill four (4) pilot
holes in the mounting surface at the pilot
hole marks.
5. Peel the adhesive backing from the
mounting gasket and affix to the rear of
the bezel. Connect all wiring and place the
MMR-40 into the opening.
6. Secure the MMR-40 using the four (4)
mounting screws. Press the trim ring onto
the front of the MMR-40.
MMR40-MAN 010318 • Printed in China
2-Year Limited Warranty (U.S.A.)
Visit www.jlaudio.com for warranty details.
For Service Information in the U.S.A. please call JL Audio
customer service: (954) 443-1100 during normal business hours
(Eastern Time) • JL Audio, Inc • 10369 N Commerce Parkway,
Miramar, FL 33025
International Warranties:
Products purchased outside the United States of America are
covered only by that country’s distributor and not by JL Audio, Inc.
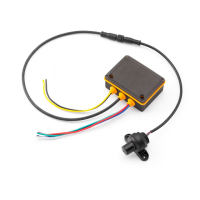
Connections
The MMR-40 is equipped with a NMEA 2000®
Micro-C connector to interface with vessel
networks using applicable NMEA 2000®
cables and connectors (sold separately). A
USB connector is also included and used for
future software updates.
Mounting & Installation
The diagram at right shows a typical
mounting procedure into a fiberglass panel.
A mounting template is included to aid
in measuring and marking the mounting
surface before cutting or drilling.
Make sure to carefully plan the routing of
the remote’s connection cables prior to
cutting or drilling any panels.
1. Press along the perforation to remove the
center section of the mounting template.
(Discard the center section.) The template
can be used to verify there is sufficient flat
surface area for mounting and as a guide
for cutting the opening. Tape the template
to the mounting location and mark the
surface for cutting the opening and drilling
pilot holes.
2. Use a jigsaw or rotary tool to cut an
opening in the mounting surface. If
necessary, use a file or sandpaper to
adjust the opening for proper fitment and
smooth the edges.

 Loading...