EasyManua.ls Logo

John Lewis JLBIWD 1403 User Manual

John Lewis JLBIWD 1403
28 pages
To Next Page IconTo Next Page
Page #1 background imageLoading...
Page #1 background image
JLBIWM1403
90°
Economy 60°
60°
60°+prewash
30°
40°
30°
40°
60°
Off
Child lock
40°+prewash
40°Easy iron
Hand wash 30°
Rinse
Synthetic dry
Spin
Cold
Cotton dry
Delicates 40°
Delicates 30°
Drain
Start/Pause
Door lock
Delay start
Wash time
1400
900
700
500
None
Spin
Option
Extra rinse
Drying time
Quick
Rinse hold
Stain
Synthetics
Wool
Cottons
JLBIWD 1403
Built-in 1400 spin washer-dryer
Instruction manual
Question and Answer IconNeed help?

Do you have a question about the John Lewis JLBIWD 1403 and is the answer not in the manual?

John Lewis JLBIWD 1403 Specifications

General IconGeneral
Washer TypeFreestanding
Spin Speed1400 rpm
Energy Efficiency Class DryingB
Drying Capacity6kg
Noise Level (Spinning)74 dB
ColourWhite
Delay StartYes
Child LockYes
Drum MaterialStainless Steel

Summary

Important Safety Information

Your New Washer-Dryer

The Control Panel

Programme Selector Dial

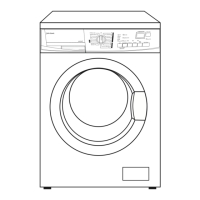
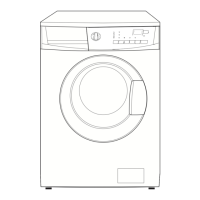
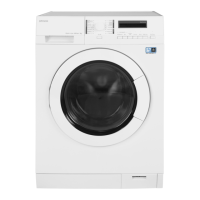
Details the functions and operation of the programme selection dial.

Option Buttons

Describes the various option buttons and their functions.

Drying Time Button

Details how to select drying times for various fabrics.

Display (Wash Time)

Provides information shown on the display during operation.

Start/Pause Button

Explains how to start, pause, and restart programmes.

Delay Start Button

Details how to set a delayed start for a programme.

First Use

Using the Washer-Dryer

Programme and Temperature Selection

How to select the desired wash programme and temperature.

Changing/Interrupting Programmes

How to modify or pause a running programme.

Drying

Timed Drying Procedure

Step-by-step guide for using the timed drying function.

AUTODRYING

Instructions for the automatic drying programmes.

Tips & Hints on Washing and Drying

Washing Programmes

Drying Times

Maintenance and Cleaning

Emergency Emptying Out

Something Not Working

Installation

Positioning

Guidance on placing the machine on a suitable floor.

Plumbing In

Steps for connecting the appliance to the water supply.

Water Inlet

Water Drainage

Levelling

Electrical Connection

Building-In

Repairs - After Sales Service

Related product manuals