JOHNSON CONTROLS
14
FORM 145.05-FA1
ISSUE DATE: 10/31/2019
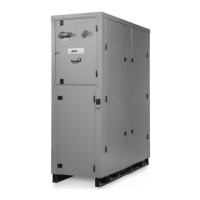
SECTION 2 - MEDIUM CABINET FIELD REASSEMBLY
TABLE 4 - MEDIUM CABINET FILTER COMPART-
MENT PARTS LIST
ITEM PART NUMBER DESCRIPTION QTY
1 021-30530-001 Screw, 10 - 16 x 3/4-inch 10
REASSEMBLY PROCEDURE
Do not connect the main unit power at
this time.
1. Position the unit sections in their approximate
nal location.
2. Remove the packaging material from the unit
sections.
3. Examine the unit sections for damage and report
the damage to the carrier.
4. Verify the gasket material around the supply fan
opening on the coil section is intact and not dam-
aged (Figure 18). If damaged, repair the gasket
prior to joining the two units.
Gasket
Material
LD14979
FIGURE 18 - VIEW OF GASKET MATERIAL APPLIED
AROUND SUPPLY FAN OPENING
5. Prior to pushing the two sections together, remove
the compressor access panels, water valve access
panel (Figure 19) from the coil section of the unit.
This allows access to install the bolts in Steps 17
and 18. Retain the panels and hardware for reinstal-
lation in Steps 22 and 25.
6. Prior to pushing the two sections together, remove
the coil access panel (Figure 20) from the fan sec-
tion of the unit. This allows access to install the
screws in Steps 20–21 and 24–25. Retain the pan-
els and hardware for reinstallation in Step 26.
Coil
Section
Access
Door
Compressor Access
Panels
Water
Valve
Access
Panels
LD14976
FIGURE 19 - COIL SECTION
Coil
Access
Panel
LD14980
FIGURE 20 - FAN SECTION
 Loading...