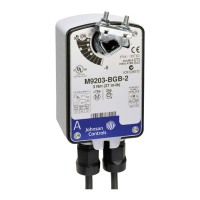
M9203-Bxx-2(Z) Series On/Off Electric Spring Return Actuators Installation Guide
5
If the damper shaft extends less than 0.79 in. (20 mm), a shaft extension is required to mount the actuator.
To change the coupler’s position, see Figure 4 and proceed as follows:
1. Mount the coupler on either Side A or Side B of the actuator as determined by the shaft length.
2. Snap the locking clip securely into the coupler retention groove to retain the coupler.
Mounting the Actuator
To mount the actuator, proceed as follows:
1. See the dimensions in Figure 5 and Table 2 to ensure the correct positioning of the anti-rotation bracket.
2. Bend or cut the anti-rotation bracket to fit the damper frame or duct as illustrated in Figure 6.
Note: The anti-rotation bracket can be bent to fit a round damper.
3. Mark or drill mounting holes in the damper frame or duct using the anti-rotation bracket as a guide (based on
the measurements obtained in Table 2 and Figure 5).
Table 2: Dimensions from Anti-Rotation Bracket to Shaft Center
Shaft Diameter,
in. (mm)
Dimension A,
in. (mm)
Dimension B,
in. (mm)
1/4 to 1/2 (6 to 12) 4-27/32 (123) 3-5/8 (92)
IMPORTANT: The tab on the anti-rotation bracket must fit midpoint in the actuator slot. Positioning the tab
midpoint in the slot prevents actuator binding and premature wear, and makes actuator removal easier.
Figure 4: Changing the Coupler Position
Figure 5: Positioning the Anti-Rotation Bracket
30
90
50
70
30
90
50
70
30
90
50
70
30
90
50
70
10 10
FIG:M9203_Bxx_ brkt
DIM. A
DIM. B
 Loading...