20 - Fuel and Oil
Filling the Oil Tank
Remove the filler cap and fill the tank with recom-
mended outboard lubricant, as specified in Fuel
and Oil. Replace the filler cap and tighten securely.
IMPORTANT: Always keep a supply of oil in the
tank. If you run the tank dry, you MUST purge the oil
system of air before using the engine. Anytime the
oil hose is disconnected, use a 50:1 (2% oil) fuel/oil
mixture in your fuel tank until oil consumption is ver-
ified. Failure to verify oil consumption could result in
extensive engine damage due to lack of lubrication.
Installing the Oil Supply Hose
IMPORTANT: To avoid engine damage from lack
of lubrication, make sure you purge the system.
Make sure all connections are airtight. Anytime
the oil supply hose has been disconnected, you
must prime the oil system before reconnecting the
supply hose and operating the engine.
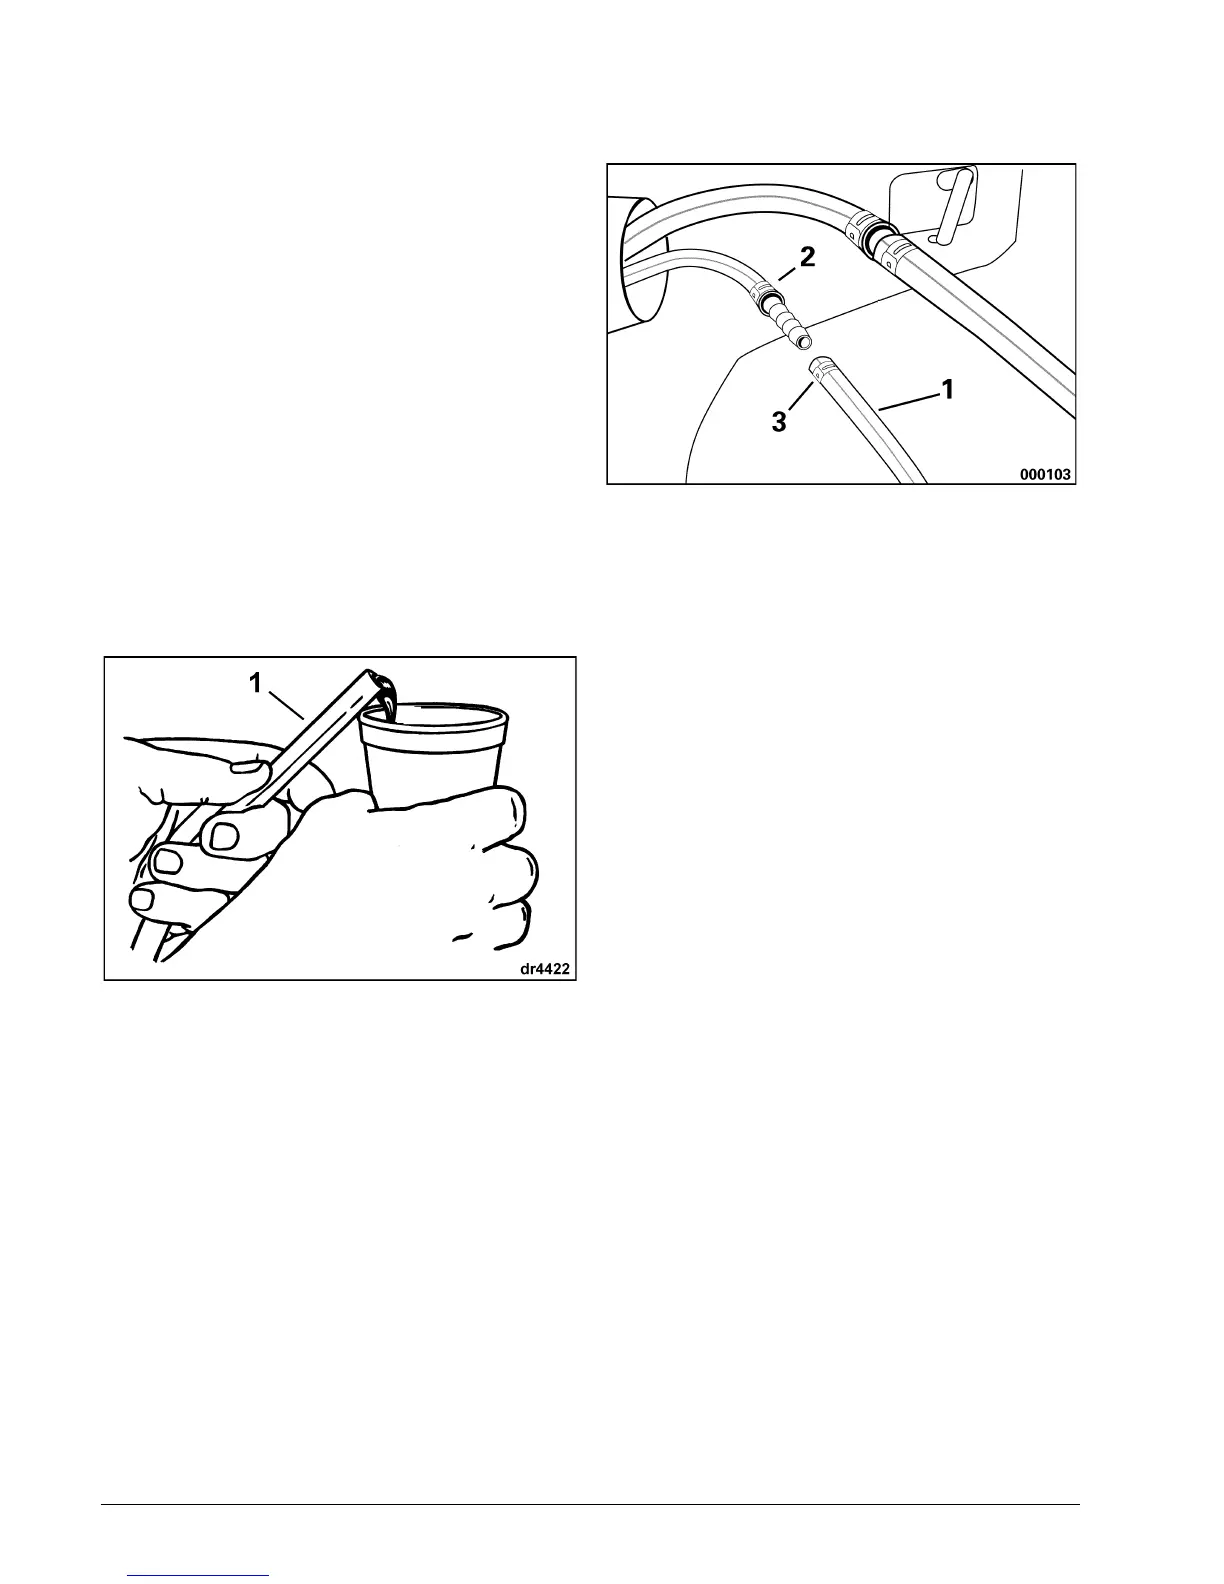
Hold the open end of the oil supply hose fitting over
a container. With its outlet end up, squeeze the oil
fill bulb repeatedly until about 8 oz. (250 ml) of oil
have been pumped and the supply hose is purged
of all air.
1. Oil supply hose from oil tank – 1/4 in. (6 mm)
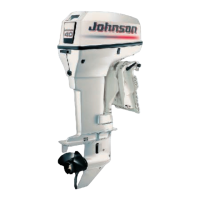
Connect the oil supply hose to the oil inlet fitting on
the motor. Secure with the clamp (13.8 mm) from
the owner’s kit. Finish priming the system by
squeezing the oil fill bulb two more times.
1. Oil supply hose – 1/4 in. (6 mm) - Yellow stripe
2. Oil inlet fitting – 1/4 in. (6 mm) - Yellow stripe
3. Clamp (13.8 mm) from owner’s kit
 Loading...