19
20
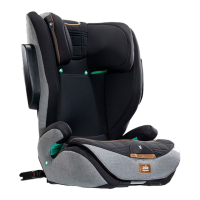
Reference age 1 - 4 years old
Seat position Position 1 - Position 3: top red dot and
bottom red dot aligned, as shown in
27
see images
27
-
45
!
Please install the child restraint on the vehicle seat first, and
then place the child in the child restraint.
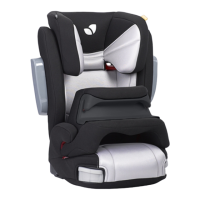
Installation for
Forward-Facing Mode
(for child under 9-18kg/Group 1)
Forward Reclining Angle Adjustment
see images
27
While pushing the reclining adjustment handle
12
- 1, push the
child restraint to the desired position
12
- 2
Angle indication: With a top red dot and the bottom red
dot aligned.
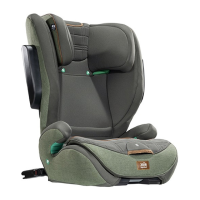
The reclining positions are shown in
27
.
27
Proper Position of the Shoulder Harness Straps
Please choose the proper pair
of shoulder harness strap slots
according to the child's height.
!
The shoulder harness strap
slots should be at or slightly
above the child's shoulder.
Shoulder harness straps that
are too high or too low are
not safe.
28
!
If the shoulder harness straps
are not at the proper height,
the child may be ejected from
the child restraint during a crash.
1. DO NOT remove the shoulder harness covers as they are
important for preventing slippage of the child during a collision.
2. Please thread the shoulder harness covers first, and then thread
the shoulder harness straps through shoulder harness covers.
3. During assembly, make sure the shoulder harness straps are
not twisted.
4. Please reassemble the head support after assembling the
shoulder harness straps.
5. DO NOT discard the webbing cover, for it must be assembled to
the child restraint before using in forward facing mode.
6. Take off the head support and the small seat pad from the child
restraint before disassembling the shoulder harness straps.
Note
Shoulder Harness Height Adjustment
see images
28
see images
29
-
39
28
 Loading...