12
4.4 Location of approval label
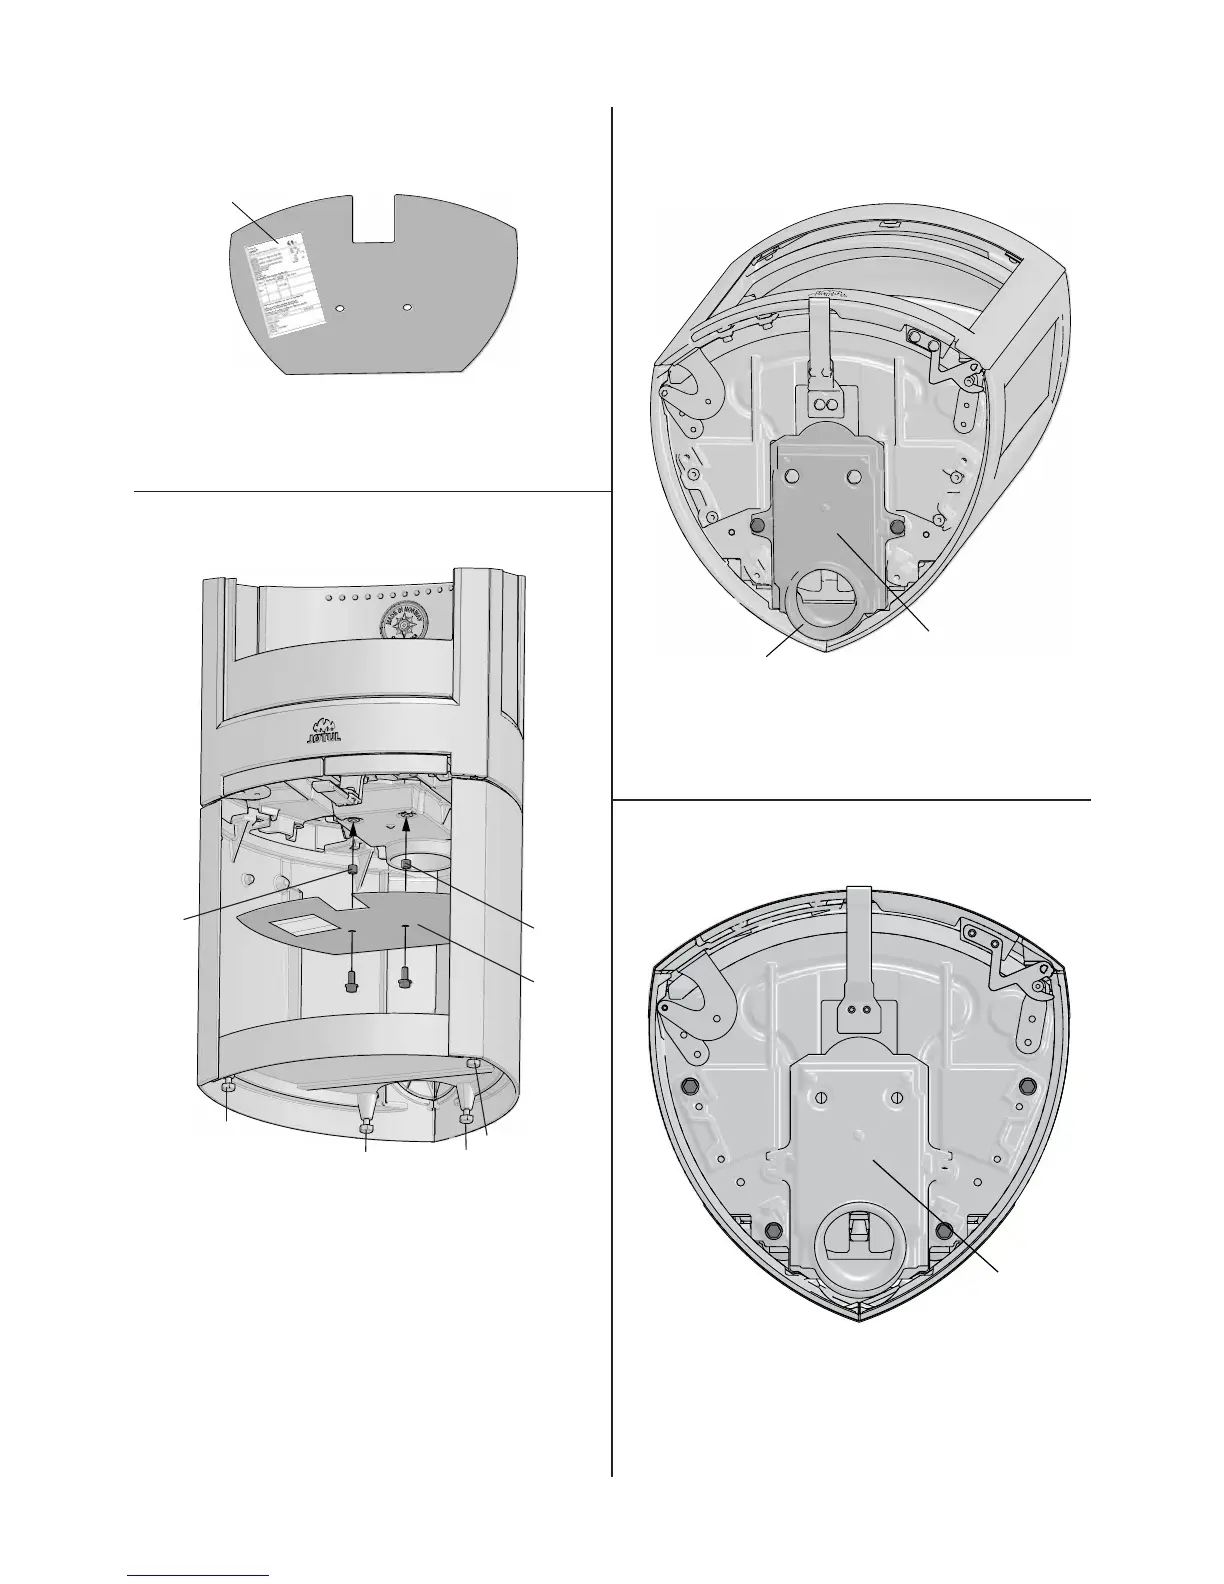
Fig. 11
A
5. Attach the approval label, which is inside the ash pan, to
the underside of the burn chamber’s heat shield. (This
label is important for the approval of the product).
Fig. 12
B
A
B
C
Produ
ct:
Jøtul
F 3
70 Advanc
e
CE
10
Room
hea
ter fo
r so
lid fuel
xxxxxxxxxxxxxxxxxxx
x
xxxxxxxx
x
xxxxx
xx
xxxxx
xxxxxxxxxxxxxxxxxxxxx
xxx xxxxxxx
xxxxxxxxxxxxxxxxxxxxxxx
xxxxxx
xx
xxxxx
xxxxxxxxxxxxxxxxxxxxxxxxxxxxx
xxxxxxx
xxxxx
xxxxxxxxxxx
xxxxxxxxxxxxx
xx
xxxxx
xxxxxxxxxxxxxxxxxxxxxxxxxxxxx
x
xxxxx
x
xxxxxxxxxxxxxxxxxxxxxxxxxx
x
xx
xxxxxxx
xxxxxx
x
xxxxxxxxxxxxx
xxxxxxx
xx
xxxxxxx
xx
x
x
xxxxxx
xxxxxx
xxxx
xxxxx
C
D
D
D
D
1. Put the rear plate into place (A) in the base.
2. Secure the heat shield provided (A) to the burn chamber
using the screws (B) and sleeves (C) from the bag of screws.
3. Level the product using the 4 adjustment screws (D).
NB: If using a glass fl oor plate (optional extra), the
base must be raised approximately 8 mm from the
fl oor so that the fl oor plate can be pushed under the
front edge of the base.
4. If an external air supply is to be used, pull the fl ex hose
through the hole in the bottom plate and attach it to the
smoke outlet using a hose clip. Make sure the hose is long
enough so that joints are not necessary.
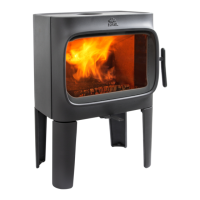
Jøtul F 373 Advance - product with pedestal
Fig. 13
A
B
• The outside air inlet (A) with opening (B) is located at the
rear of the burn chamber as standard.
Fig 14
A
NB: If using an external air supply through the fl oor, the outside
air inlet (A) must fi rst be rotated (fi g. 18 A).
ENGLISH
 Loading...