Do you have a question about the JUKI AMS-229B and is the answer not in the manual?
Warning to keep fingers away from the feeding frame during operation.
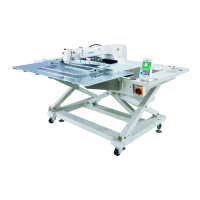
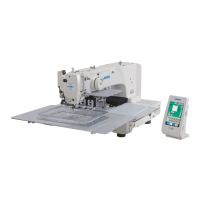
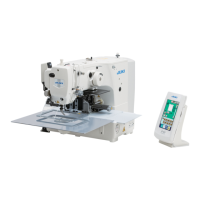
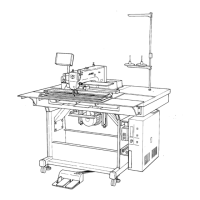
Highlights key features like easy pattern change, wider sewing size, and microprocessor control.
Detailed technical specifications including sewing area, speed, stitch length, and power.
Guide on connecting the air supply hose and setting air pressure.
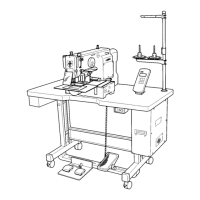
Detailed instructions on threading the machine head, including diagrams.
Guide to adjusting needle and bobbin thread tension for optimal stitches.
How to adjust the thread take-up spring for correct thread tension.
Explanation of the control box features, buttons, and knobs.
Detailed functions of the operation panel switches and indicators.
How to use the emergency stop button to halt the machine.
Explanation of DIP switch functions for machine configuration.
How to set feeding frame actions and foot switch functions via DIP switches.
A step-by-step flow chart for the sewing operation process.
Aligning the needle and shuttle for proper stitch timing.
Troubleshooting steps for thread slipping off the needle.
Corrective actions for thread breakage or splitting issues.
Troubleshooting guide for broken needles.
Solutions for when the thread trimmer does not function correctly.
Steps to fix skipped stitches during sewing.
How to address issues causing loose stitches.
Corrective measures for thread breakage during trimming.
Solutions for workpiece slippage during sewing.
How to fix problems with loose needle thread.
| Type | Industrial Sewing Machine |
|---|---|
| Stitch Length | 0.1 ~ 12.7 mm (0.04" ~ 0.5") |
| Stitch Type | Lock stitch |
| Power Supply | AC 100-240V |
| Sewing Speed | 2500 stitches per minute |
| Dimensions | 1, 200 mm (W) x 800 mm (D) x 1, 200 mm (H) |