17
STEP 7 : ATTACHING THE BOTTOM OF THE NET
You will need the following parts to complete step 7:
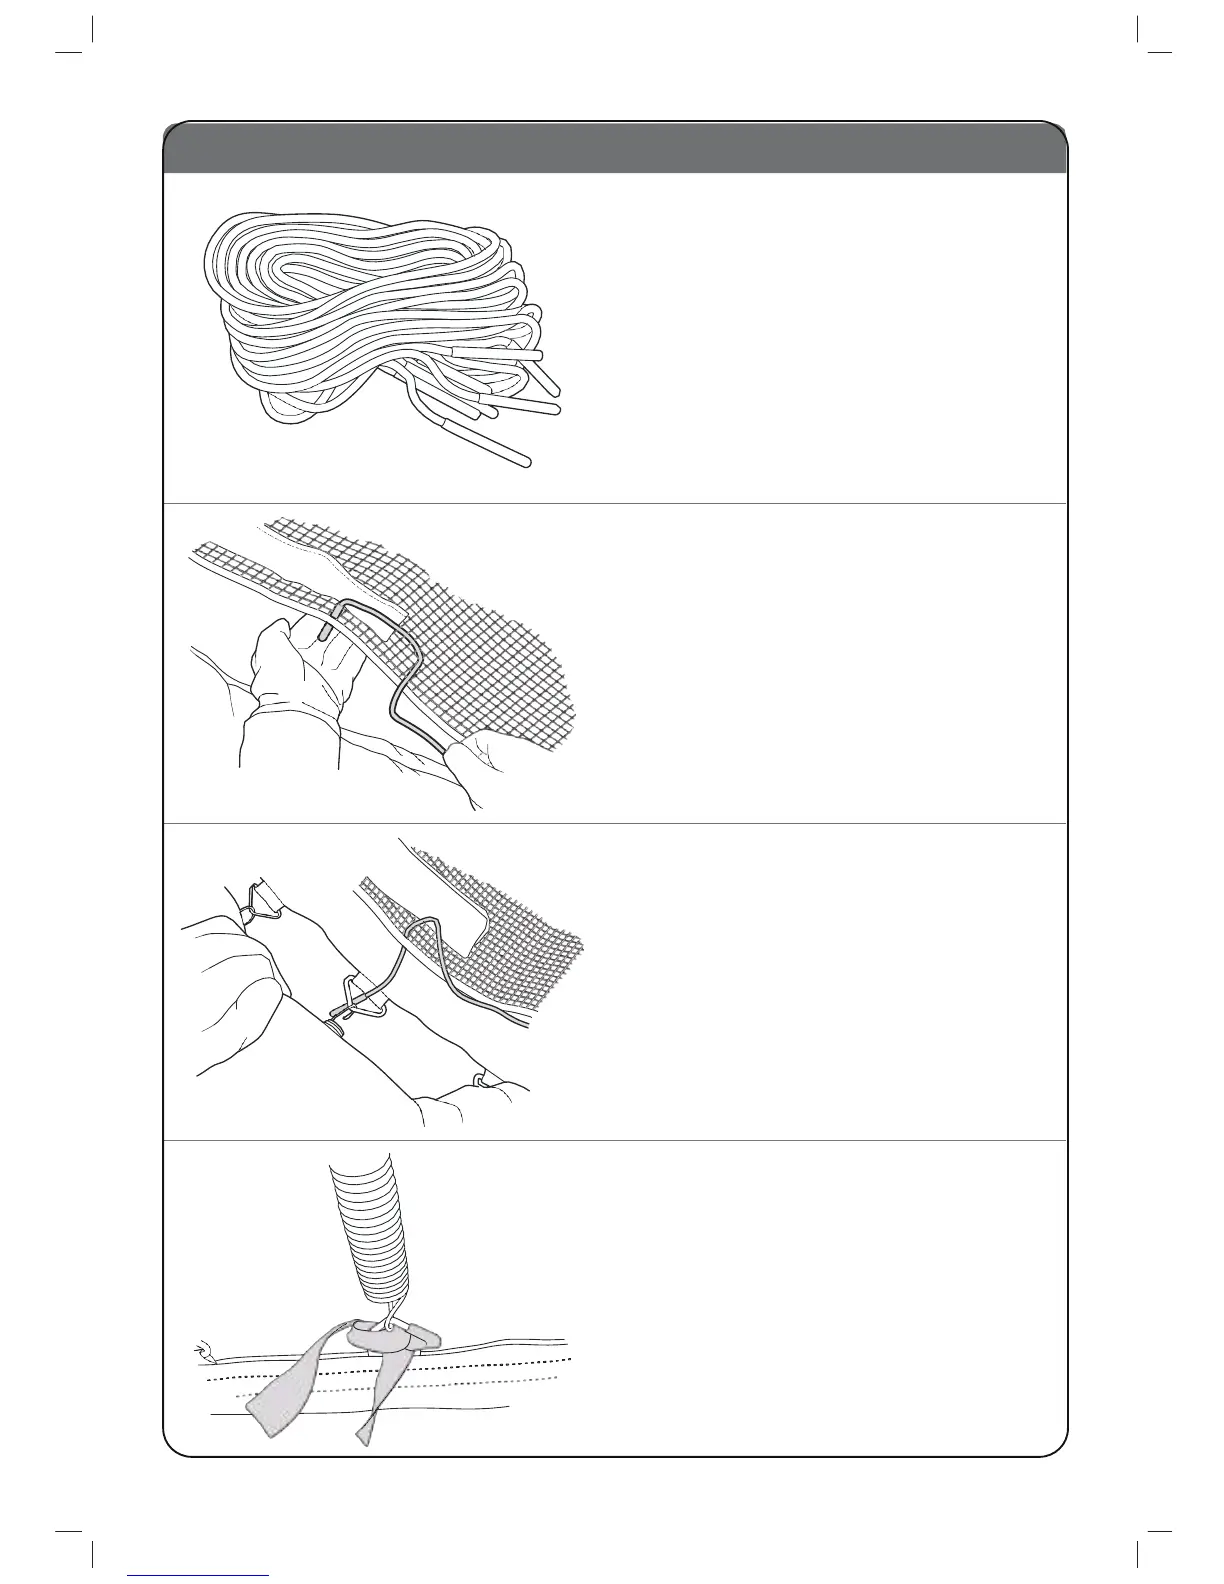
8 x Cords
- Part R
.
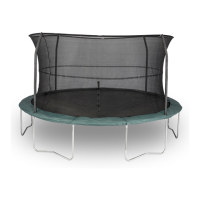
From the underside of the trampoline, tie the
remaining elastic straps around the springs or
throughtheV-Rings.
You have completed step 7 and the trampoline is
fullyassembled.
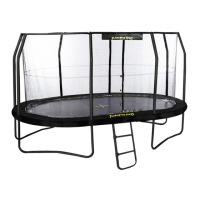
Push 1 end of a cord through a hole in the bottom of
the netting.
Then tie this end to a V-ring on the bed.
Important: Keep the cord tight at all times.
Slot the other end of the cord through the next
V-ring.
Then slot back through the net and into the next
V-ring. Continue to do this untill you have used most
of that cord and tie end to next V-ring.
Tie another cord to same V-ring and repeat until net
is sewn in.