9
D
D
C
C
E
E
F
F
J
J
J
J
J
J
J
J
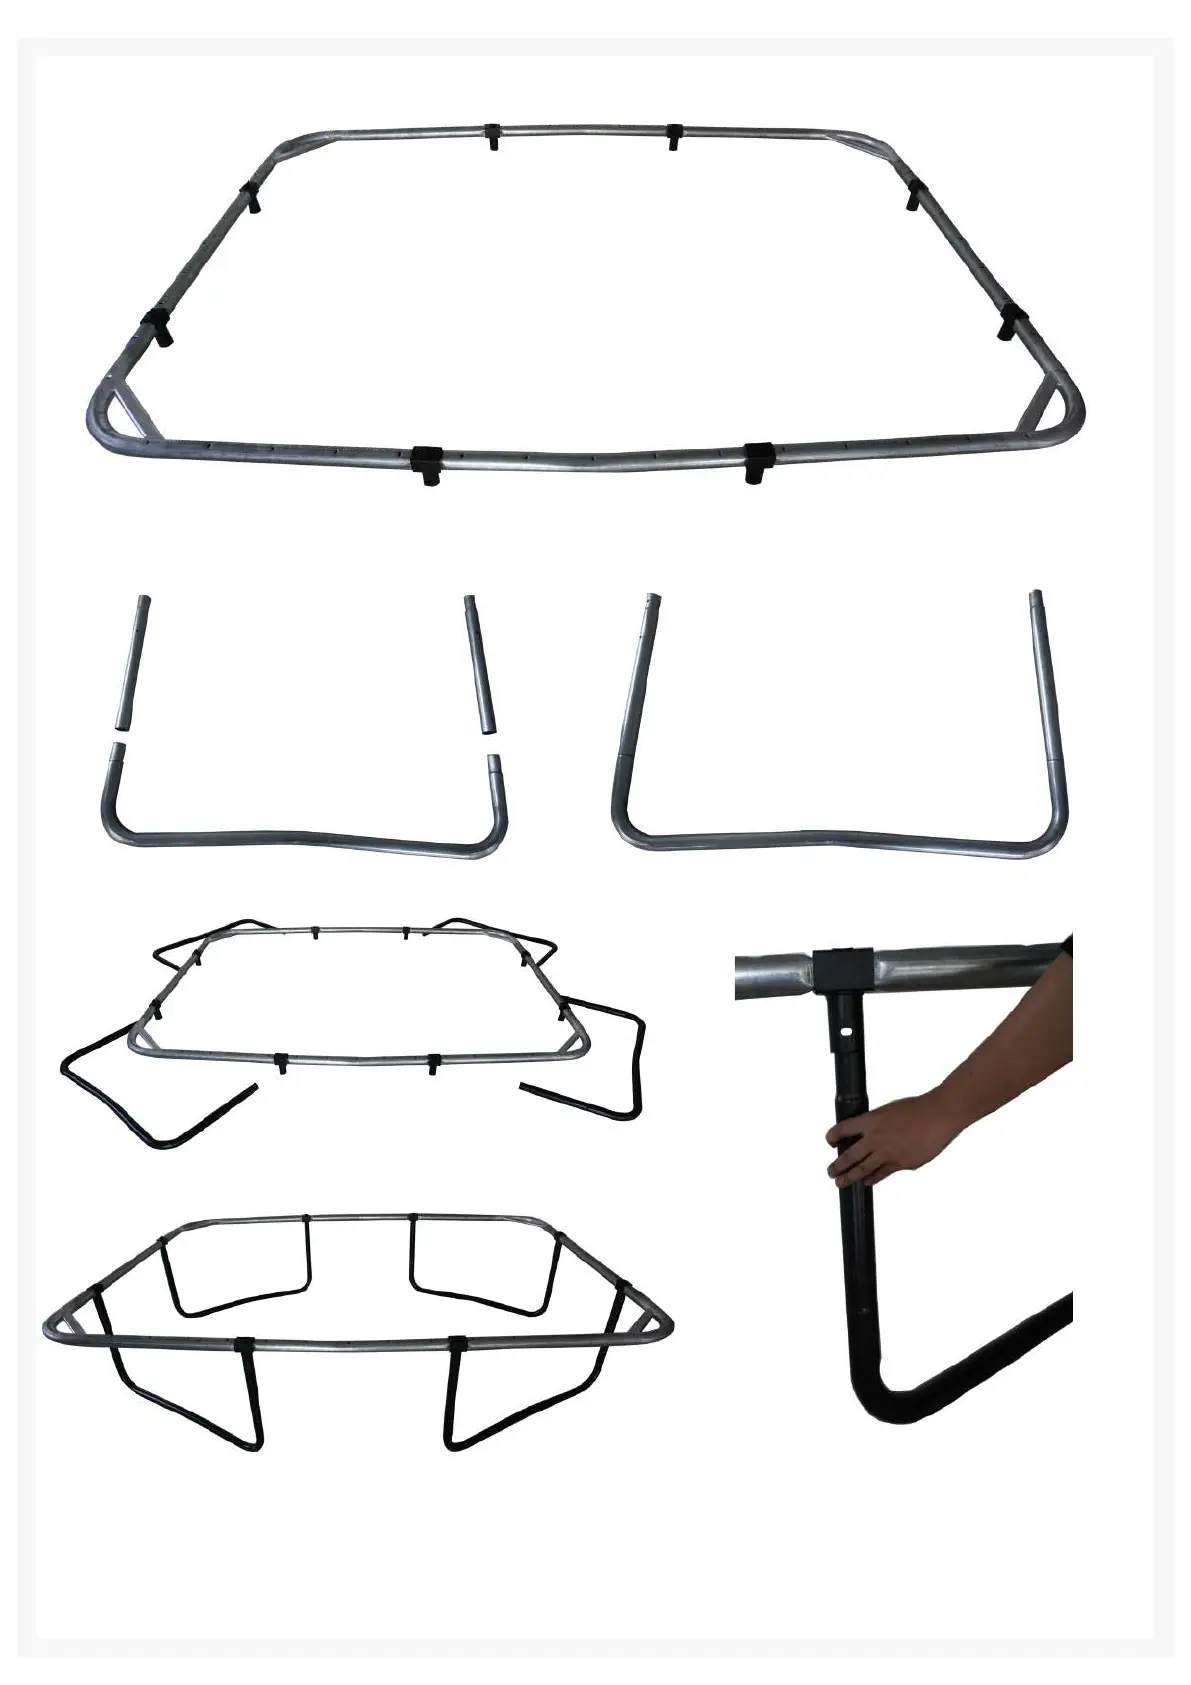
4. Continue until you form a complete rectangle frame.
5. Attach the leg extensions (H) to the leg bases (I) securely.
6. Attach the trampoline legs you assembled, to the top rails as the images above show. Repeat this
step for all 4 corners. Ensure the holes in the bottom of the T-connectors are aligned with the holes
in the leg extensions (H).