Note: The following steps (20-21) should be
completed whilst the net is laid out on the
trampoline bed.
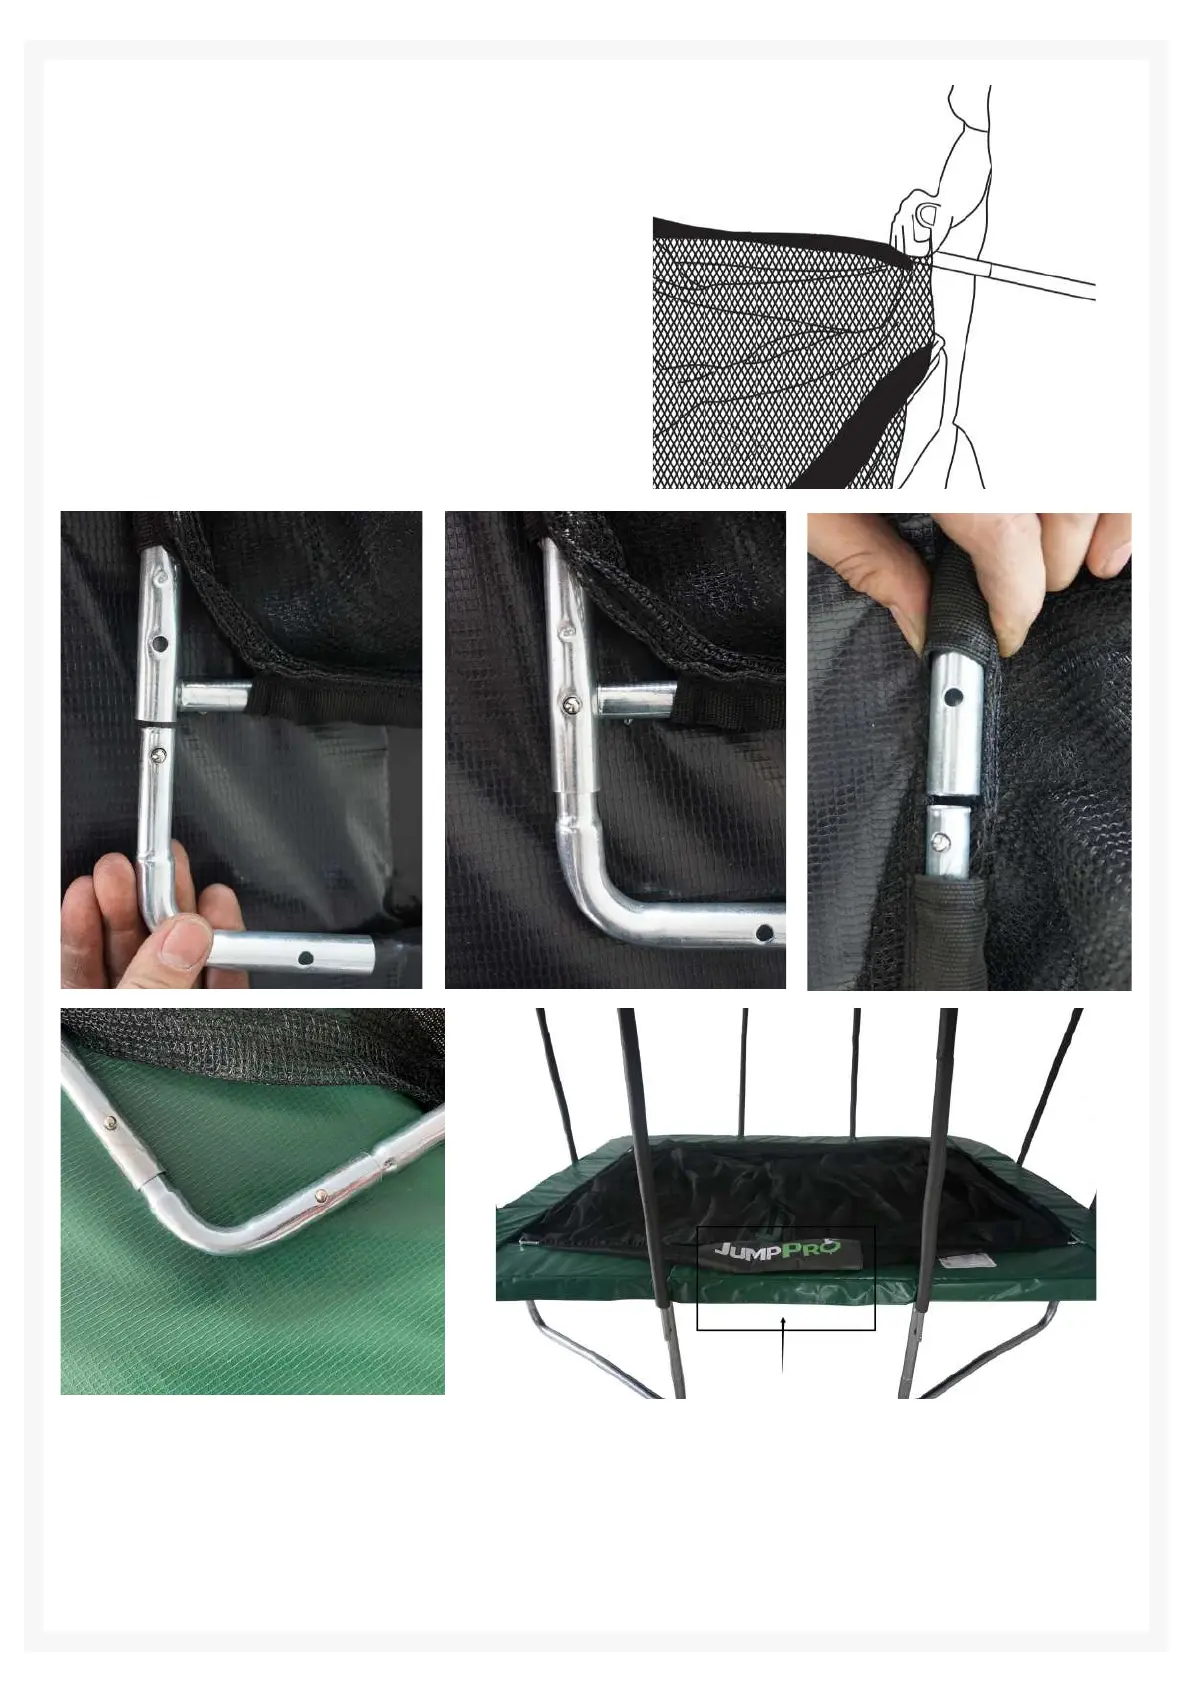
20. Insert the fiberglass rods into the sewn
sleeves on the top of the safety net (P). Long
fiberglass rods for long sides and short fiberglass
rods for short sides.
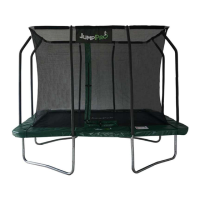
Note: Make sure that the opening of the net (the
zipper) is placed in the middle of the long side of
the trampoline. Align the logo at the top of the net
with the logo on the pad. See IMAGE B
21. After inserting the fiberglass rods into the safety net both the long sides and short sides, connect
the short side to the long side with the fiberglass corner connectors (Y).
Push buttons need to be inserted into the corner pieces. Press the top of the push buttons together
and push in all the way to the end of the corner piece, making sure that the buttons pop out through
the holes.
18
IMAGE (B)