Page 7For technical questions, please call 1-888-866-5797.Item 56425
1. Turn the Inverter’s Switch off.
2. Place the Inverter on a dry, level, non-flammable,
stable surface. Make sure the Inverter has
adequate ventilation and is not in direct sunlight.
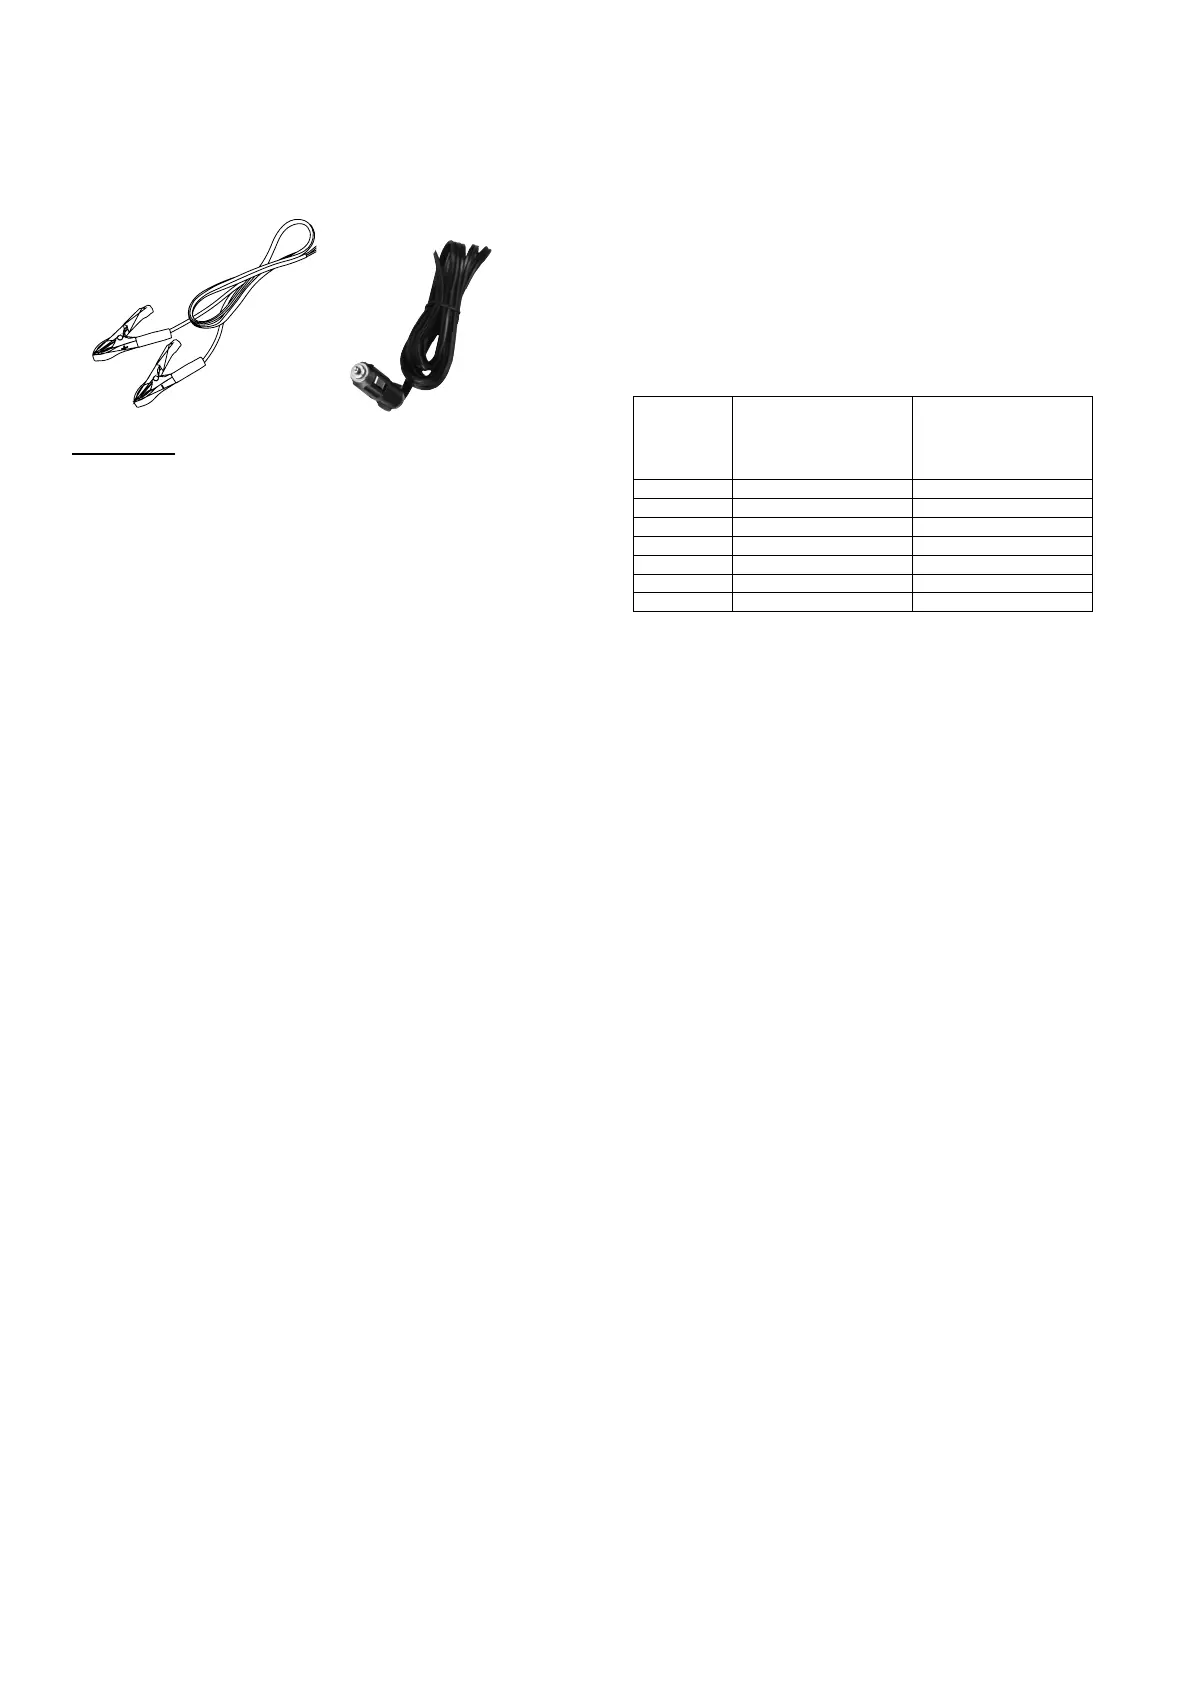
3. Two cables are supplied with the Inverter. Use one.
Clamp Cable
12V Adapter Cable
WARNING! Carefully connect Red to
positive (+) and Black to negative (-). Inverter
will not function with reverse connection
and it, and/or Battery, can be damaged.
a. Clamp Cable:
• Connect the Black wire with tab to the Black
(negative “–”) wing nut located on the back
of the Inverter. Then connect the Black
clamp to a paint/rust free grounded metal
surface, such as the vehicle chassis.
• Connect the Red wire with tab to the Red
(positive “+”) wing nut located on the back
of the Inverter. Then connect the Red
clamp to the battery’s positive terminal.
b. 12V Adapter cable:
• Connect 12V Adapter to vehicle’s 12V socket.
• Connect wires at the other end to the
back of the Inverter: Red wire to the Red
(positive “+”) wing nut and Black wire to
the Black (negative “–″) wing nut.
4. Battery Type Selection:
• Use only deep cycle lead-acid batteries with this
Inverter, such as 12 volt marine/RV deep-cycle
batteries. Do not use automotive, engine starting
(SLI), or maintenance-free wet cell batteries with
this Inverter; they are designed for repeated,
shallow discharge and will wear out quickly.
• Gel and AGM (Absorbed Glass Mat)
batteries can be used with this Inverter,
but they require special charging procedures.
Refer to battery supplier’s instructions.
5. Battery capacity selection:
Inverter
Output
about 1 hour
discharge time
(Minimum battery
capacity)
about 4 hour
discharge time
(Optimal battery
capacity)
500W 80 Ah 200 Ah
1000W 150 Ah 400 Ah
1500W 240 Ah 700 Ah
2000W 300 Ah 1000 Ah
3000W 450 Ah 1500 Ah
4000W 600 Ah 2000 Ah
5000W 750 Ah 2500 Ah
Consult the chart above for approximate
run time at different battery capacities.