33
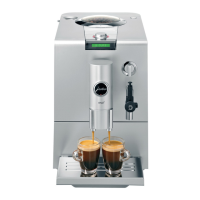
ENA X1
Precondition: READY is shown on the display.
Turn the coffee spout to the 1 cup position.
Place the cup under the coffee spout.
k T Press the Rotary Switch to start coffee
preparation.
COFFEE, the pre-set amount of water
flows into the cup. You can follow the
current status of preparation on the
progress bar.
Preparation stops automatically.
READY
Hot water (tea)
CAUTION
There is a danger of scalding from hot water
splashes.
Avoid direct contact with the skin.
Precondition: READY is shown on the display.
Place a cup under the nozzle.
l T Turn the switch to position m.
TEA, hot water flows into the cup.
You can follow the current status of
preparation on the progress bar.
Preparation stops automatically, CLOSE
TAP.
y T Turn the switch clockwise.
READY
T
T
J
T
T
3 Permanent settings in programming
mode
Products
The following settings can be programmed for
COFFEE and TEA:
Coffee:
Amount of water: 25 ML – 240 ML
Coffee strength: MILD, NORMAL,
STRONG
Temperature: NORMAL, HIGH
Tea:
Amount of water: 25 ML – 240 ML
Permanent settings in programming mode always
follow the same model.
Example: Changing the permanent setting for the
coffee strength (AROMA) of COFFEE from
NORMAL to STRONG.
Precondition: READY is shown on the display.
Open the cover behind the Rotary Switch.
Press the P button P and the Maintenance
button c simultaneously until RINSE
appears.
g T Turn the Rotary Switch until PRODUCT is
displayed.
k T Press the Rotary Switch to enter the
programme item.
COFFEE
To change the setting of tea, turn the
Rotary Switch until TEA is displayed.
k T Press the Rotary Switch to enter the
programme item.
WATER
g T Turn the Rotary Switch until AROMA is
displayed.
k T Press the Rotary Switch to enter the
programme item.
NORMAL
g T Turn the Rotary Switch until STRONG is
displayed.
k T Press the Rotary Switch to confirm the
setting.
Z
U
U
U
Z
U
T
T
E
en
en
en
en
en
 Loading...