Docu.-name: Demontageanleitung_J_Linie_EN.doc
L:\Geräte\Linie_J\J9\J9_4_OneTouch_TFT\Schulungs_Unterlag
en\E\Demontageanleitung_J_Linie_EN.doc
Table of contents:
1 Remove bean container of the IMPRESSA XJ line: ...................................................................3
2 Disassembling of single components: ......................................................................................3
3 CAPPU outlet IMPRESSA J9.3/J9.4/XJ9: .............................................................................. 10
4 Particular view Left: .............................................................................................................. 11
5 Particular view Right:............................................................................................................ 12
6 Particular view Back: ............................................................................................................ 13
7 Particular view Top: .............................................................................................................. 14
8 Fluid system IMPRESSA J5/J7/XJ5: ..................................................................................... 15
9 Fluid system IMPRESSA J9.1/J9.2/J9.3: .............................................................................. 15
10 Fluid system IMPRESSA J9.4/XJ9: ..................................................................................... 16
11 Logic- and power print connections (example IMPRESSA J9.4): ...................................... 17
11.1 Logic: .................................................................................................................................. 17
11.2 Power: ................................................................................................................................. 18
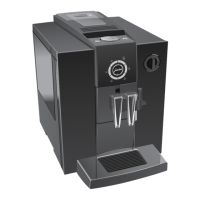
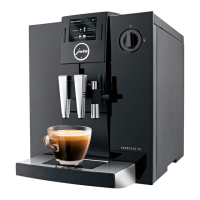
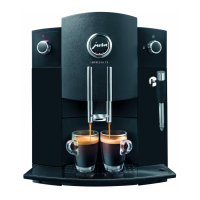
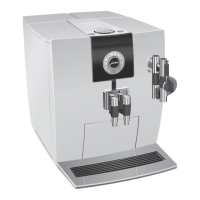
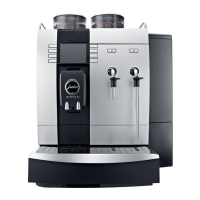
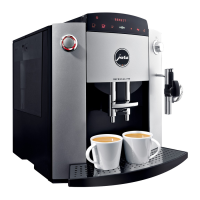
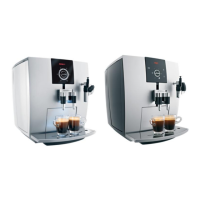
This instruction can be used for all coffee machines of the J/XJ line.
(Images are taken of the IMPRESSA J5).
Type specific changes are especially mentioned.
Revision:
A: New appliances added
 Loading...