3
4
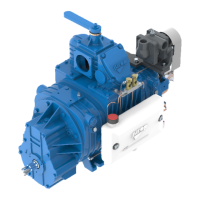
• Bring in position, and keep the locking element in touch with the
fun hub.
Pic. 9.6
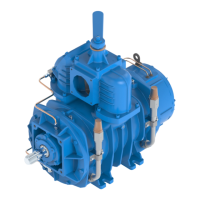
• Use just 4 screws with Torque=17Nm:
1° time: Tighten the 4 screws on the locking collar
(Torque=17Nm) Fasten them following a cross shaped pattern;
2° time: Lower the torque to 16Nm and fasten the screws
again, always following a cross-shaped pattern.
3° time: If necessary, check one last time the screws
(Torque=16Nm) to be sure that they have been tightened evenly.
Pic. 9.7
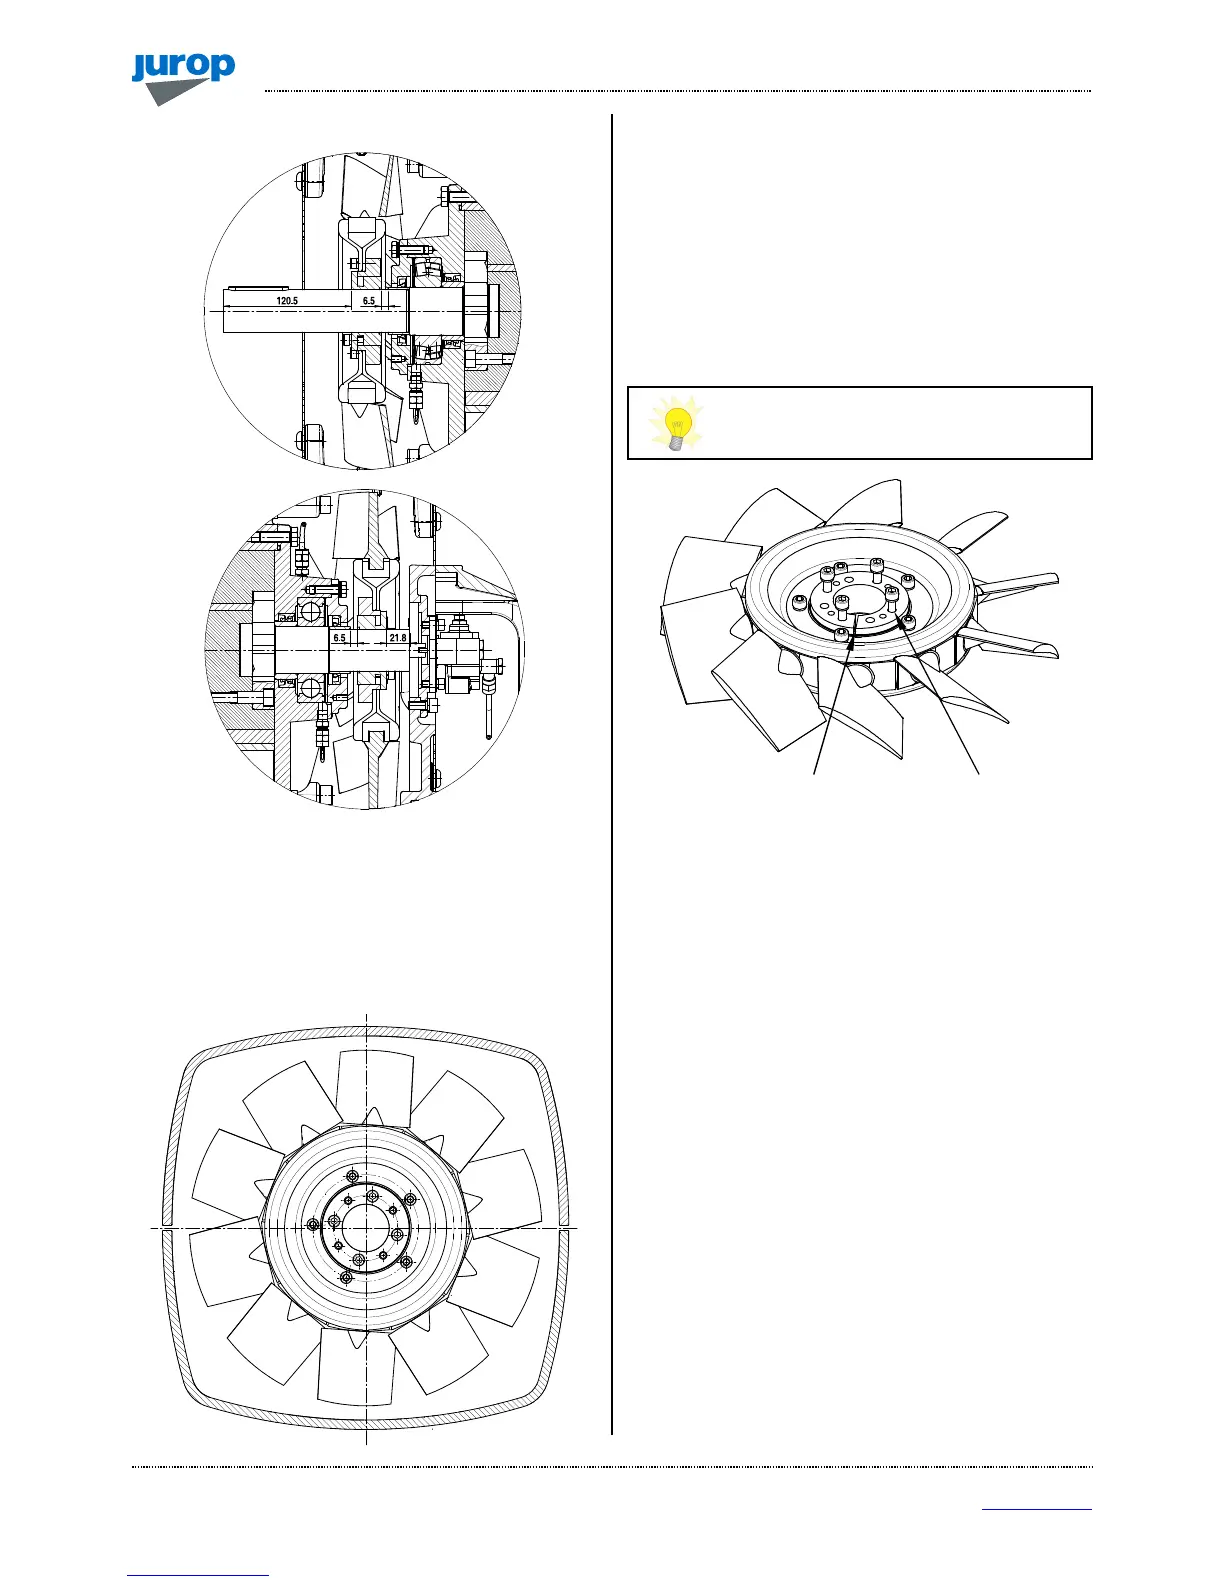
Disassemble
• Remove the 4 screws that keep the locking collar in place (Pic.
9.8).
• If possible, use an impulse screwdriver.
• Heat the hub with if the screws are stuck because of dirt, rust or if
thread locking glue has been used.
• Once the two parts of the locking collar separate, it’s possible to
remove the fan from the shaft.
• If needed, insert a flat head screwdriver in the crack, to help the
removal.
Heat the hub with if the screws are stuck because
of dirt, rust or if thread locking glue has been
used.
Pic. 9.8
 Loading...