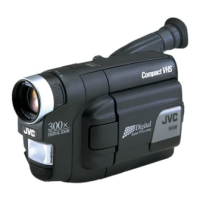
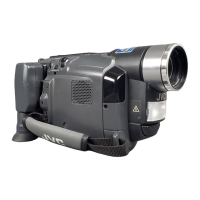
(onnecttilecamcordertoaTVorV(Ras
shownintileillustration(¢,* pg. _2).
If using a VCR . . . go t_; step 3.
If not, , , go to step 4,
Connect tile VCR output to tile TV input,
referring to your VCR's instruction manual.
Turn on the camcorder, the VCR and the TV.
Set the VCR to its AUX input mr)de, and set the
TV to its VIDEO mode.
NOTES:
• It is recommended to use the AC Power Adapter/
Charger as the power supply instead of the battery
pa_k (_ z_pg. 9).
• To monitor tile picture and sound frr)m tile
camcorder without inserting a tape, set the
camcorder'_ Power Swikh to "CAMERA" ("AUTO"
or "PRO. % then set y_;ur TV to the appr_;priate
input mode.
• Make sure you adjust the TV sound w>lunle to it_
mirlin_un_ level to aw)id a surlderl burq of sourld
whorl tile camcorder is ruffled on,
• If you have a TV or _peaker_ that are not _pecia/ly
shielded, do not place tile _peaker_ adjacerlt t_) tile
TV as irlterfererlce will occur in the camcorr/er
playback picture,
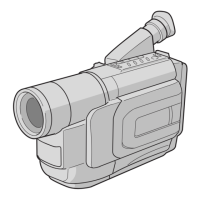
TapeDubbin9
Following tile illustration ()n pg. 32, connect tile
camcorder and tile VCR.
Set the camcorder's Power Switch to "PLAY",
turn ()n the VCR's power, and insert the
appropriate cassettes in tile camcorder and tile
VC R.
Engage the V(R's ALJX and Record-Pause
modes.
Engage tile camcorder's Play mode to find a
spot just before the editqn point. Once it is
reached, press I_/l! oil tile camcorder.
Press _/|! on tile camcorder and engage tile
VCR's Record mr)de.
Engage tile VCR's Record-Pause mr)de and press
_/e[ on the camcorder.
Repeat steps 4 through 6 for additional editing,
then stop the V(R and camcorder when
finished.

 Loading...