24
Pla ybac k Z oom
To magnify the recorded image up to 10X at any
time during playback. Make sure that the TBC
mode is activated.
1)Press PLAY
T to find the scene of interest.
2)Press ZOOM (T/W) R. Pressing T zooms in. To
end zoom press and hold W until magnification
returns to normal. Or, press STOP U and then
press PLAY T.
• Due to digital image processing, the quality of the
image may suffer.
Anima tion And Tim e-Lapse
The remote control lets you set/release interval
time and recording time without setting REC TIME/
INT. TIME ( pg. 21) in SYSTEM MENU.
Animation
Each time ANIM. O is pressed, the recording time
changes in the following order: 1/4S, 1/2S, 1S, 5S
and no indication (off).
Time-Lapse
Each time REC TIME
O is pressed, the recording
time changes in the following order: 1/4S, 1/2S,
1S, 5S and no indication (off). Each time INT. TIME
f is pressed, the interval time changes in the
following order: 15S, 30S, 1MIN, 5MIN and no
indication (off).
Insert Edit ing
You can record a new scene onto a previously
recorded tape. Only the video signal is recorded in
this mode.
1)Set the Power Switch
@ to “
”.
2)Play back the tape, locate the edit-out point and
press PAUSE s.
Press and hold COUNTER R/M
) for more than 1 second to reset the tape
counter, then press it again for less than
1 second so that “M” appears.
3)Press REW
Y to go a little beyond the beginning
of the scene you want to replace, press PLAY T
to view the recorded tape, and press PAUSE s
exactly at the edit-in point where the new scene
should start.
4)While holding down INSERT I, press and
release PAUSE s. w appears.
5)To begin Insert Editing, press START/STOP P.
When the counter reaches “0:00:00”, editing
stops automatically and the camcorder enters
the Insert-Pause mode. To end Insert Editing,
press STOP
U.
• During Insert Editing, the original audio will be
heard from the speaker.
• After step 4), “Retake” ( pg. 13) can be
performed.
• The tape may stop slightly before or after the
designated end point, and noise bars may appear.
Neither indicates a defect in the unit.
Audio Dubbing
You can record a new soundtrack on a
prerecorded tape (normal audio only). The sound
is recorded from the built-in microphone.
Perform steps 1) and 2) of the Insert Editing
procedure.
3)Press REW
Y to go a little beyond the beginning
of the scene onto which you want to dub the new
audio, press PLAY T to view the recorded tape,
then press PAUSE s at exactly the point where
dubbing should start.
4)While holding down A. DUB d, press and
release PAUSE s.
5)To begin Audio Dubbing, press PLAY T. When
the counter reaches “0:00:00”, Audio Dubbing
stops automatically and the camcorder enters
the Audio Dub-Standby mode. To end Audio
Dubbing, press STOP
U.
• Do not press REW Y or FF a during Audio Dub-
Standby, or the edit points will not be accurate.
• If the microphone is too close to the TV, or if the
TV’s volume is too high, whistling or howling may
occur.
For Insert Editing/Audio Dubbing
• Insert Editing and Audio Dubbing may not work
correctly if the tape contains blank segments, or if
the recording speed was changed during the
original recording.
• To edit/dub onto a tape, make sure the erase
protection tab is in the position that allows
recording.
• Do not press STOP
U during Insert Editing or
Audio Dubbing, or the edit points will not be
accurate.
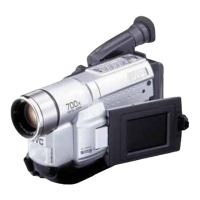
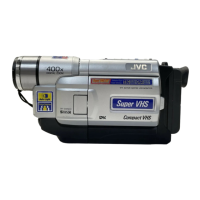
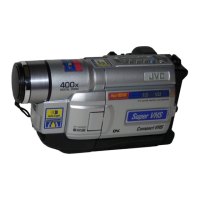
USING THE REMOTE CONTROL UNIT (GR-SXM745 only)
Make sure the remote control is pointed at the remote sensor p.
Downloaded from: https://www.usersmanualguide.com/
 Loading...