The unit may not be able to decode all digital audio formats from the input source. In this case, the unit will mute. This is NOT a defect. Ensure that the audio setting of
the input source (e.g. TV, game console, DVD player, etc.) is set to PCM (Refer to the user manual of the input source device for its audio setting details) with Optical /
Coaxial output.
•
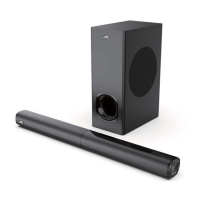
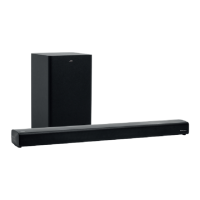
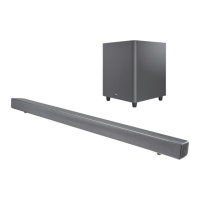
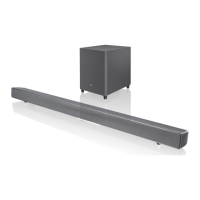
Connecting an External Audio Device
Unwind the mains cable to its full length. Connect the end of the
cable to the 100-240V~50/60Hz AC IN~ Socket at the rear of the
unit and then connect the mains plug to the mains socket. Make
sure the mains plug is fully inserted into the mains socket.
• Connecting the unit to any other power source may damage the unit.
• Ensure all audio connections of the unit are connected before connecting to the mains power socket.
• Make sure the mains plug is rmly inserted into the mains socket.
• To switch the unit o completely, remove the mains plug from the mains socket.
• Please turn the unit o completely to save energy when not in use.
• The mains cable is designed for this JVC soundbar only. DO NOT use the mains cable for other purposes.
For general information about this appliance and
handy hints and tips, please visit:
www.TeamKnowhow.com/discover or call
UK: 0344 561 1234
Ireland: 1 890 818 575
Well done, your new soundbar is now ready to use. You will nd that there are many exciting features available. To get to know all
these features, please take some time to read the instruction manual provided with your soundbar.
(QSG-TH-D329B-190528V2)
To the mains
socket
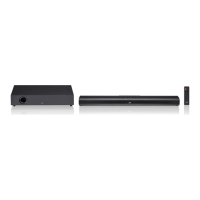
Rear View of the Soundbar
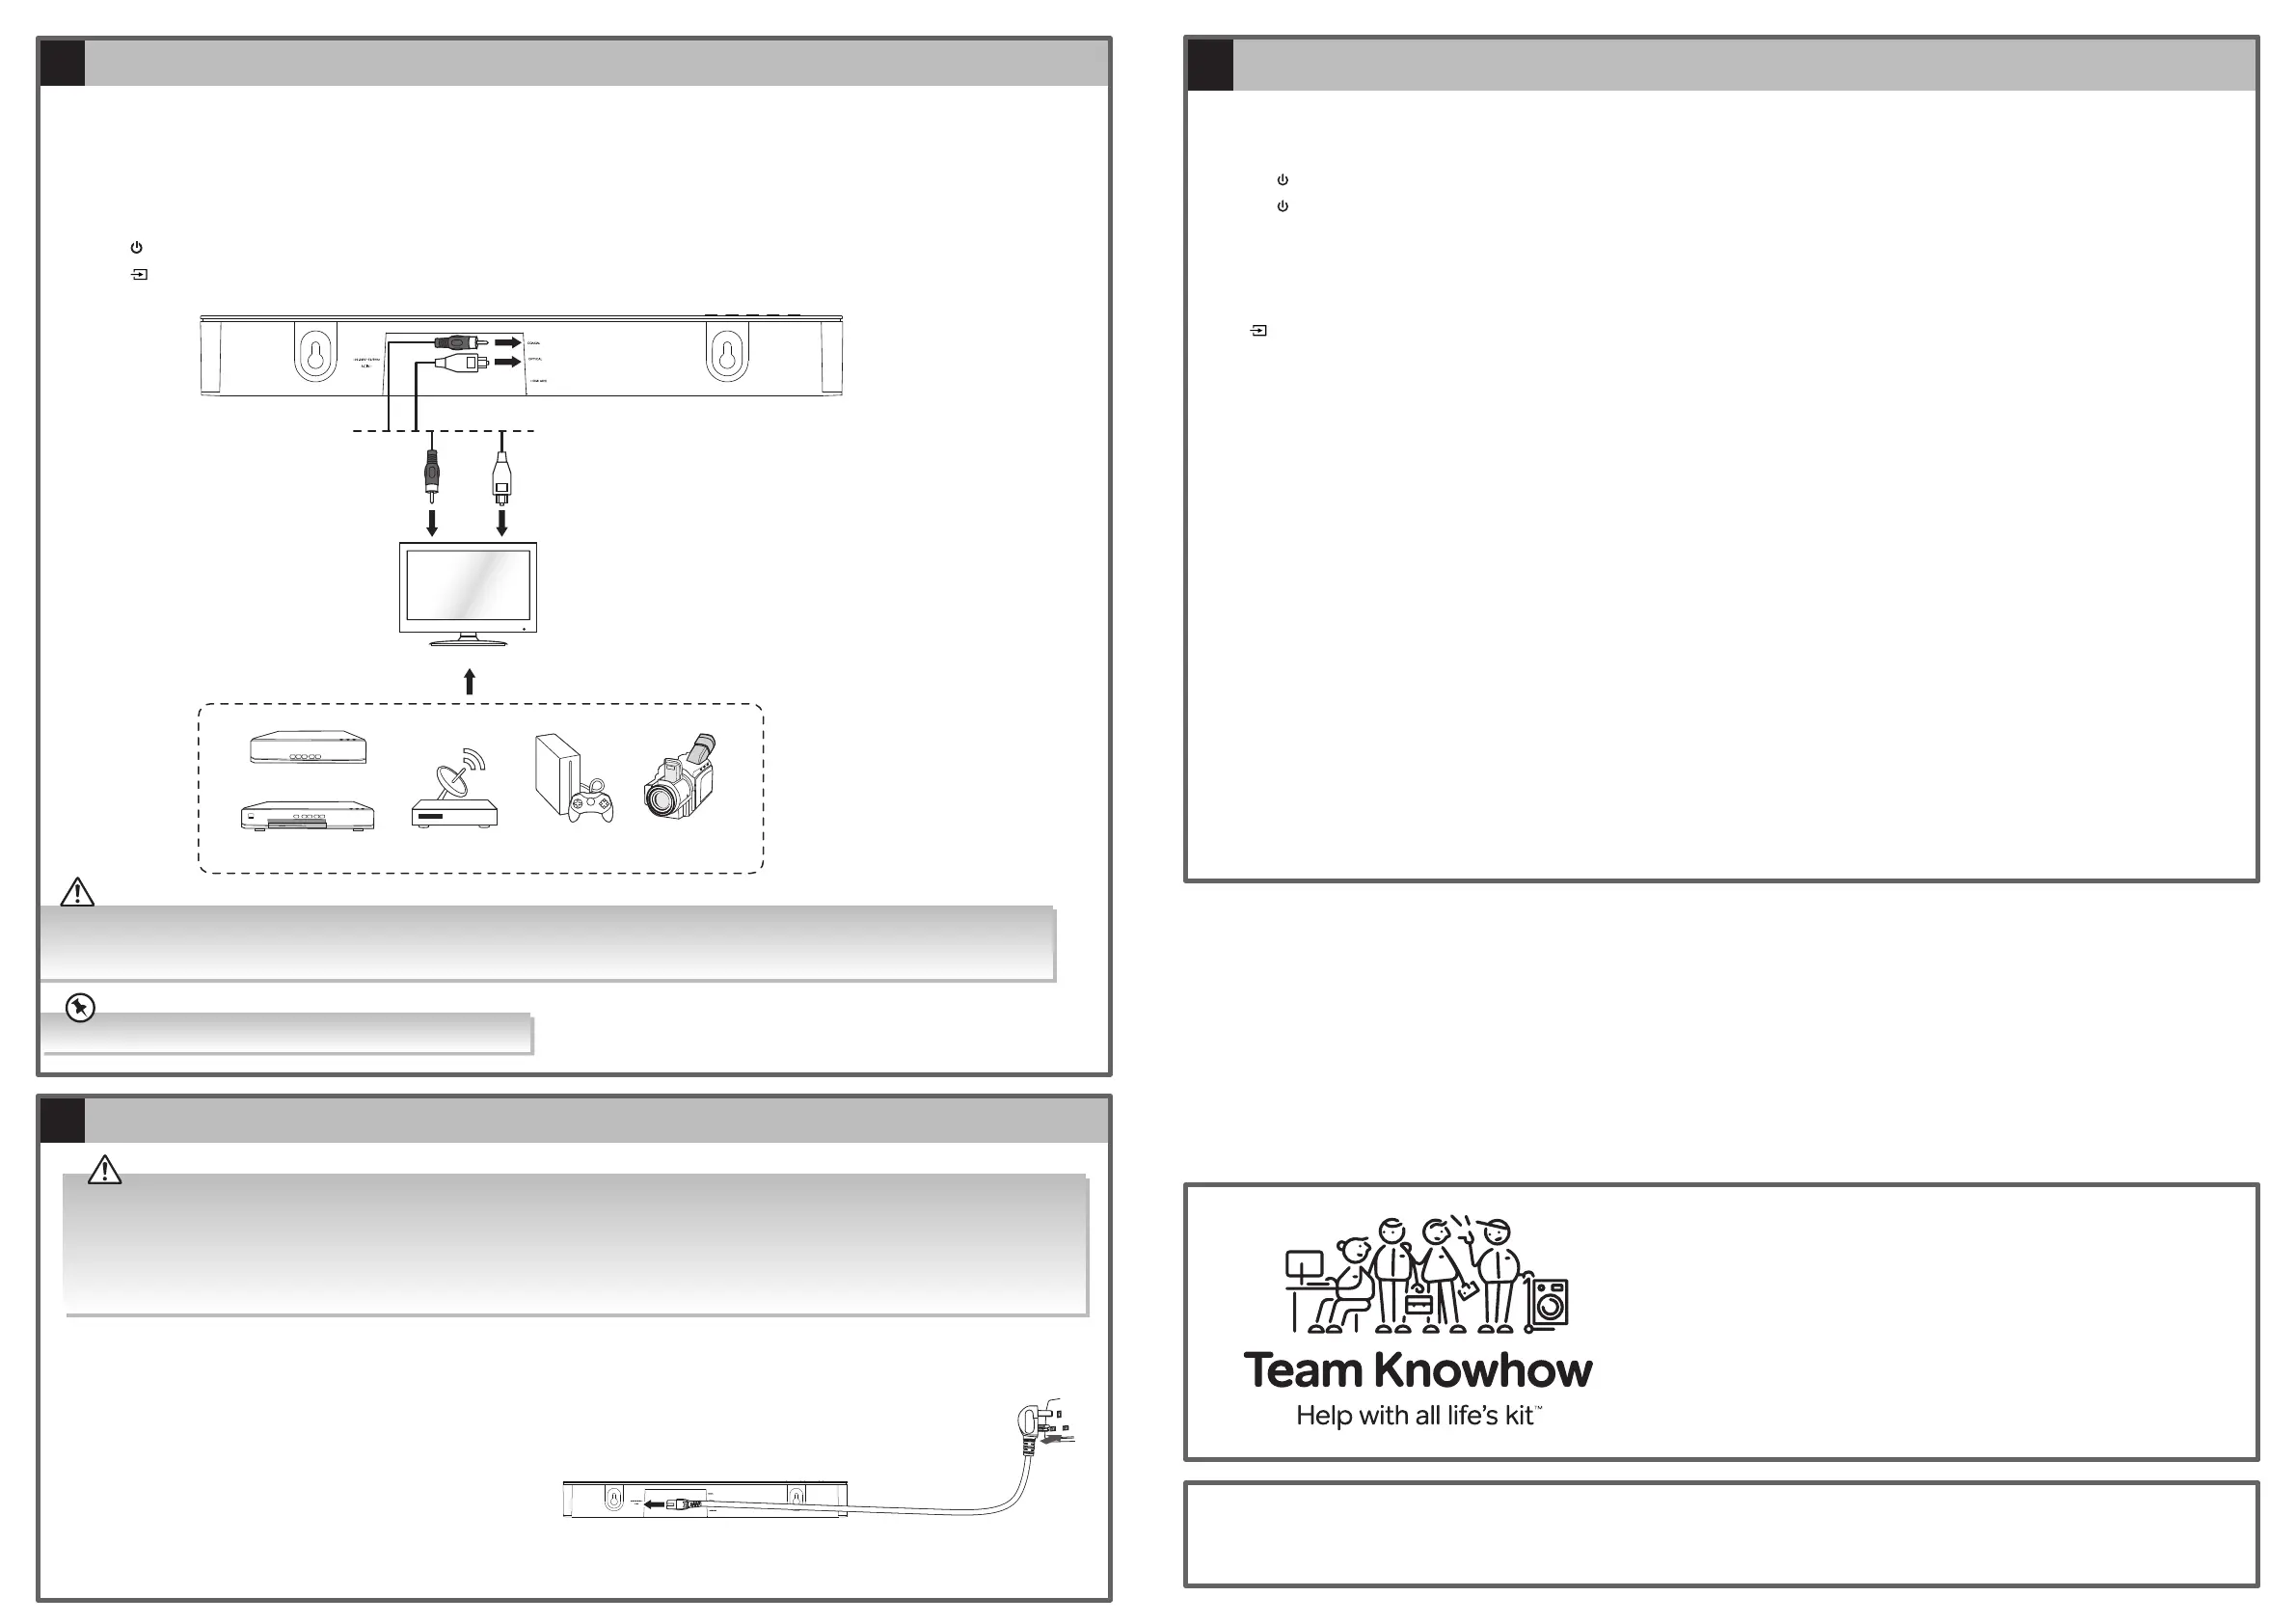
DO NOT connect the soundbar to the TV through its Yellow/Red/White sockets.
Standby / ON
When you rst connect the unit to the mains socket, the unit will be in Standby mode.
• Press
on the unit or on the remote control to switch the unit on. The display will show “HELLO”, and then enter the last used mode.
• Press
on the unit or on the remote control again to switch the unit back to Standby mode. The display will show “STANDBY“, and
then the POWER indicator will light up red.
Selecting Modes
Press button on the unit or remote control repeatedly to select between BT (Bluetooth®), ARC (HDMI ARC), OPT (Optical), and COA
(Coaxial) mode.
Adjusting the Speaker Level Settings and Effects
Adjusting the Volume
• Press VOL+/VOL– to adjust the volume.
• If you wish to turn the sound o, press MUTE on the remote control. Press MUTE again, or press VOL+/VOL– on the unit or on the
remote control to resume normal listening.
Select Equaliser (EQ) Eect
Press the EQ button on the unit or remote control to select the preset the equaliser eects: NEWS/MOVIE/MUSIC.
Adjusting the Bass/Treble Level in CUSTOM EQ mode
1. Press CUSTOM button on the remote control to set the unit into CUSTOM EQ mode. The display will show CUSTOM.
2. Press BASS/TREBLE button on the remote control. BASS/TREBLE will ash in the display.
3. Press VOL+/VOL– button repeatedly to adjust the bass/treble level (MIN / –2 / –1 / 0 / 1 / 2 / MAX).
4. After about 5 seconds, the unit will exit from BASS/TREBLE setting. The display will show the current selected mode.
5. You may now press VOL+/VOL– button to adjust volume.
Optical cable (not included)
TV
Rear View of the Soundbar
Coaxial cable (included) or
Blu-ray Player /
DVD Player
Set-top Box
Satellite Receiver
Game Console Video
Camera
Method 2: Optical / Coaxial Connection
Use an optical cable (not included) or coaxial cable (included) to connect the soundbar’s OPTICAL / COAXIAL socket to the OPTICAL
OUT / COAXIAL OUT socket of the external device. The simplest option is to connect your soundbar directly to your TV. If you connect the
soundbar to another external device (e.g. Blu-Ray player), you will hear the sound from that device through the soundbar.
After the connection is completed,
1. Press
on the unit or remote control to switch on the unit.
2. Press
button repeatedly to select OPT (Optical) or COA (Coaxial) mode.
•
General Operation
•
Connecting to the Mains Supply
TH-D329B_QSG_Final190528V2.indd 2 28/05/2019 14:39
 Loading...