1-17
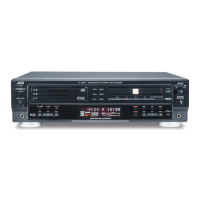
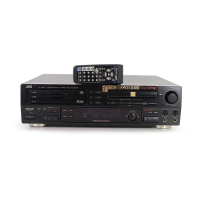
XL-R5000BK
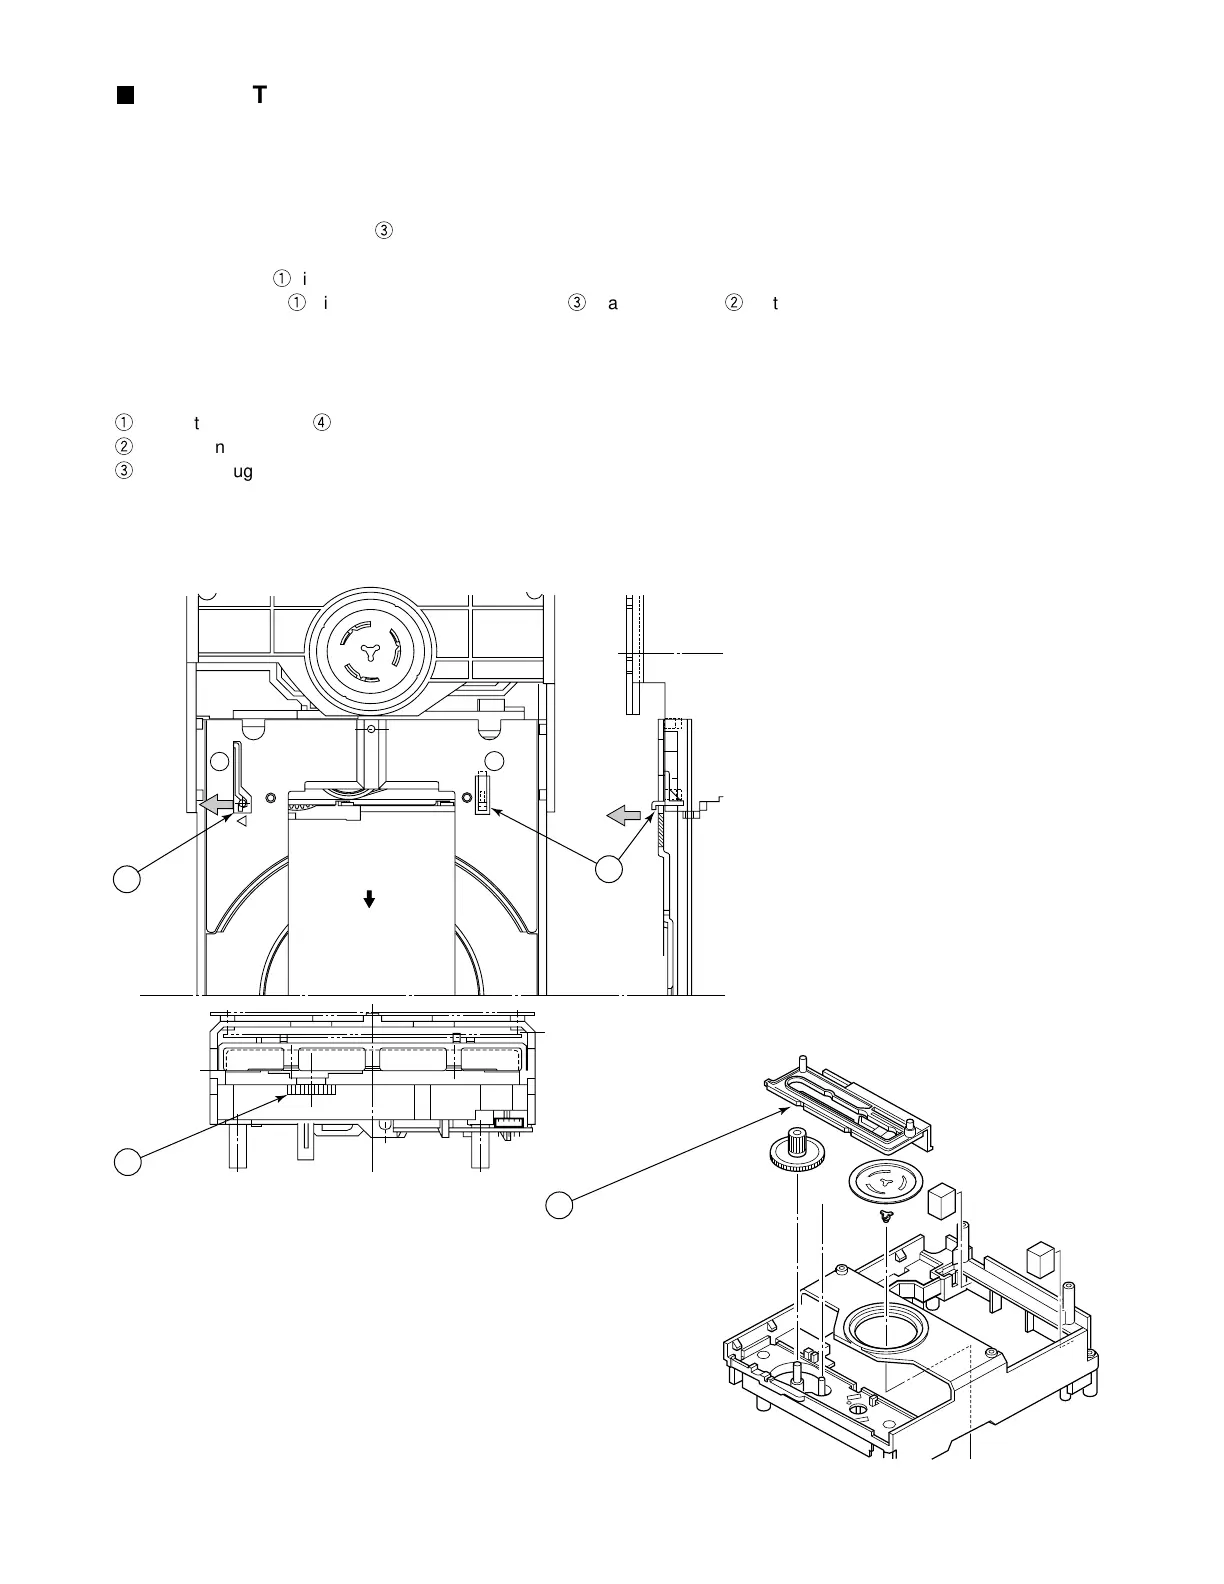
Refer to the separate figure.
When removing the tray:
1. Make sure that the pickup is located in the innermost position (usual position).
If the pickup is out of the innermost position, locate it in the innermost position with care not to touch the lens.
2. While turning the gear drive (
3
in the figure) clockwise to lower the mechanism, draw the tray towards the front side.
Pull out the tray to the full extent (as shown in the figure).
3. Press the lever (
1
in the figure) in the direction of the arrow (leftward).
4. Holding the lever (
1
) in the status of the above step
3
, raise the lever (
2
in the figure) in the direction of the arrow
(upward).
5. Pull the tray out of the CDR unit with the levers held in the above-mentioned status.
When setting a new tray:
1
Slide the slide gear (
4
in the figure) rightwards to lower the mechanism before inserting a new tray.
2
Insert a new tray into the CDR unit front the front side.
3
Going through the procedure for removing the tray in the reverse order, turn the gear drive counterclockwise to raise
the mechanism upwards and check to see if it is in the topmost position.
That is all for the tray replacement procedure.
CDR Unit Tray Replacement Procedure
1
3
2
4
www.freeservicemanuals.info
Digitized in Heiloo the Netherlands
 Loading...