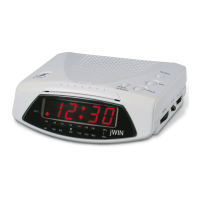
MODEL : JL-725
1. AUTO/ON/OFF SWITCH
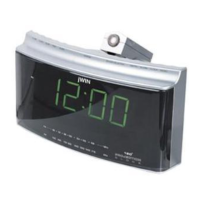
2. LED CLOCK DISPLAY
3. LED INDICATOR FOR "AUTO"
4. SNOOZE/SLEEP-OFF BUTTON
5. ALARM SET/OFF BUTTON
6. TIME SET BUTTON
7. SLEEP SET BUTTON
8. (DIMMER) LOW/HIGH SWITCH
9. HOUR BUTTON
10. MINUTE BUTTON
11. VOLUME CONTROL KNOB
12. AM/FM SWITCH
13. TUNING CONTROL KNOB
14. BATTERY COMPARTMENT
15. FM PIG-TAILED WIRE
16. AC POWER CORD
17. AM/FM SCALE & POINTER
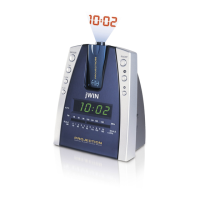
18. PROJECTION ON/OFF BUTTON
19. CLOCK PROJECTOR
20. TIME SET BUTTON FOR PROJECTION
21. HOUR BUTTON FOR PROJECTION
22. MINUTE BUTTON FOR PROJECTION
23. FOCUS ADJUSTMENT KNOB
24. RADIO/BUZZ SWITCH
AC POWER OPERATION
Before conneting to the power supply, ensure that the supply corresponds to the information on the
rating label on the bottom of the apparatus.
WARNINGS
Disconnect the power plug from the receptacle when not in use. To avoid the risk of electric shock,
do not remove the cover of the apparatus. There are no user serviceable parts inside. To prevent
fire or shock hazard,
do not expose the apparatus to rain or moisture.
TO SET THE CLOCK TIME
1. Set the ON/OFF/AUTO switch (1) to 'OFF'. Connect the power cord to the power supply. The clock
display will blink to indicate a power interruption and that the display time is incorrect.
2. To set the correct time, press the MINUTE button (10) or HOUR button (9) until the correct
time is displayed while pressing and holding the TIME SET button (6).
3. Open the Battery Compartment cover and fit a 9V battery. The purpose of this battery is to
store the information relating to the alarm time and to keep the clock functioning in the event of
disconnection from the power supply or power interrruption. In case of the power failure, the clock will
continue to keep time but will not display it.
THE LED DIGITAL CLOCK AND THE PROJECTION
CLOCK MUST BE SET SEPARATELY
TIME SETTING FOR PROJECTION
- To set HOUR, press simultaneously the HOUR BUTTON (21) and the TIME SET BUTTON (20).
Keep them depressed until the correct hour is displayed.
- To set MINUTE, press simultaneously the MINUTE BUTTON (22) and the TIME SET BUTTON (20).
Keep them depressed until the correct minute is displayed.
- Focus setting : To adjust the projection focus, turn the FOCUS ADJUSTMENT KNOB (23) until
the projected time
is clearly shown on the ceiling or wall.
NOTE : THE MAXIMUM PROJECTION DISTANCE IS 3-9 FEET.
25. LED INDICATOR FOR "PM"