24 | EN
6. First Installation & Basic Functions
First Installation
1. Place the unit at a location where the signal is good.
2. For best possible reception, the rod antenna should be fully extended and adjusted as needed.
3. When you power the unit for the rst time, it will automatically switch to DAB+ mode and do a full
scan. Once the scan is nished the rst found station will be played.
Switching the Unit On & Off (Standby Mode)
1. Power the unit as described above.
2. To switch the unit on, press the Power button on the remote control once, or press and hold for
2 seconds the /MODE button on the unit. The unit will switch to the last mode used.
3. To switch the unit off (standby mode), press the Power button on the remote control once, or
press and hold for 2 seconds the /MODE button on the unit.
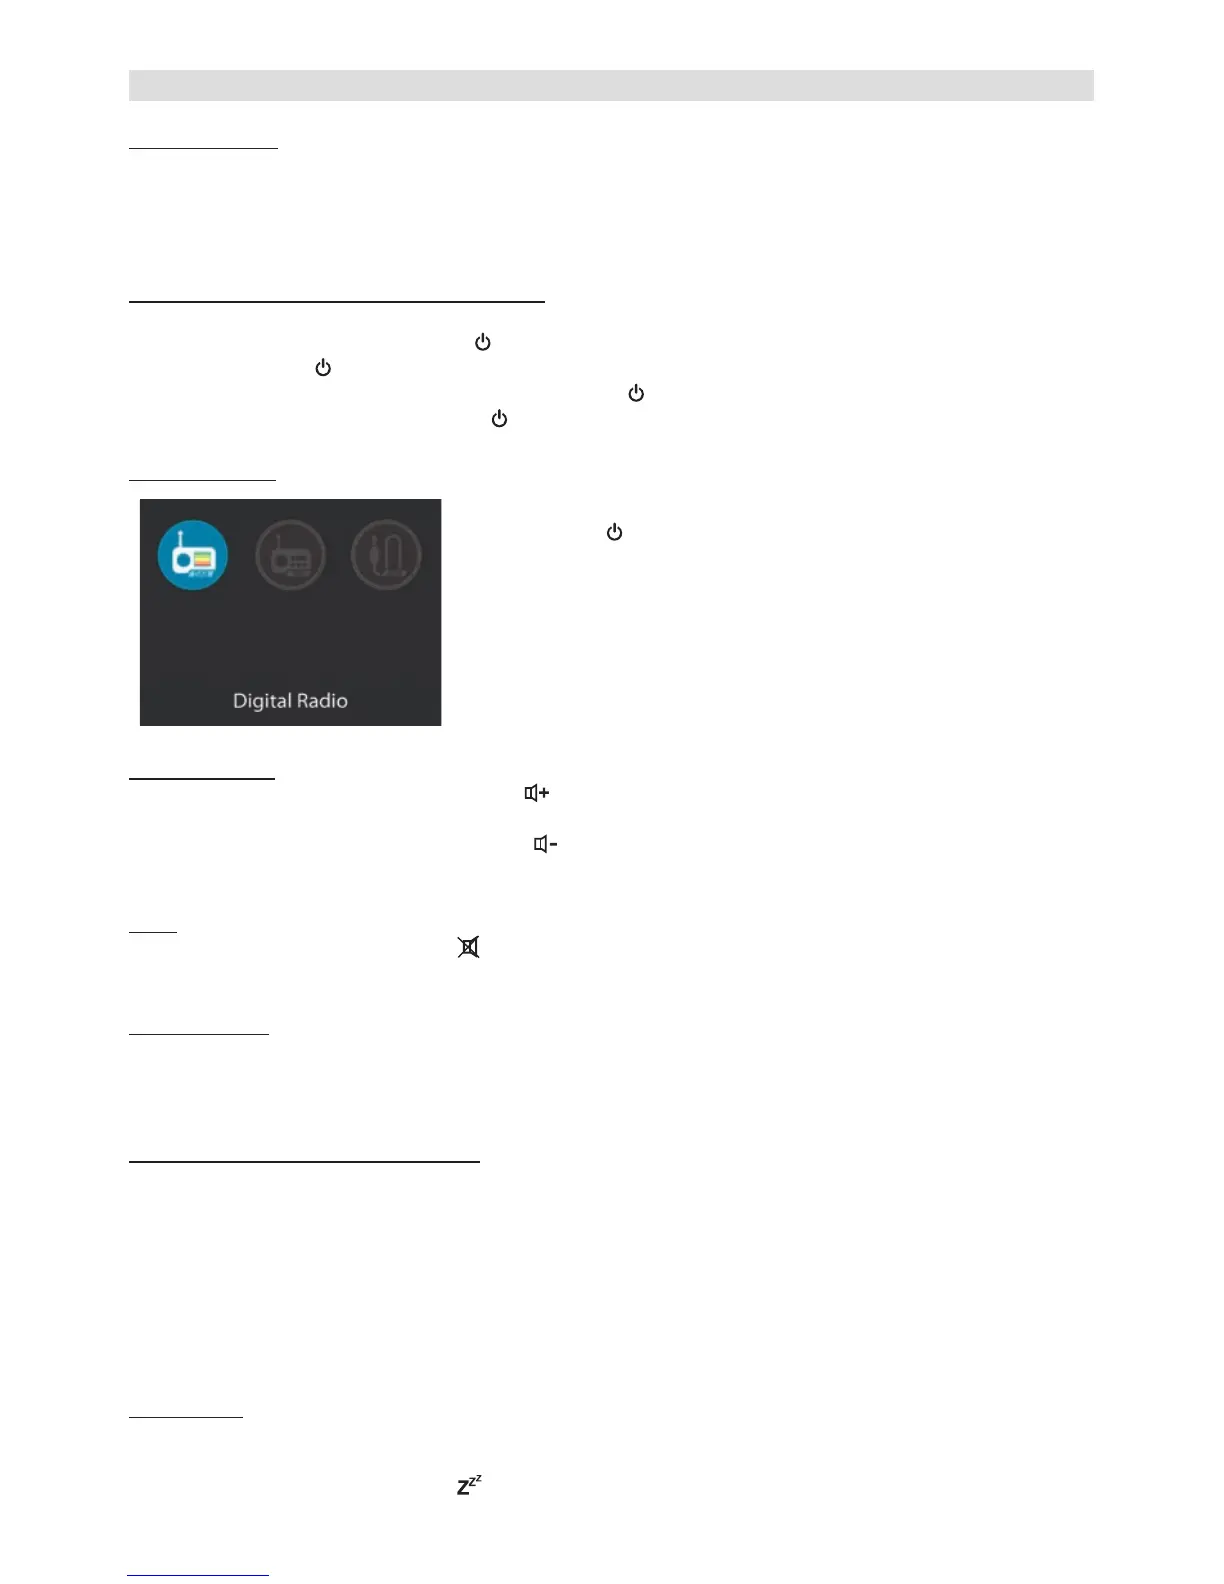
Mode Selection
To select between DAB+, FM, and AUX modes, you can either
• press the /MODE button on the unit and then select the
desired mode using the NAVIGATE knob and then pressing
OK, or
• press the MODE button (to select in the menu) on the
remote control, or
• press the DAB+, FM, or AUX button on the remote control.
Volume Control
• Increase the volume by pressing the
VOLUME+ button on the remote control or rotating the
VOLUME knob on the unit clockwise.
• Decrease the volume by pressing the VOLUME- button on the remote control or rotating the
VOLUME knob on the unit counter-clockwise.
Mute
• To mute the sound, press the MUTE button on the remote control or on the unit. Press the but-
ton again to turn the sound back on.
Equalizer (EQ)
• This unit has 6 different equalizer presets (Normal, Classic, Jazz, Pop, Rock, Speech). To select
between these presets, repeatedly press the EQ button on the remote control.
• In the Systems Settings menu you can also set and select your own equalizer preset.
Display Backlight & Timeout Function
• The display brightness can be adjusted in 3 levels (high, medium, low).
• To select between these levels, repeatedly press the DIMMER button on the remote control.
Note:
• If set to Low or Medium level, the backlight will automatically switch to the High setting when a
button is pressed. To keep the backlight at the same setting when pressing a button, you need
to turn on the “Timeout” function inside the System Settings menu (Menu -> System Settings ->
Backlight -> Timeout -> On or time after which the display should automatically dim down).
Sleep Timer
The sleep function enables you to set a timer after which the unit will turn itself into standby mode
automatically.
• While in any mode, press the SLEEP button on the remote control repeatedly to set the
 Loading...