8 English
Scope of deliver
The scope of delivery for the appliance is shown on the
packaging. Check the contents for completeness when
unpacking. If any accessories are missing or in the
event of any shipping damage, please notify your deal-
er.
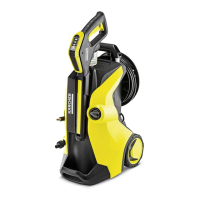
evice descriptio
or the illstratios refer to the raphics pae
llstratio A
1 Storage for spray lance
2 Storage for high-pressure gun
3 Transport handle, telescoping
4 Carrying handle
5 Quick coupling for high-pressure hose
6 Rubber band
7 Storage for high-pressure hose and mains connec-
tion cable
8 Power switch "0/OFF" / "I/ON"
9 Mains connection cable with mains plug
10 Carrying handle
11 Type plate
12 Transport wheel
13 Water connection coupling
14 Water connection with integrated sieve
15 Suction hose for detergent (with filter)
16 High-pressure gun
17 High-pressure gun lock
18 High-pressure hose
19 Button for separating the high-pressure hose from
the high-pressure gun
20 Spray lance with dirt grinder for stubborn soiling
21 Vario Power spray lance for common cleaning
tasks. The working pressure can be continuously in-
creased from "SOFT" to "HARD". To adjust the
working pressure, release the trigger gun lever and
turn the spray lance to the desired position. Deter-
gent can be added to the water jet when the spray
lance is turned all the way in the SOFT direction.
22 **Garden hose with commonly available coupling
– Fabric reinforced
– Diameter of at least 1/2 inch (13 mm)
– Length at least 7.5 m
** additionally required
Safet devices
" CA
Missing or modified safety devices
Safety devices are provided for your own protection.
Never modify or bypass safety devices.
ower switch
The power switch prevents unintentional operation of
the device.
ihpressre lock
The lock locks the lever of the high-pressure gun and
prevents the device from starting unintentionally.
Atostop fctio
If the lever of the high-pressure gun is released, the
pressure switch turns off the pump and the high-pres-
sure jet stops. The pump switches on again when the le-
ver is pressed.
otor circit reaker
The motor circuit breaker shuts off the device if power
consumption it too high.
Smols o the device
stallatio
or the fires refer to the raphics pae.
Fit the supplied loose parts onto the device before start-
ing up the device.
stall the trasport hadle
1. Attach the transport handle.
llstratio
stalli the water coectio copli
1. Screw the water connection coupling onto the water
connection on the device.
llstratio C
itial startp
1. Place the device on a flat and level surface.
2. Insert the high-pressure hose into the quick coupling
until it audibly latches into place.
llstratio
3. Insert the high-pressure hose into the high-pressure
gun until it audibly latches into place.
Note
Tak e care to en sure th e c orr ect alignm ent of t he nipp le.
llstratio E
4. Check for a secure connection by pulling on the
high-pressure hose.
5. Plug the mains plug into a mains socket.
ater sppl
For the connection values, see the type plate or chapter
Tech ni ca l da ta .
Observe the water distribution company regulations.
AE
Damage through contaminated water
Contamination in the water can damage the pump and
the accessories.
KÄRCHER recommends using the KÄRCHER water filter
for protection(special accessory, order number 4.730-059).
Do not aim the high-pressure jet may at
persons, animals, live electrical equipment
or the device itself.
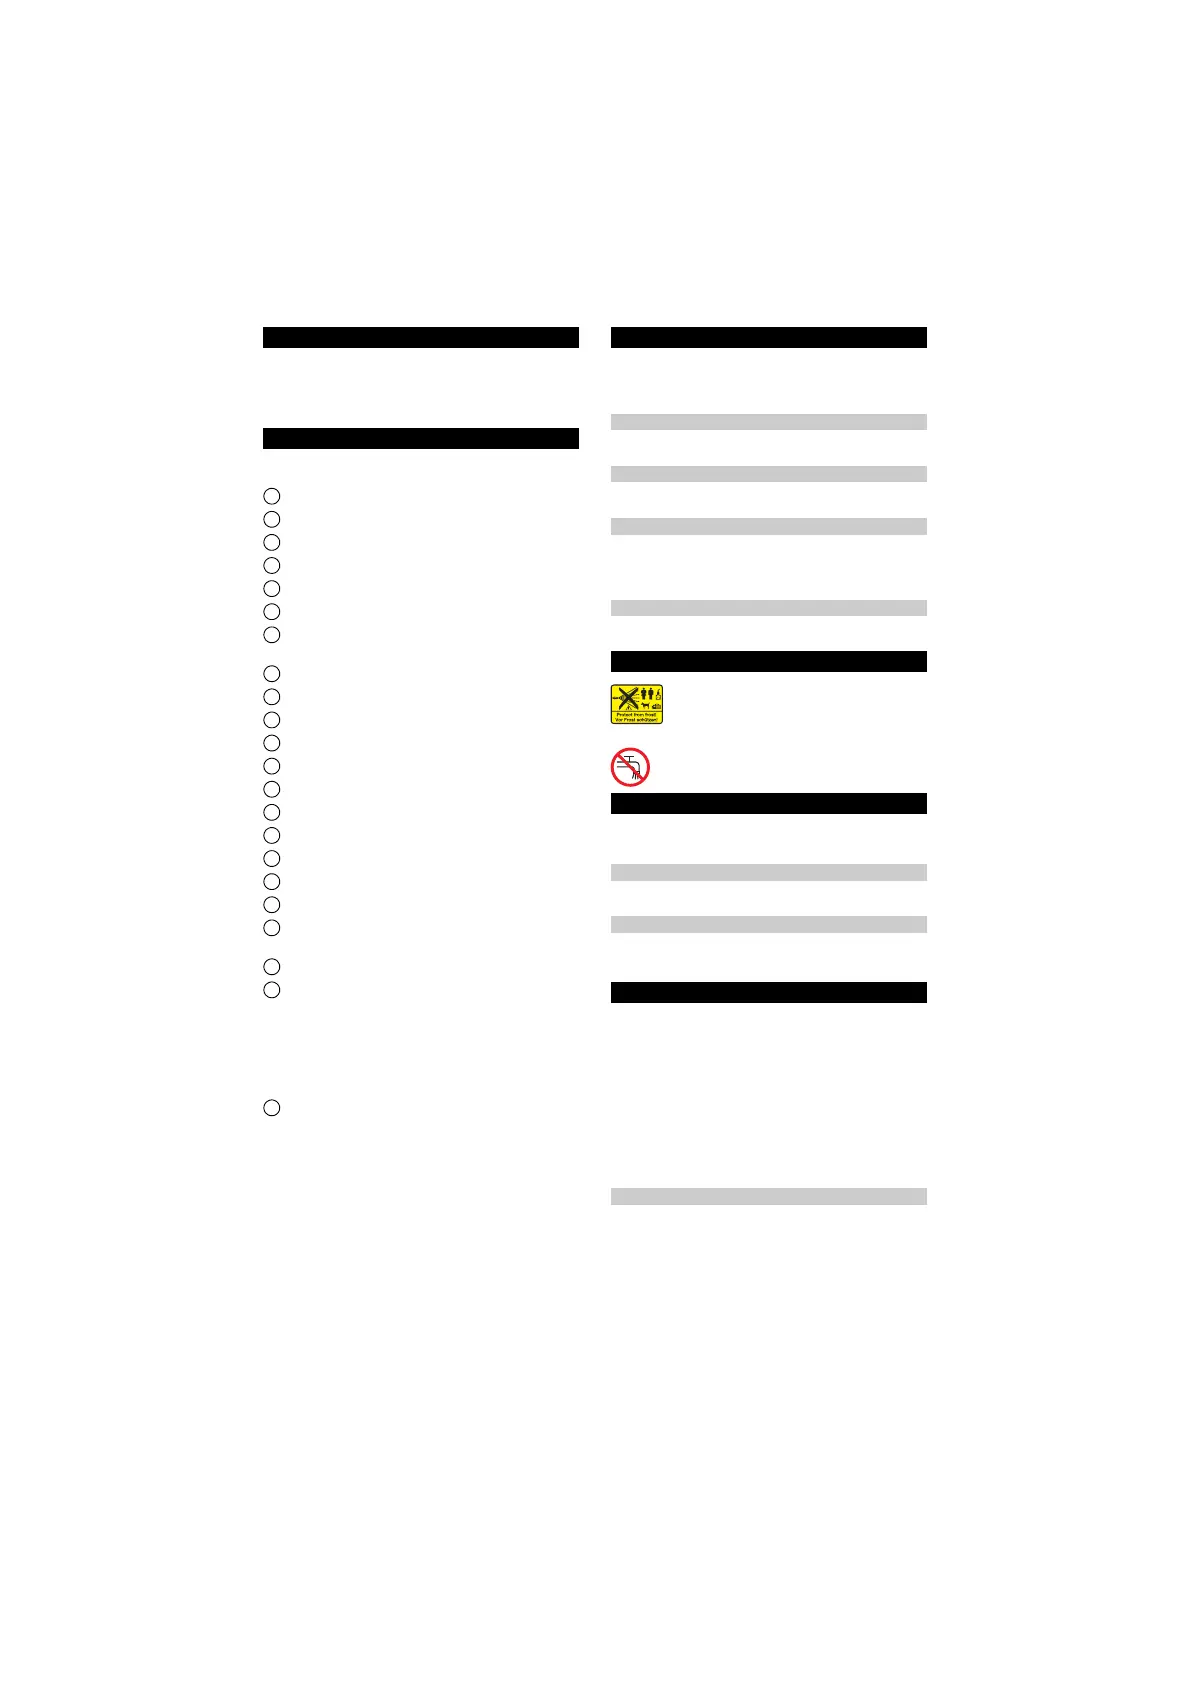
Protect the device against frost.
The device may not be directly connected
to the public drinking water network