5
Note: Run your motor on the ground rst after making any changes to your motor timing!
PROGRAMMING THE RAY G2 ESC WITH YOUR TRANSMITTER
USING THE RAY PROGRAMMING CARD (OPTIONAL)
You can also use the optional RAY G2 programming card to program your desired function.
The use of the RAY G2 card is very simple and convenient: the programmable function and
their values are to be set with a couple of buttons. Simply set all the functions on the card to
the valuess corresponding to the desired values and load the settings to the ESC. Program-
ming your ESC with the RAY G2 Card is a breeze!
1. Enter program mode
1) Switch on transmitter, move throttle stick to top position, con-
nect the battery pack to ESC
2) Wait for 2 seconds, the motor should emit special tone like
“beep-beep-”
3) Wait for another 5 seconds, special tone like “56712” should
be emitted, which means program mode is entered
2. Select programmable items
After entering program mode, you will hear 8 tones in a loop with the following
sequence. If you move the throttle stick to bottom within 3 seconds after one kind
of tones, this item will be selected.
1. “beep” brake (1 short tone)
2. “beep-beep-” battery type (2 short tone)
3. “beep-beep-beep-” cuto mode (3 short tone)
4. “beep-beep-beep-beep-” cuto threshold (4 short tone)
5. “beep-----” startup mode (1 long tone)
6. “beep-----beep-” timing (1 long 1 short)
7. “beep-----beep-beep-” set all to default (1 long 2 short)
8. “beep-----beep-----” exit (2 long tone )
Note: 1 long “beep-----” = 5 short “beep-”
3. Set item value (Programmable value)
You will hear several tones in loop. Set the value matching to a tone by moving throttle stick to top when you
hear the tone, then a special tone “1515” emits, means the value is set and saved. (Keeping the throttle stick
at top, you will go back to Step 2 and you can select other items; or moving the stick to bottom within 2 seconds
will exit program mode directly).
Function Tones “beep-”
1 short tone
“beep-beep-”
2 short tones
“beep-beep-beep”
3 short tones
1. Brake OFF ON
2. Battery Type Li-xx Ni-xx
3. Cut O Type Soft-Cut Cut-O
4. Cut O Voltage Low Middle High
5. Start Mode Normal Soft Very Soft
6. Timing Mode Low Middle High
4. Exit program mode
There are 2 ways to exit program
mode:
1. In step 3, after special tone
“1515”, please move throttle
stick to the bottom position
within 2 seconds.
2. In step 2, after tone “beep-----
beep-----”(that is: The item #8),
move throttle stick to bottom
within 3 seconds.
Entering the programming mode
Note: Make sure the throttle channel EPA is set to -100% when the throttle
stick is at the bottom and 100% for the top (or the throttle curve 0-100%).
1. Enter program mode
2. Select programmable items
3. Set item’s value (Programmable value)
4. Exit program mode
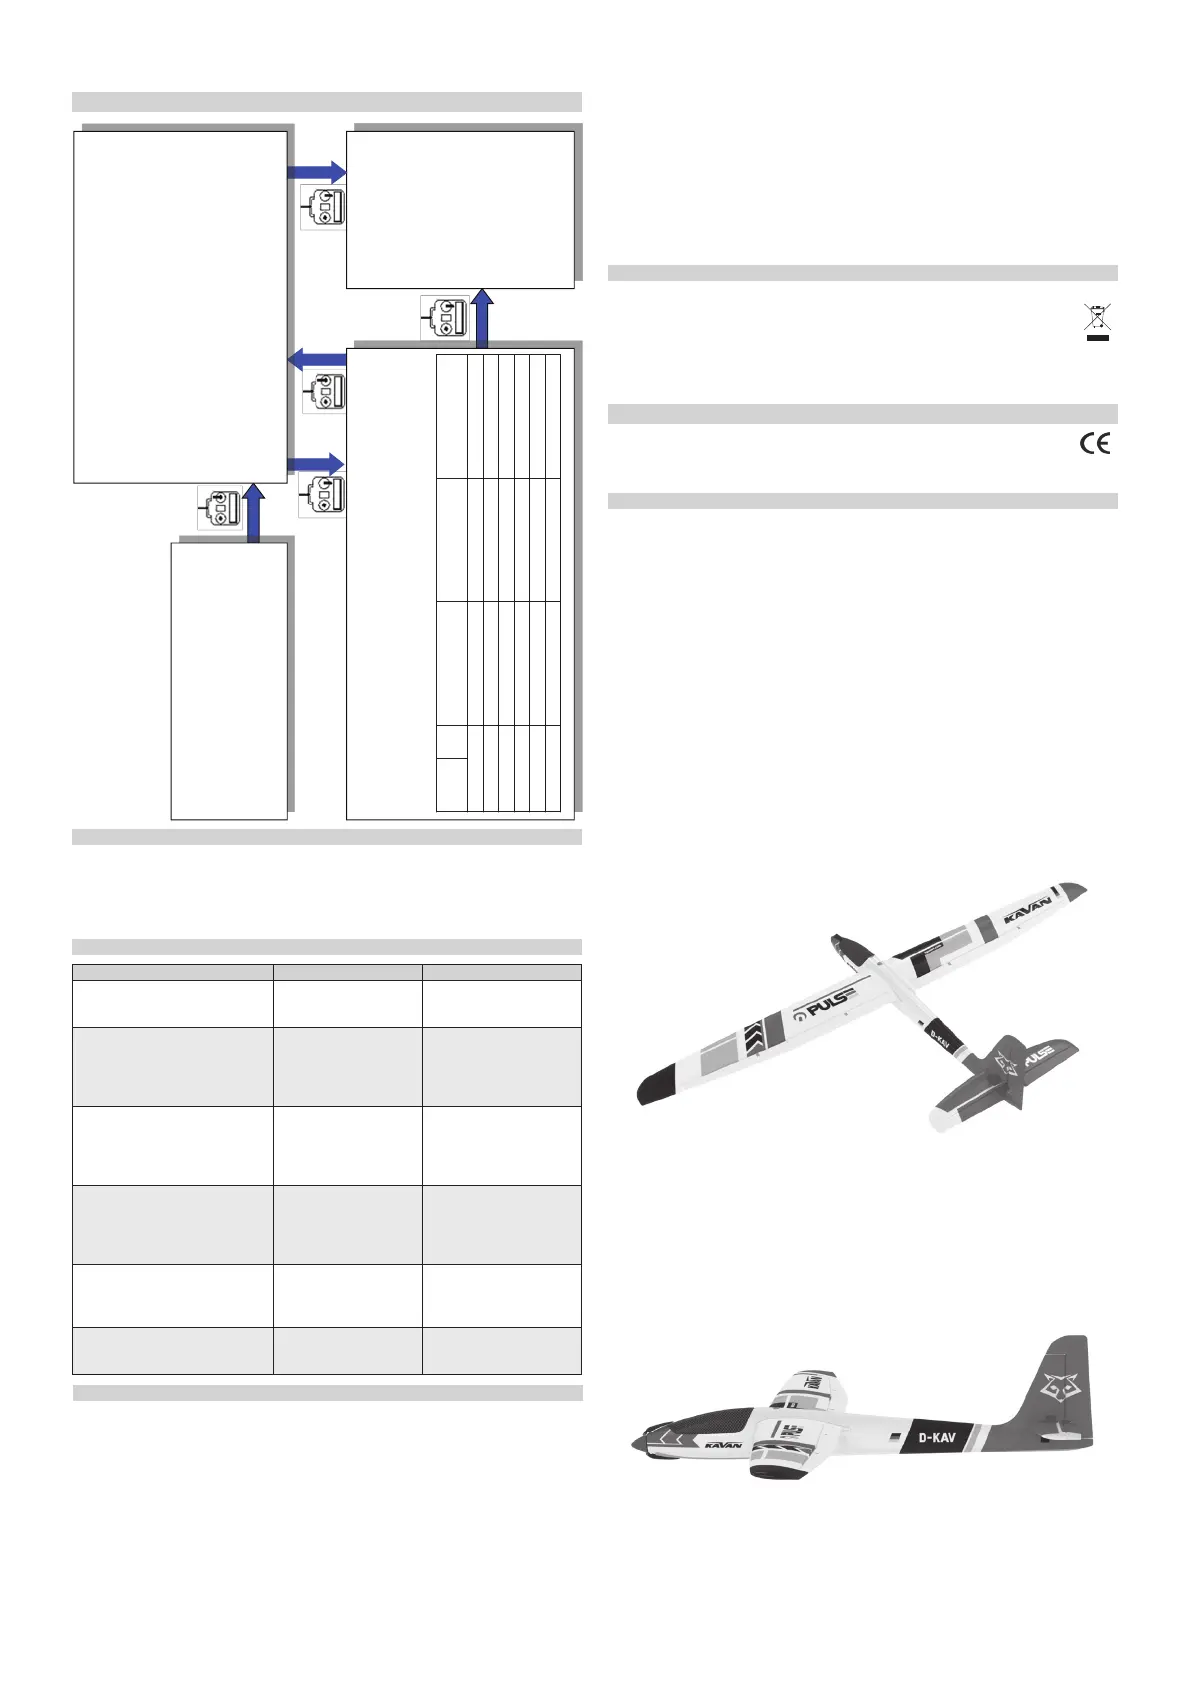
Trouble Possible Reason Solution
After power on, motor does not
work, no sound is emitted.
The connection between
battery pack and ESC is
not correct
Check the power connec-
tion. Replace the connec-
tor.
After power on, motor does not
work, such an alert tone is emitted:
“beep-beep-, beep-beep-,beep-
beep-” (Every “beep-beep-” has a
time interval of about 1 second).
Input voltage is abnor-
mal, too high or too low.
Check the voltage of bat-
tery pack.
After power on, motor does not
work, such an alert tone is emit-
ted: “beep-, beep-, beep- ”(Every
“beep-” has a time interval of
about 2 seconds).
Throttle signal is irregu-
lar.
Check the receiver and
transmitter. Check the ca-
ble of throttle channel.
After power on, motor does not
work, such an alert tone is emit-
ted: “beep-, beep-, beep-” (Every
“beep-” has a time interval of
about 0.25 second).
The throttle stick is not
in the bottom (lowest)
position.
Move the throttle stick to
bottom position
After power on, motor does not
work, a special tone “56712” is
emitted after 2 beep tone (beep-
beep-).
Direction of the throttle
channel is reversed, so
the ESC has entered the
program mode.
Set the direction of throttle
channel correctly.
The motor runs in the opposite
direction.
The connection between
ESC and the motor need
to be changed.
Swap any two wire con-
nections between ESC and
motor.
TROUBLESHOOTING
SAFETY PRECAUTIONS
• Do not install the propeller (xed wing) or drive pinion (helicopter) on the motor when
you test the ESC and motor for the rst time to verify the correct settings on your radio.
Only install your propeller (plane) or pinion (heli) after you have conrmed that the set-
tings on your radio is correct.
• Never use ruptured or punctured battery cells.
• Never use battery packs that are known to overheat.
• Never short circuit battery or motor terminals.
• Always use proper insulation material for cable insulation.
• Always use proper cable connectors.
• Do not exceed the number of cells or servos specied for the ESC.
• Wrong battery polarity will damage the ESC and void the warranty.
• Install the ESC in a suitable location with adequate ventilation for cooling. This ESC has a
built-in over temperature cuto protection feature that will immediately cut power to the
motor once the ESC temperature exceeds the 230° F/ 110° C temperature limit.
Recycling and Waste Disposal Note (European Union)
Electrical/electronic equipment marked with the crossed-out waste bin symbol must not be discarded
in the domestic waste; it should be disposed o via the appropriate specialised disposal system.
In the countries of the EU (European Union) electrical/electronic devices must not be discarded
via the normal domestic waste system (WEEE - Waste of Electrical and Electronic Equipment,
Directive 2002/96/EG). You can take your unwanted equipment to your nearest public collec-
tion point or recycling centre, where it will be disposed of in the proper manner at no charge to you.
By disposing o your old equipment in a responsible manner you make an important contribution to
the safeguarding of the environment!
EU Declaration of Conformity
Hereby, PELIKAN DANIEL declares that these RAY G2 Line brushless electronic speed
controllers are in compliance with the essential requirements as laid down in the EU
directive(s) concerning electro-magnetic compatibility.
The full text of the EU Declaration of Conformity is available at www.pelikandaniel.com/doc/
Guarantee
The PELIKAN DANIEL products are covered by a guarantee which fulls the currently valid legal
requirements in your country. If you wish to make a claim under guarantee, please contact the
retailer from whom you rst purchased the equipment. The guarantee does not cover faults
which were caused in the following ways: crashes, improper use, incorrect connection, reversed
polarity, maintenance work carried out late, incorrectly or not at all, or by unauthorised person-
nel, use of other than genuine PELIKAN DANIEL accessories, modications or repairs which were
not carried out by PELIKAN DANIEL or an authorised PELIKAN DANIEL , accidental or deliberate
damage, defects caused by normal wear and tear, operation outside the Specication, or in con-
junction with equipment made by other manufacturers.
Please be sure to read the appropriate information sheets in the product documentation!
• Use only batteries that are supported by the ESC and ensure the correct polarity before
connecting.
• Switch your transmitter ON rst and ensure the throttle stick is in the minimum position
before connecting the battery pack.
• Never switch your transmitter OFF while the battery is connected to your ESC.
• Only connect your battery pack just before ying and do not leave your battery pack con-
nected after ying.
• Handle your model with extreme care once the battery pack is connected and keep away
from the propeller at all times. Never stand in-line or directly in front of any rotating parts.
• Do not immerse the ESC under water, do not allow it to get wet while powered up.
• Always y at a designated ying site and follow the rules and guidelines set by your mod-
eller’s club.

 Loading...