9
Check point after installation
The wiring is connected properly to
the power supply.
Pemeriksaan selepas pemasangan
Pendawaian bersambung secara
betul kepada bekalan kuasa.
组装后的检验点
电线已正确地连接了电源线。
3
Check point after installation
The Canopy is securely screwed.
Pemeriksaan selepas pemasangan
组装后的检验点
Sengkuap diskru dengan betul.
罩盖牢固地拧紧。
■
Install the Upper Canopy
4
■
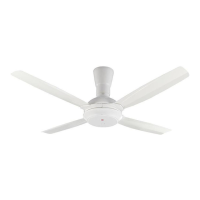
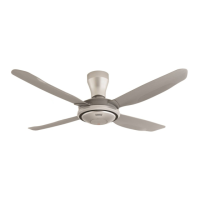
Install the Blades
■
Memasang Bilah Kipas
■
安装扇翼
■
Memasang Sengkuap Atas
■
安装上罩盖
1
Remove the Screws (2 pieces)
i
from Upper Canopy
A
.
2
Take the Canopy (2 pieces) and clip
it until the “click” sound is heard.
3
Check the gap
j
between the
Canopy and ceiling is approximately
5 mm. Fix the Screw
s
i
into the
Upper Canopy
A
and tighten it.
1
拆除上罩盖
A
上的螺丝
(2
枚
)
i
。
2
依图拆除罩盖(2 片)及按直至听到
“滴答”一声。
3
检查
罩盖
及
天花板
之间的差距
j
大约
为 5 毫米。 將螺丝
i
安装至
上
罩盖
A
并锁紧。
1
Remove the supplied Screw
k
.
2
Assemble the Blade Assembly
C
towards the Hook
l
.
1
Tanggalkan Skru
k
yang dibekalkan.
2
Pasang Bilah Kipas
C
pada Cangkuk
l
.
1
拆除配备螺丝
k
。
2
安装扇翼
组件
C
对着挂钩
l
。
1
Tanggalkan Skru
(2 biji)
i
daripada
Sengkuap Atas
A
.
2
Ambil Sengkuap (2 unit) dan
klipkannya sehingga mendengar
bunyi “klik”.
3
Periksa jarak
j
antara Sengkuap
dengan siling haruslah kira-kira
5 mm. Pasangkan Skru
i
pada
Sengkuap Atas
A
dan ketatkannya.
Ceiling /
Siling /
天花板
3
A
i
21
i
j
Approximately 5 mm /
Kira-kira 5 mm / 大约为 5 毫米
■
Attention:
• Do not assemble the Canopy in
opposite direction.
Can cause abnormal noise.
■
Perhatian:
• Jangan pasang Sengkuap secara
posisi terbalik.
Boleh menyebabkan bunyi luar biasa.
■
留意:
• 请勿将罩盖装反方向安装。
可引起异响。
l
C
C
1
k
2
How to installCara pemasangan
如何安装