BU_[LT..It; BUTTONIIOLL COt;'I_OL
..... t, j
REVISED Sic i 1 1('
......... ,,Q, /_. _l__
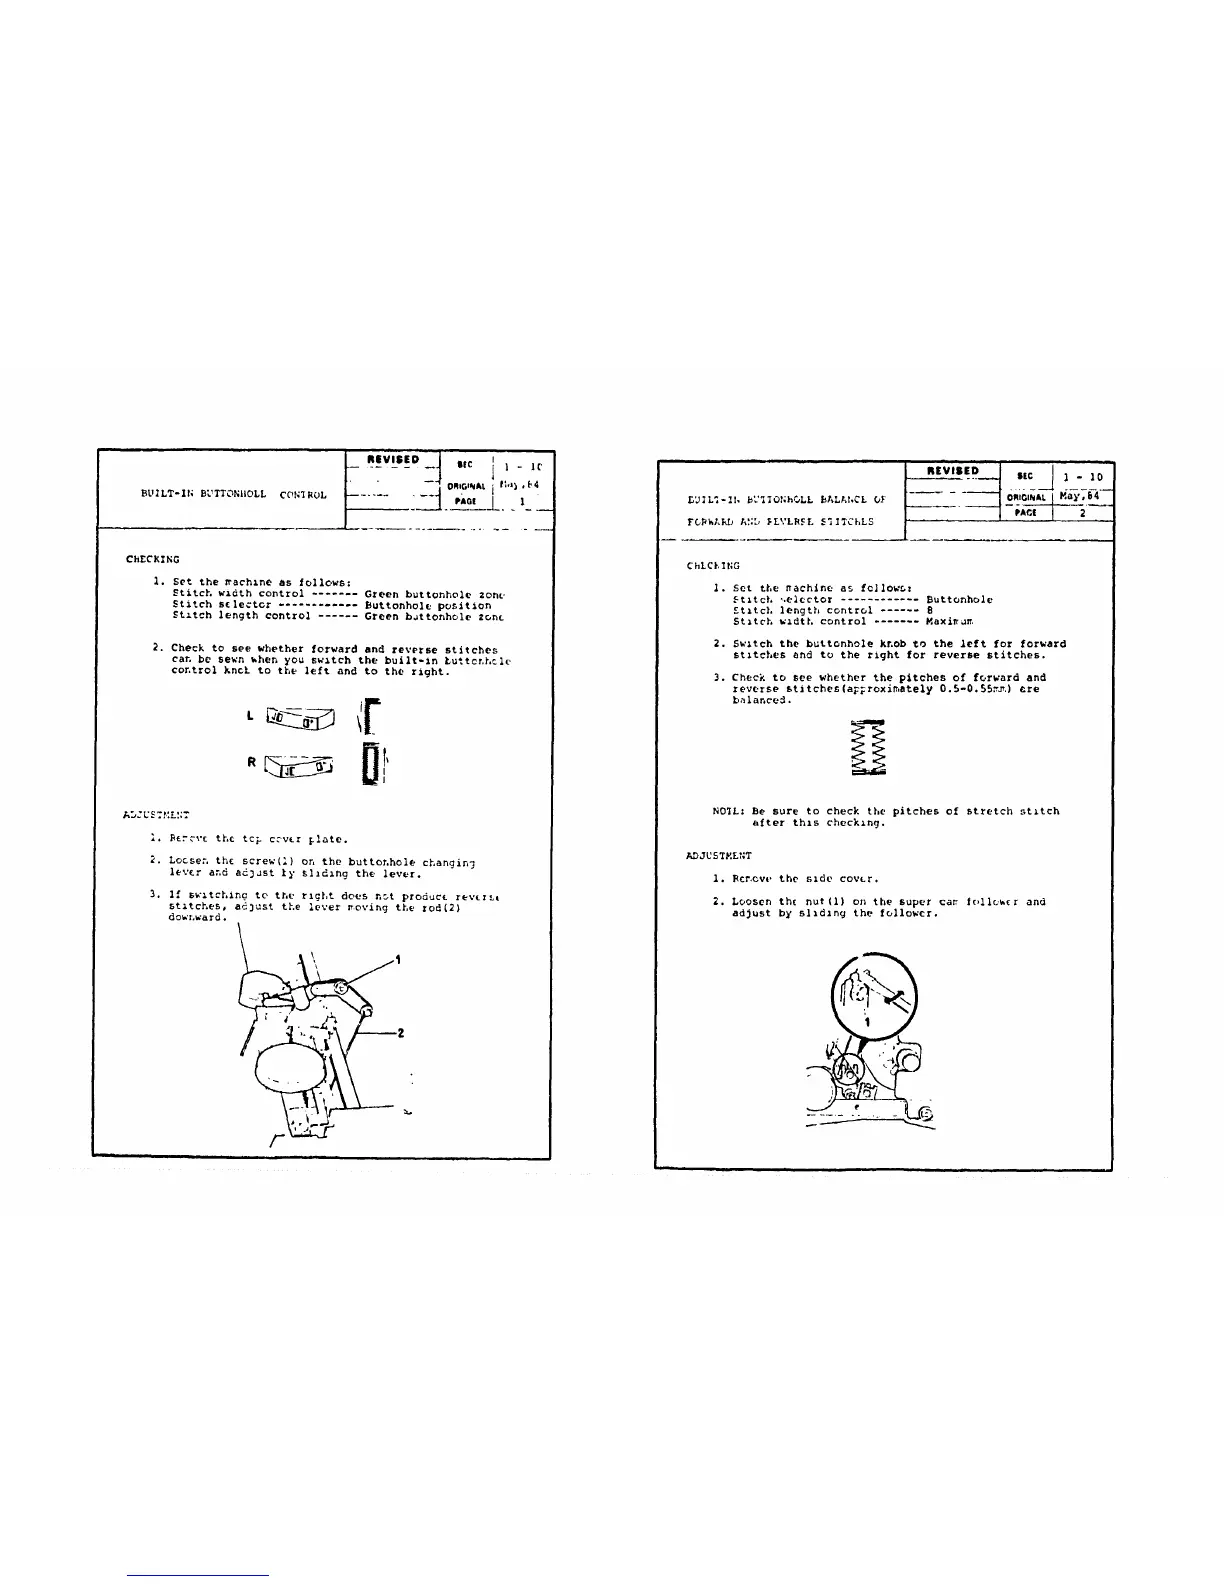
ChECK2NG
1. Set the _ach_ne as follows:
Stitch wzdth control ....... Green buttonhole zone
Stitch selector ............ Buttonhole position
$tztch length control ...... Green b_ttonhole zonL
2. Check to see whether forward and reverse stitches
can be sewn _hen you swltch the built-ln _u%tor.L%le
control knch to the left and to the right.
Aw, U_ ,. _.,,
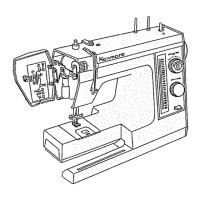
I. _zc_'c the top c?vLr _late.
2. Lo&ser, the screw(1) on the buttonhole changing
lever and adD_st _y s1_d_ng the lever.
3. If sw_tchlng te th_ rlgLt does nDt produc_ revtrLt
stitches, adjust the lever _oving the god{2)
downward.
2
%.
I I I i I
F
II | Im
BUIL:-II, b_'I;O,.h.,LL bALA_,Ci OF
FGPhAKD A.._, _LVL;LCL S'_ITChLS
| PA(_! 2 ..
ChLCt, ING
3.
Set the nachlne as fellows:
St;teL ,.elector ............ Buttonhole
£tltch length control ...... 8
Stitch w_dth control ....... Maxi_
Sw;tch the buttonhole knob go the left for forward
st;tches and to the tight for reverse stitches•
Check to See whether the pitches of forward and
reverse st_tches(a_;roxlmste_¥ 0.5-0.55r_.) are
balance_.
NO_L: Be sure to check the pitches of stretch stitch
after thls checking.
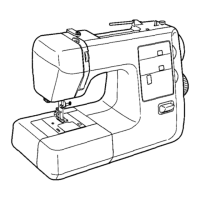
ADJUSTMENT
i. Rot.cut, the slde covtr.
2. Loosen th( nut{l) on the super ca_ follo_(r and
adjust by sliding the follower.
I
I ii i i i iml ii
 Loading...