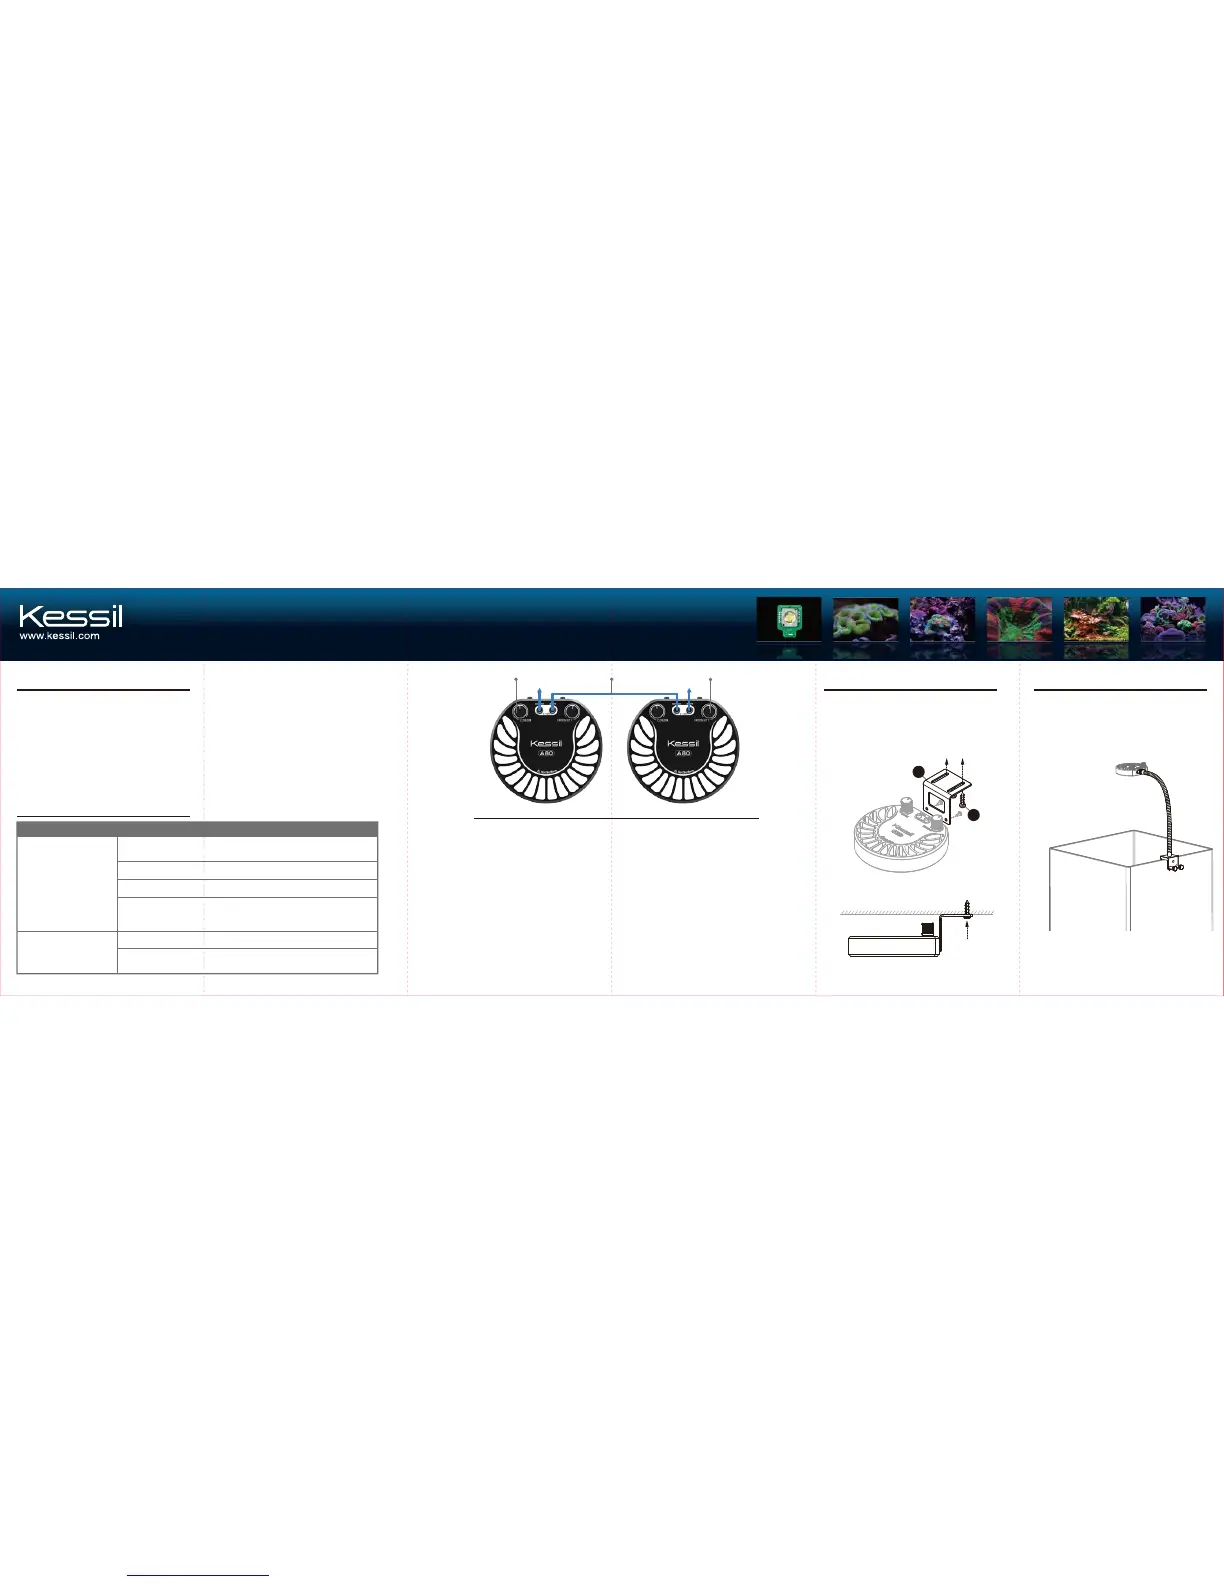
To next light Input from Controller
Intensity DialUnit Link Cable
Spectrum Tuning Dial
TROUBLESHOOTING GUIDE
Problem
Light doesn’t turn ON
Unit is flickering
Solution
Make sure the unit is connected to the power supply and the power
supply is connected to an outlet with the correct specifications.
Make sure you are using a power supply with the correct specifications.
Make sure to operate the unit in a room at 104°F / 40°C or lower to
prevent overheating.
Make sure electrical power is available to the AC outlet being used.
Make sure the power supply has the right specifications.
Make sure the device is operating within the specified operating
temperature range (below 104°F or 40°C). If the unit overheats, it will
automatically shut down.
Controllability
Multiple A80 lights can be controlled either manually or by
a single external 0-10V controller.
MAINTENANCE
1. Keep the unit clear of dust. To clean, unplug the unit and use a clean, dry cloth to
remove accumulated dust from between each Heat Sink Fin (D).
2. Keep the Lens (E) clean. If the lens becomes contaminated with water, dust, or other
particles, unplug the unit and clean the lens with isopropyl alcohol. Wet a cotton swab
or a napkin in isopropyl alcohol, gently wipe the surface of the lens and let dry.
CABLES
Available cables:
• Control Cable (Please consult kessil.com
for list of available cables and compatible
controllers).
• Unit Link Cable (male/male with 3.5 mm
stereo jack).
• Control Extension Cable (6' male/female
with 3.5 mm stereo jack).
STARTING A CHAIN
Connect two or more lights with the Unit
Link Cable, as shown above.
CONTROL METHODS
There are two ways to control a chain of lights:
1. With an external controller.
2. Without external controller (Tuning Dials on
the first light control all other lights in chain).
Each light has its own independent power
supply. Any number of lights can be daisy
chained together without degradation of
signal. However, in longer chains a slight
delay in response may occur. Manual tuning
is disabled when input cable is plugged in.
Optional Accessories
For other accessories, please visit www.kessil.com.
Remove the two screws on the back of A80,
and use them to secure Top Mounting Adapter
(H) to A80, then use two wood screws (I) to
mount them.
Top Mounting Adapter
A80 Gooseneck
(L=10 in)
H
I

 Loading...