Do you have a question about the Keter PLANET UTILITY and is the answer not in the manual?
Connect A2E and A3E parts to the A/C1E base for initial assembly.
Attach A5E and A4E panels to the base, ensuring they click into place.
Connect the B8E component to the assembled base structure.
Attach the B6E part, ensuring a secure click and noting the warning symbol.
Connect the A/C3E component to the partially assembled unit.
Attach the B1E side panels to the base structure.
Connect B2E components to the B3E frame for the support structure.
Connect the assembled support frame into the main unit.
Attach B5E to B7E, paying attention to the warning symbol.
Insert and click the B7E vertical supports into place.
Attach the B1E components, likely for door hinges, to the structure.
Fasten B4E brackets using screws, following the numbered steps.
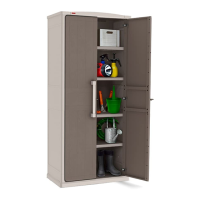
Insert D1E shelf panels and D2E supports into the unit.
Secure D3E and D4E fasteners for shelves, observing safety warnings.
Connect the vertical structural components together.
Fasten internal connectors using the indicated steps.
Attach B6E and A/C1E components to the top of the unit.
Attach C2E, C3E, C4E, and C5E parts to the base and top of the structure.
Use screws to firmly secure all major structural components.
Attach E3E components, likely for shelf support bases.
Connect E2E parts to E3E bases to create shelf mounting points.
Attach D10E and D9E components, likely for door operation.
| Brand | Keter |
|---|---|
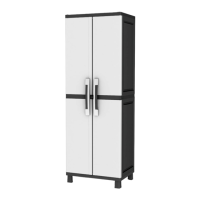
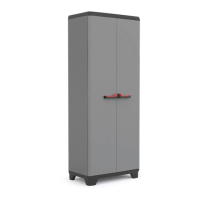
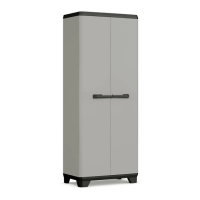
| Model | PLANET UTILITY |
| Category | Indoor Furnishing |
| Language | English |