Do you have a question about the Keter SOTRE-IT-OUT MIDI and is the answer not in the manual?
Lists all necessary tools for assembling the Keter shed.
Provides essential instructions and checks to perform before starting the assembly process.
Explains the meaning of code letters imprinted on each part for easy identification.
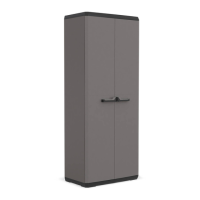
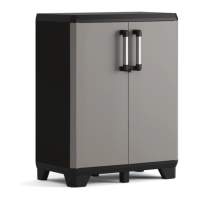
Visual guide to all shed parts, showing each component and its quantity.
Connects the base panel (SMF) with side panels (SMSL, SMSR) via click mechanism.
Secures the floor panels (SMB) to the base using screws (SC18).
Slots the side wall panels (SMB) into the base and existing side structures.
Attaches roof support parts (SMR, SMH) using screws (SC18).
Secures the front roof panel (SMR+SMH) to the shed structure.
Fastens the back panels of the shed using screws (SC18).
Installs door hinges and attaches the doors using screws (SC18).
Attaches the door handles (SMDR, WLBS, WLBL) to the shed doors.
Secures the door frame components using screws (SC18).
Mounts the left (SMDL) and right (SMDR) main doors onto the shed.
Installs latches (STHA) and secures them with screws (SC18).
Guide on installing optional wooden planks as shelves and their weight capacity.
Notes that a lock is an optional accessory and is not included with the shed.
Provides instructions on how to secure the shed to the ground for stability.
Covers routine cleaning, maintenance, and proper usage recommendations for the shed.
Outlines essential safety measures for assembly, handling, and use of the shed.
Details the warranty period, covered defects, and specific exclusions.
Explains how to submit a claim, required documentation, and the resolution process.
Instructions for users reporting missing or broken parts, directing to customer service.
Provides regional contact phone numbers, emails, and website for customer service.