Do you have a question about the Keurig K-ICED and is the answer not in the manual?
Connect the brewer to power and prepare the drip tray.
Clean and fill the water reservoir for initial use.
Prepare the brewer by lifting and lowering the handle.
Perform a one-time cleansing brew for setup.
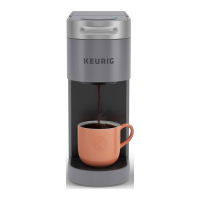
Instructions for brewing a hot beverage using a K-Cup pod.
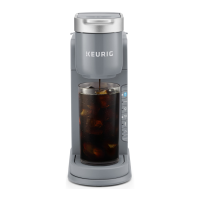
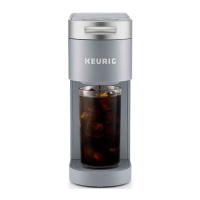
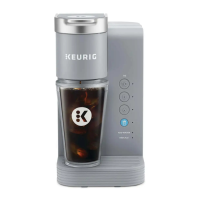
Instructions for brewing iced beverages with ice.
Brews iced coffee by adjusting temperature for less melt.
Enhances boldness and intensity of the brewed coffee.
Accommodates travel mugs up to 7.25 inches tall.
Optimizes brewer performance at higher elevations.
Clean brewer exterior with a damp, soapy cloth.
Periodically clean reservoir with a damp, lint-free cloth.
Empty and clean the drip tray to prevent overflow.
Remove and clean the K-Cup pod holder from coffee grounds.
Wash the funnel regularly for a fresh beverage experience.
Use a paper clip to clear coffee grounds from the exit needle.
Clear coffee grounds from the entrance needle on the lid.
Add descaling solution and water to the reservoir.
Activate and run the descaling process.
Perform a rinse cycle to remove descaling solution.
Address grounds by cleaning needles and running brews.
Check water level, reservoir seating, or descaling needs.
Troubleshoot partial brews due to ice melt or clogs.
Resolve no power or auto-shutoff problems.
Details of the limited warranty coverage.
Exclusions from the limited warranty coverage.
Includes disclaimers of implied warranties.
Steps to follow for warranty service.
| Water Reservoir Capacity | 42 oz |
|---|---|
| Iced Coffee Function | Yes |
| Material | Plastic |
| Wattage | 1470 W |
| Voltage | 120 V |
| Product Type | Single Serve Coffee Maker |
| Compatible Pods | K-Cup Pods |
| Removable Drip Tray | Yes |
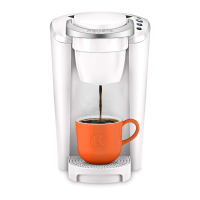
| Model | K-ICED |
| Brew Sizes | 8, 10, 12 oz |
| Auto Off | Yes |
| Color | White |
| Brewing Options | Iced Coffee, Hot Coffee |
| Color Options | Black |