5
4. System startup and shutdown
(1) Start up the system
(a) Connect the instrument main unit and the measuring computer with a USB cable.
(b) Turn on the power switch of the main unit. (Push the "┃" side of the locker switch in)
(c) Turn on the measuring computer.
(d) When the OS of the measurement computer starts, start the measurement program (76 GHz RCSimaging.exe).
(CAUTION: Start up the measurement program after about 10 seconds elapsed after turning on the power of the unit.)
(2) System termination
(a) Exit the measurement program.
(b) Shut down the measuring computer and turn off the power.
(c) Turn off the main unit's power switch. (Push in the "○" side of the locker switch)
5. Preparation for measurement
(1) Installation of the main unit
Install the unit in a horizontal position.
Point the radome side (resin side) of the main unit toward the object to be measured.
(2) System initialization
When you start the measurement program, initialization processing of the main unit will be performed automatically.
The initialization process takes about 10 to 20 seconds, during which the wording "On Standby" appears in the message
display area. Also, since the key operation of the measurement program does not work, please wait until the end.
When initialization processing is completed, the word "Standby OK" is displayed in the message display area.
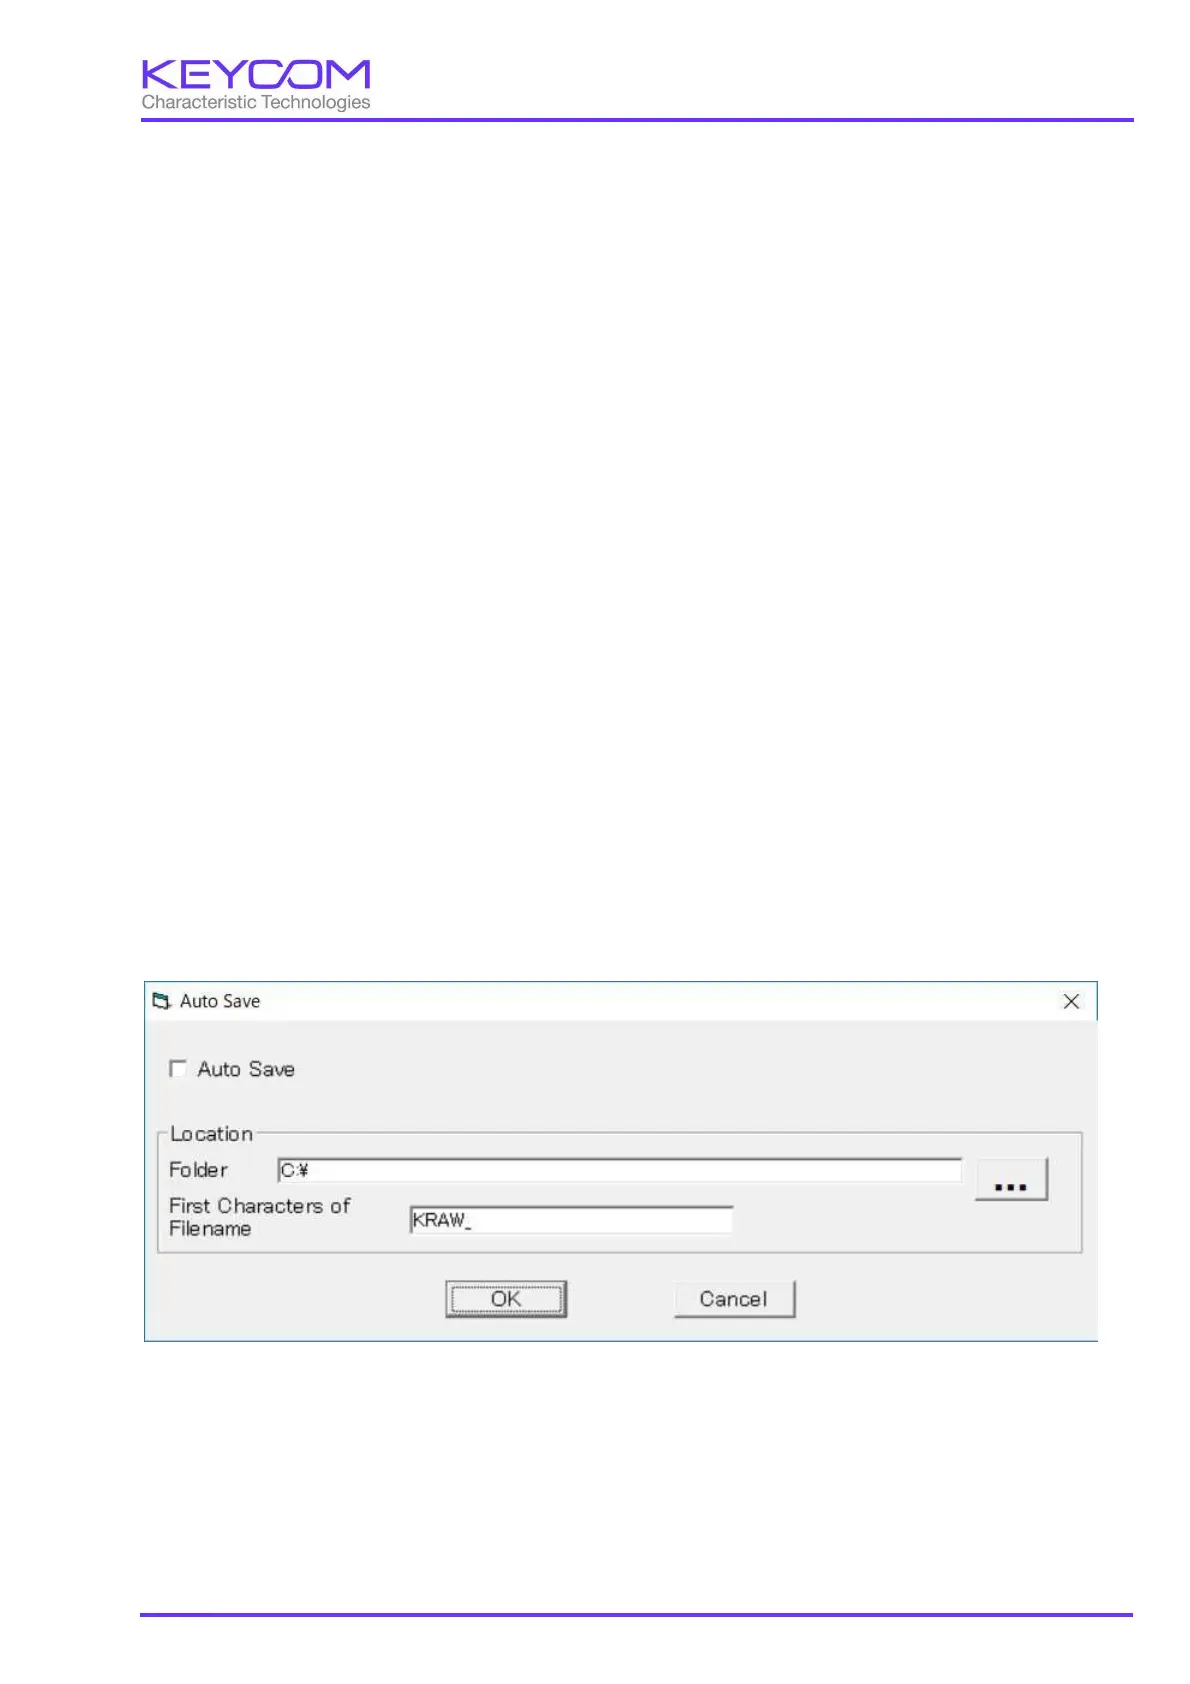
(3) Setting of automatic saving of csv file (Please refer to Appendix 1 for explanation of csv file.)
If you select "Auto save" from the "Settings" menu on the main screen, the following screen will be displayed.
① Check to save the data to a file while measuring.
② Specify the folder to save measurement data.
③ Specify a fixed character string to be added to the beginning of the file. The date and time (YYYYMMDDhhmmdd)
automatically appends this fixed character string to the file name, and the extension is csv.
①
②
③
 Loading...