2. Remove factory speakers.
Remove the factory speaker connectors.
Retain the 3 factory screws.
Remove the factory speakers from the factory angle mount
(be
careful not to damage the angle mount).
[ viewed from front
of
bike]
factory speaker location
~~~
factory speaker connectors
3.
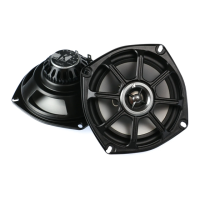
Prepare PS5250 for installation.
Install the KICKER badges onto the grilles; bend the rear posts to secure them
in
place,
For Harley "batwing" installations, replace the factory grilles with
KICKER
grilles.
For
all
other Harley applications, use the factory grilles
only.
KICKER grille
factory screws x 3
install short screw at
bottom
KICKER PS5250
factory angle
mount
+-
--
recommended
badge location
factory grille
(remove for "batwing"
only)
4. Install PS5250
in
factory location.
Use the 3 factory screws,
Connect the factory speaker connectors to the PS5250 terminals.
Re-install your bike's front fairing
in
the reverse order you disassembled
it.
3

 Loading...