6
Introduction Daily use
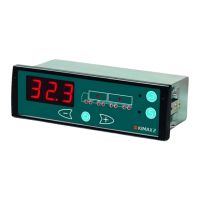
KIMAX2
Menu
Configuration
Calibration
Protecting
calibration
Electrical
installation
Sensor
installation
Additional
information
Daily use
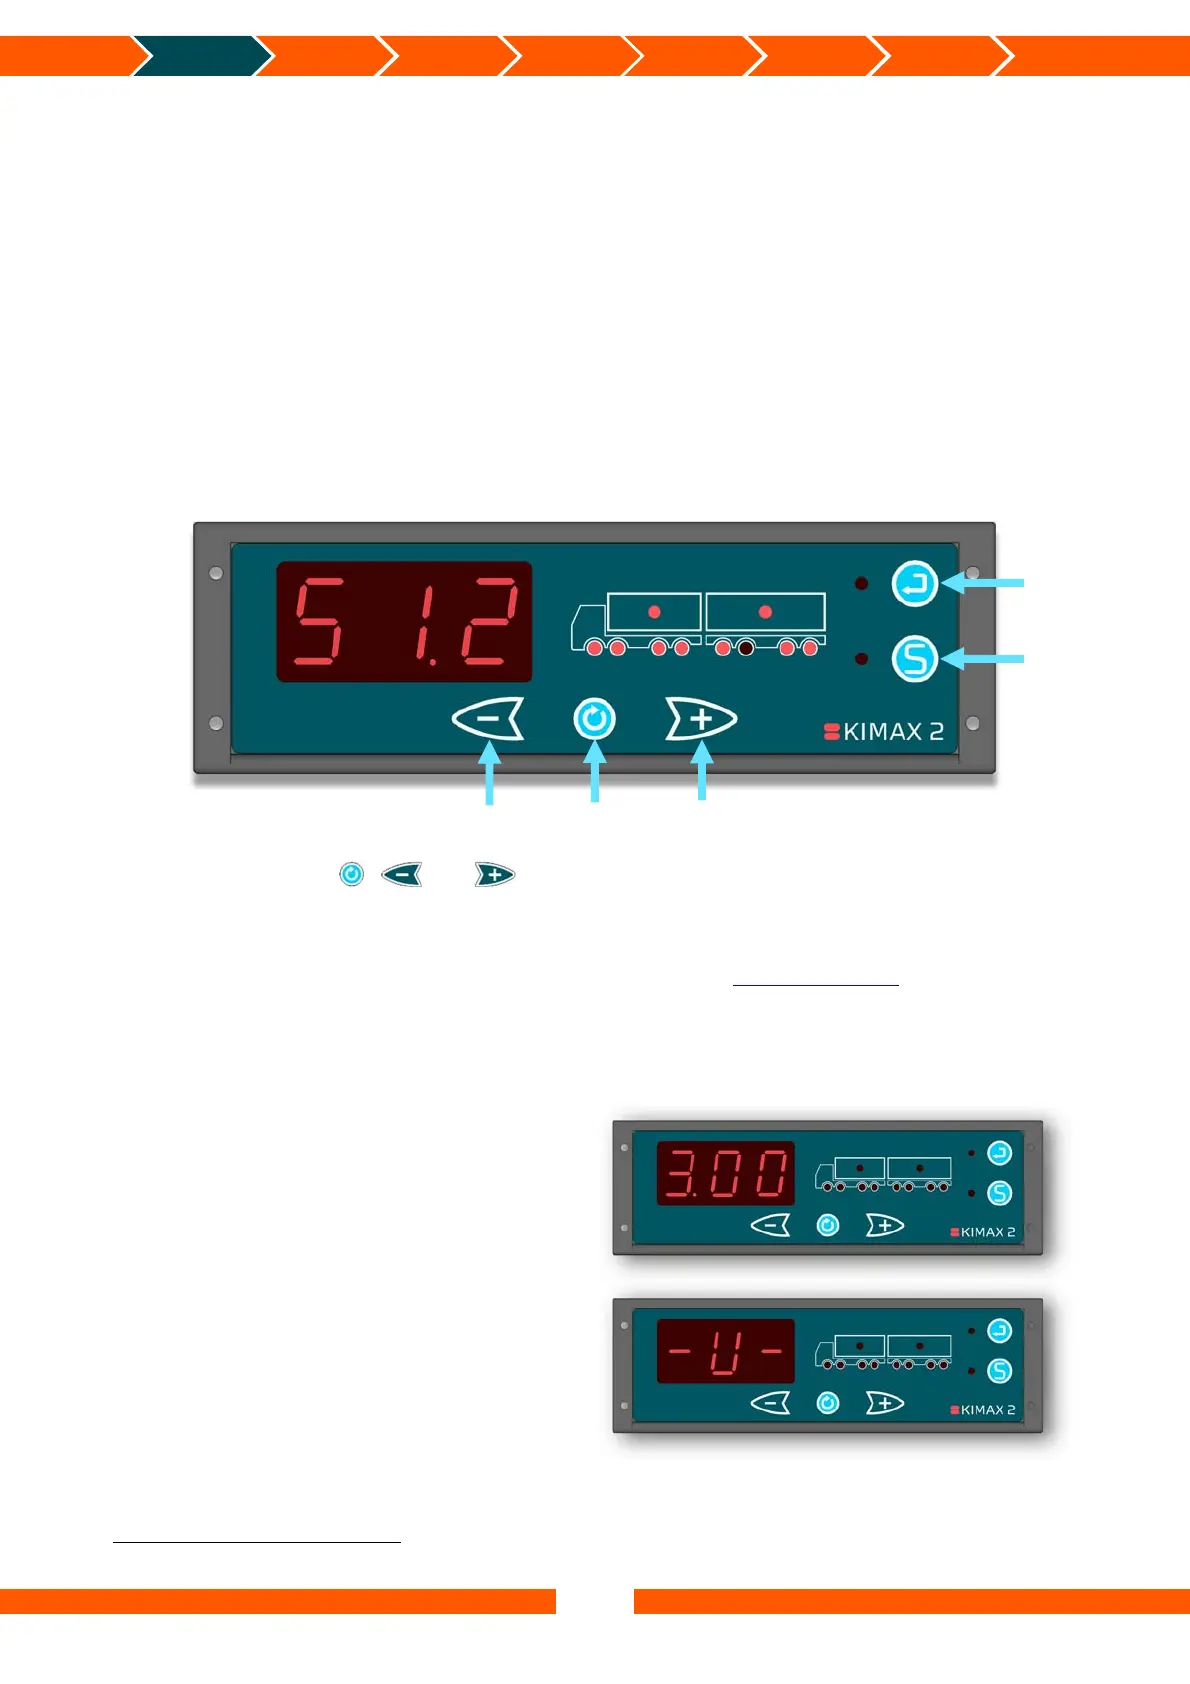
When you switch on your Kimax 2 Radio, it will show the total weight of the entire vehicle in
the 3-digit display measured in tons.
The active axle LEDs as well as the load LED are on.
When a trailer is connected to your vehicle, the active axle LEDs and load LED for the trailer is
turned on too
1
.
When you disconnect the trailer from your vehicle, the axle and load indications for the trailer
disappear after a few seconds, as well as the displayed weight is reduced by the weight of the
trailer.
By use of the buttons , and , you can display the individual weight of each axle, the
load you are carrying and the total weight of your vehicle.
The following pages will give a short walk through the buttons and show you the easy way of
reading and printing values from your Kimax 2 Radio. Visit www.kimax.com, and navigate to
Support and choose Training center. There you can try the Kimax 2 emulators to experience a
live test of how you can navigate between the weighing values.
Turning on the Kimax 2 Radio
When you switch on the power for your
Kimax 2 Radio, you read a 3-digit number in
the display for about 3 seconds. The number
equals the software version of your
instrument.
Next read out is an indication of the
protection of the setup and calibration of
your instrument. The writing - L- indicates
that the instrument is protected against
changing the setup and calibration, while
-U- means that your unit is unlocked and
the calibration and setup can be changed.
1
Only if a Kimax 2 Sensor is installed on the connected trailer
Minus
Enter
Save
Scroll
Plus
 Loading...