Assembly and Operation:
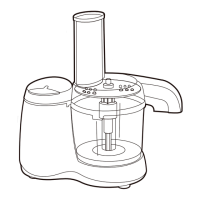
1. Place the container onto the base and lock in place by turning container clockwise.
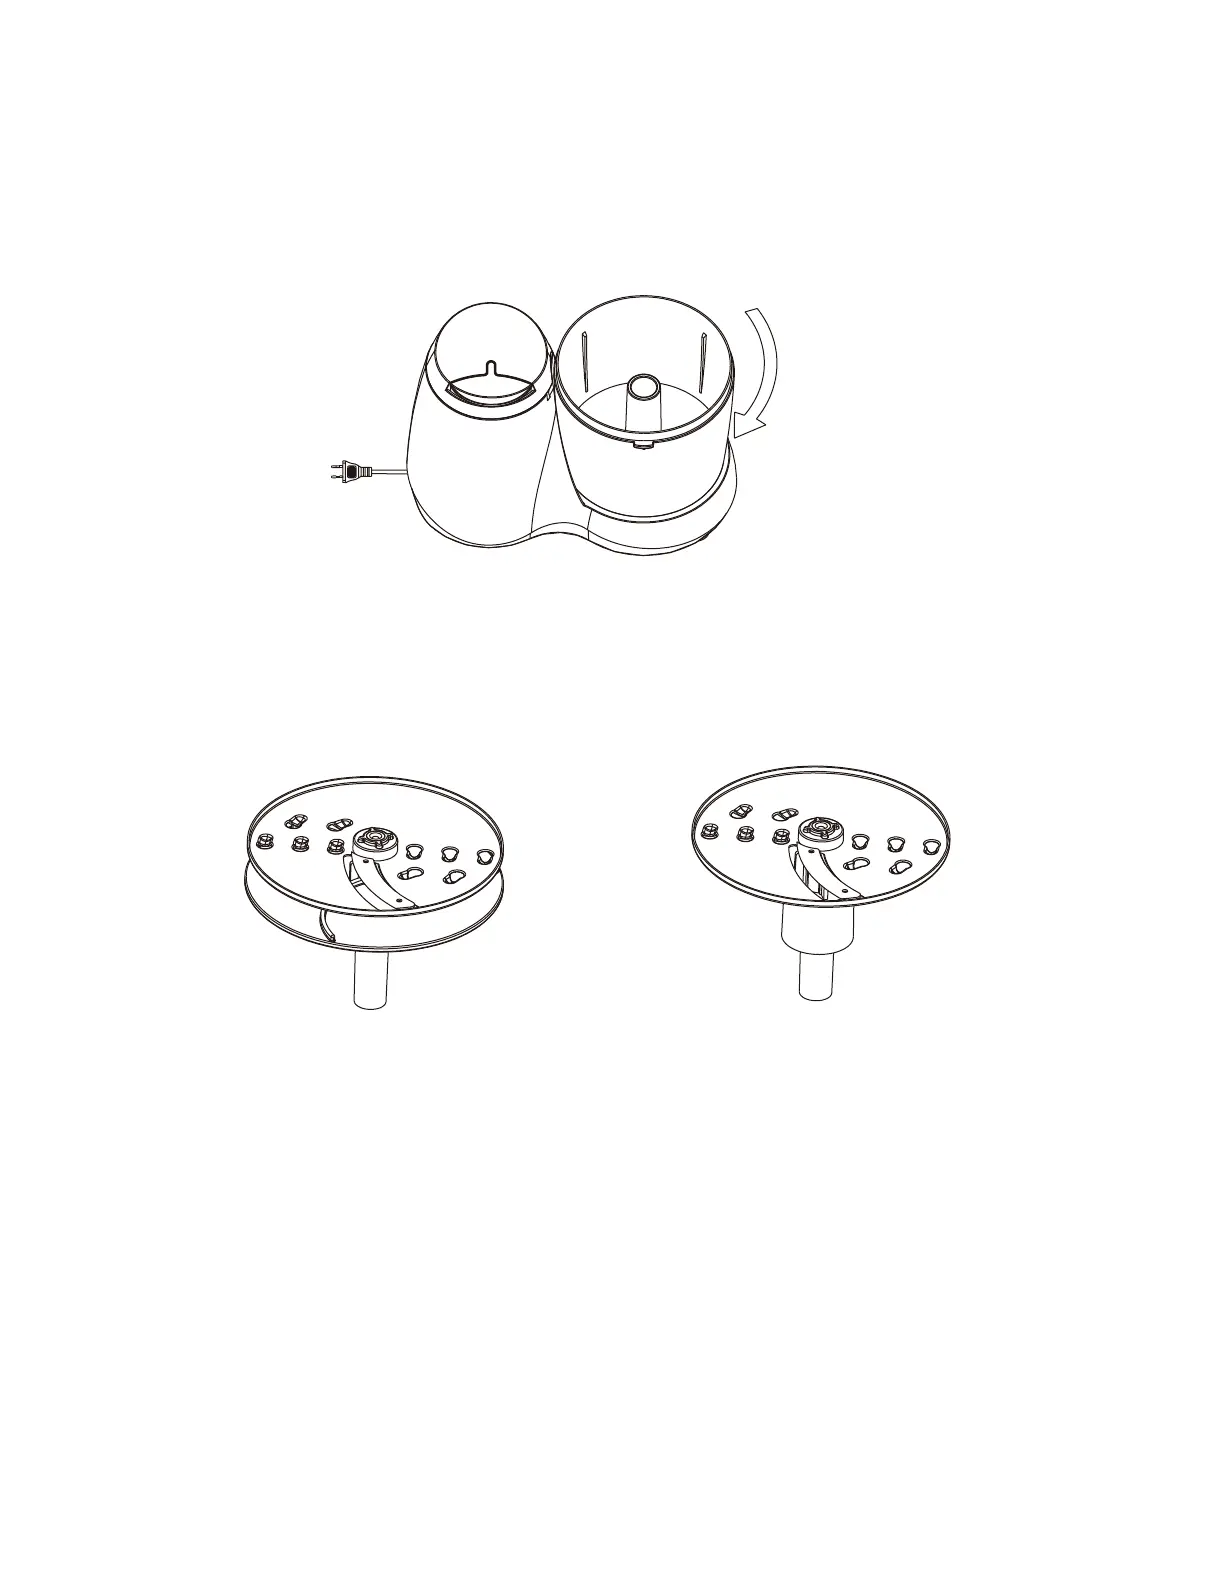
2. To assemble for slicing or shredding (Page 3, Diagram A): Fit the Transfer Disc (4) and Disc Blade (3)
together and attach using the Connecting Set (7).
Notes:
The Disk Blade has two configurations - positive and negative. Blade facing up
(positive) is the slicing position; Blade facing down (negative) is for shredding.
When the Transfer Disk or cutter assembly is used, food will be exported through
the chute in the Cover (2). Make sure you have a container positioned below the
chute to catch the food.
When the Transfer Disk is not used with the cutter assembly, chopped food will be
automatically stored in the container.
- 4 -