25
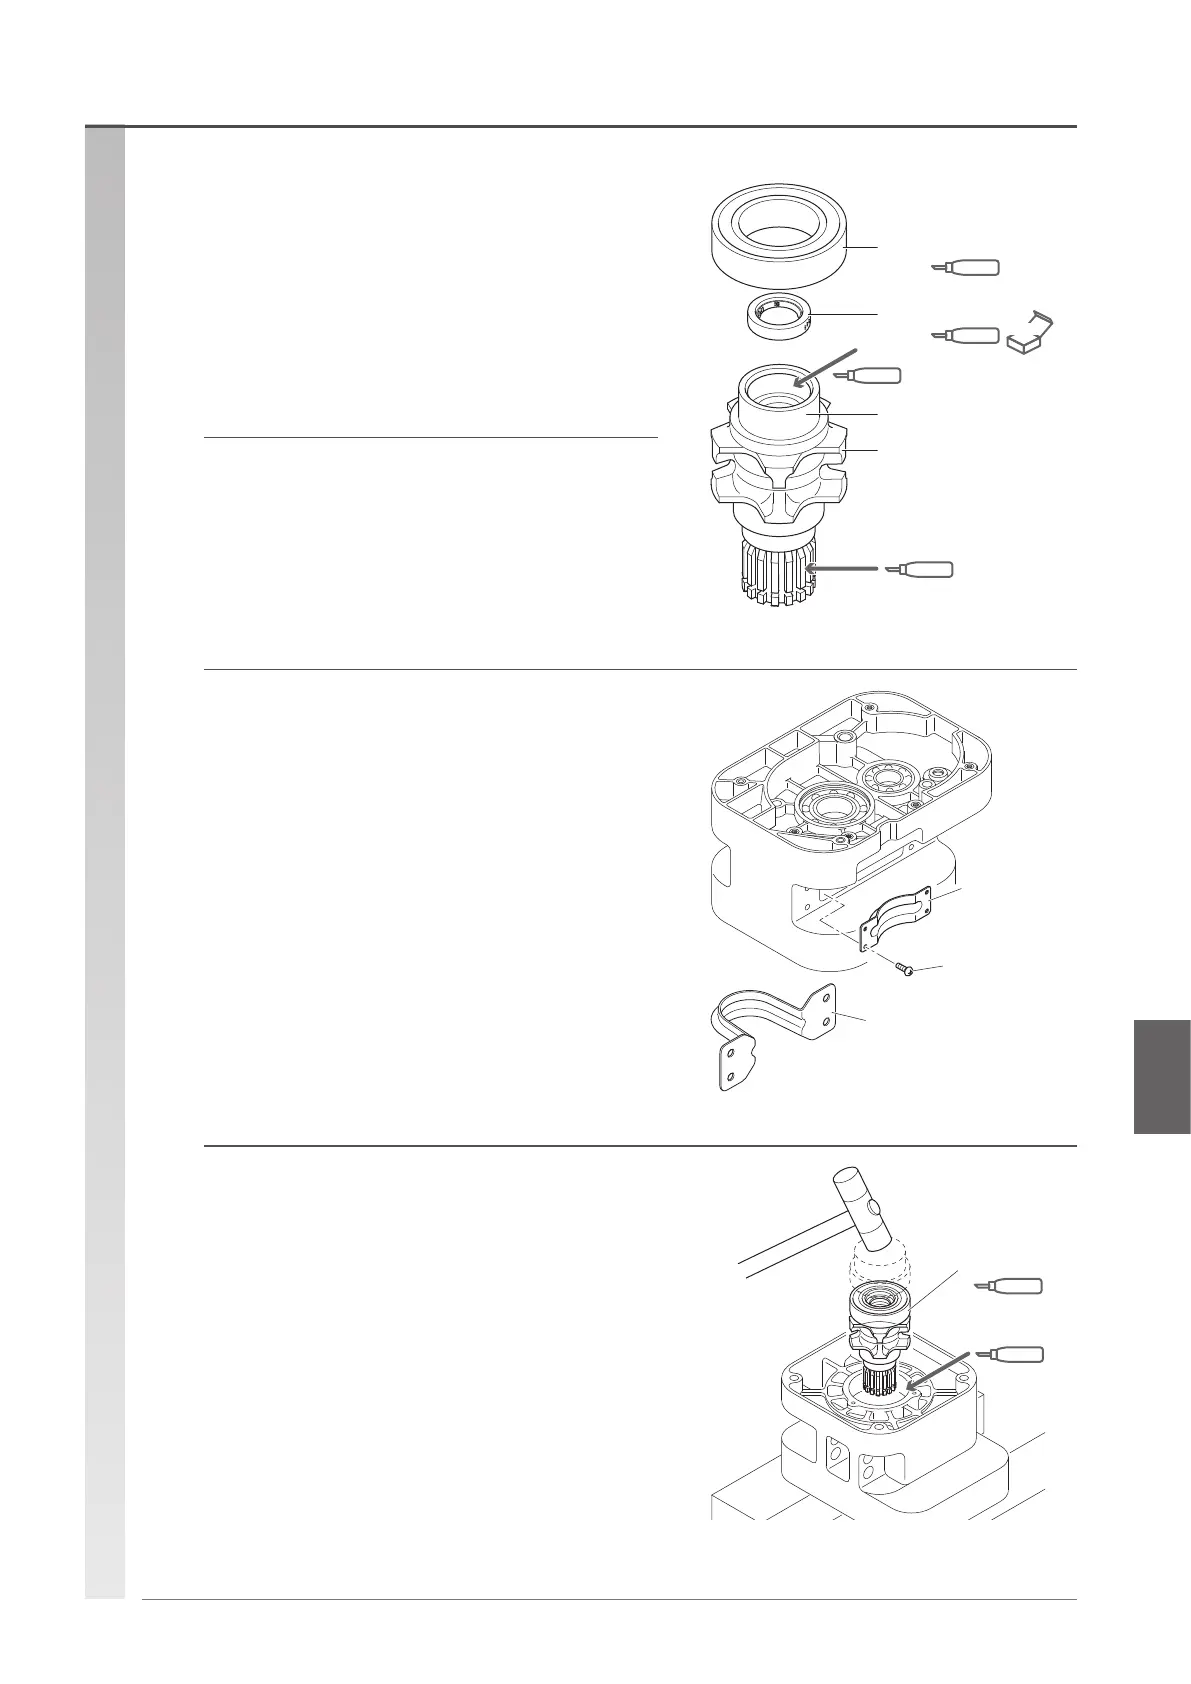
(6) Insert the load sheave to the body.
•
Place the body on a wooden block, and insert the load
sheave fully by using a proper jig not to hit the bearing. Be
careful not to scratch the oil seal during operation.
•
If it is difcult to insert the bearing, hammer it gently with a
plastic hammer.
•
For Basic main bodies B and C, Chain Guide B is not
xed. Be careful not to damage the load sheave and Chain
Guide B.
(5) Install Chain Guide B to the body securely.
•
Use a Pan-head machine screw to install Basic main
bodies D, E, and F.
•
Basic main bodies B and C are fastened together with
Chain Guide A, so no Pan-head machine screw is
required.
(3) Install the oil seal with machine oil applied
to the load sheave securely.
•
Install it fully so that the at part faces the direction as
shown in the gure.
•
After installation, apply additional oil on the lip
circumference.
(4) Install the bearing to the load sheave.
Reassembly procedure Assembling the body
(To be continued)
Chain
Guide B
Pan-head
machine screw
500kg or less
Chain Guide B
Bearing
Oil
Oil
Bearing installation part
Oil seal
Load sheave
NEW
Oil
Oil
Bearing
Oil
Oil

 Loading...