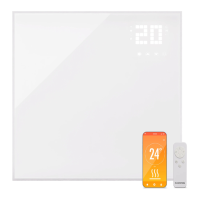
17
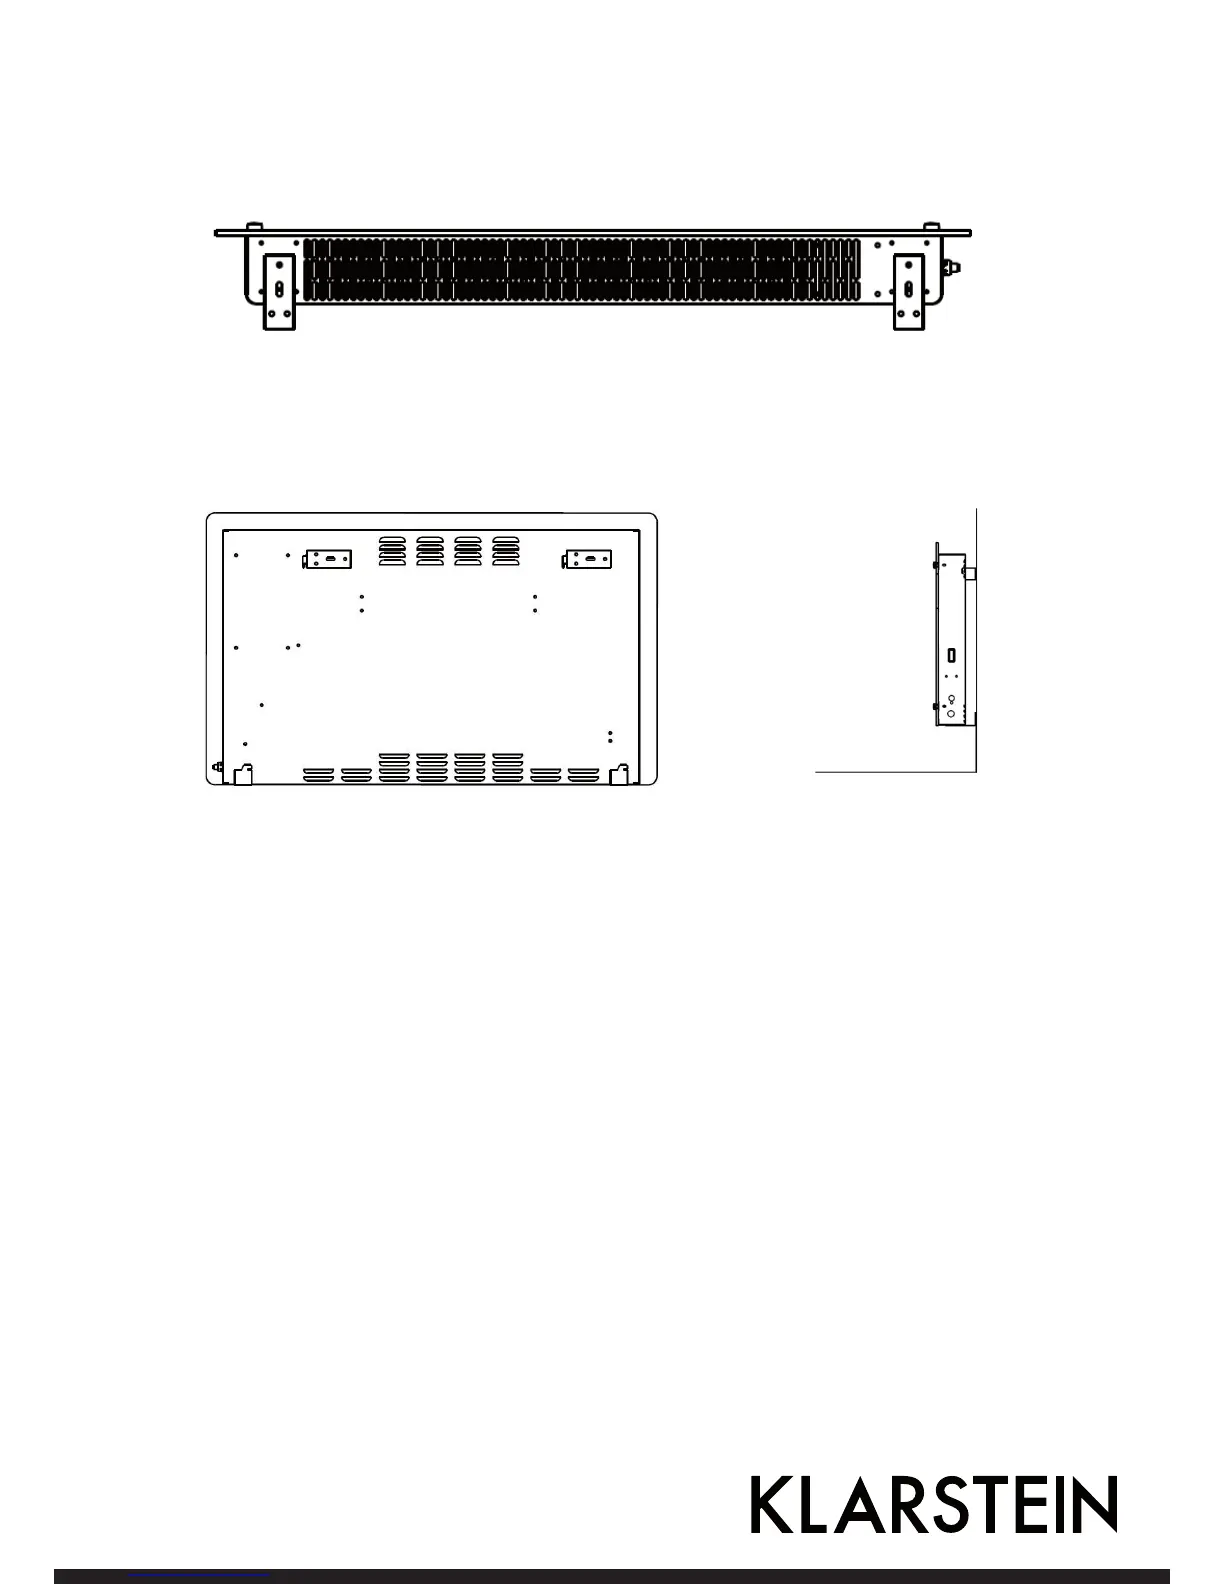
2. Fix 2 brackets onto the bottom of productst, as depicted in the picture below.
3. Hold the side of the product, look at the position of the wall hole of the rear cover, and slide the wall to the
top of the slot, that is, the installation of the wall is completed, as depicted in the picture below.