AVISWEEE
Note: Cette marque s'applique uniquement
aux
pays
de !'Union eu-
ropeenne
(UE)
et
de la Norvege.
Cet appareil est etiquete
conformement
aux
normes europeennes
Directive
2002/96
/
CE
concernant les dechets electriques
et
equipement electronique
(DEEE).
Cette
etiquette
indique que
ce
produit
ne
doit
pas
etre
jete
avec les ordures menageres.
II
devrait etre depose dans une installation appropriee
pour
per-
-
mettre
la
recuperation
et
le recyclage.
UNPACKING
Place
the
package on
the
floor
or
table
top
with
the
box flaps up. Cut
the
tape
with
a
utility
knife
to
open
the
package. Fold
the
carton flaps back
and carefully slide
the
subwoofer and packaging
from
the
box,
or
turn
the
box over
with
flaps open and remove
the
box. Stand
the
subwoofer and
packing upright, making sure
the
subwoofer
is
right side up, and remove
the
packing material.
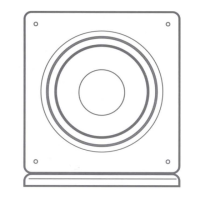
CONNECTING
YOUR
SUB
WOOFER
Ensure
that
the
subwoofer
is
unplugged
from
power source
(wall
outlet)
before making any
connections
to
your
amp/re-
ceiver.
LFE
CONNECTION
Connect
RCA
connector
from
LFE
output
on
your
amp/reciever
to
LFE
input
on subwoofer.
LFE
SUBWOOFER
(~ ~
=---
jz.,========Q
_
_::_
jp
rW:
RECEIVER
LFE
OUT
LEFT
/RIGHT
PREAMP
OUT
If
there
is
no
LFE
output
on
your
amp/receiver
, you can
use
the
left
and
right preamp
outputs
to
connect
to
the
left
and right inputs
on
your
subwoofer.
SUBWOOFER
LINEIN fi'
~
R ~
---~-
POWER
SWITCH/
AUTO/ON
The
POWER
ON
switch near
the
bottom
supplies power
to
the
sub amplifier. When
the
AUTO/ON
switch
is
in
the
AUTO
position,
the
subwoofer
will
automatically
turn on when
it
senses
a signal. The sub-
woofer
will
automatically go
into
standby
mode
after
15
minutes
with
no signal.
When this switch
is
in
the
ON
position,
the
subwoofer
will
remain on.
CROSSOVER
~ L
PRE-OUT
RECEIVER
•
--.__e;,-
~ R
POWER
ON
□
OFF
of
the
panel
OFF
AUTO
(Q)
ON
This
control
affects
the
upper frequency
limit
of
the
subwoofer. The
control
range
is
40-180
Hz,
along
with
a disable
(LFE)
setting. The slope
of
the
low
pass
filter
is
12
dB/octave. For connection
to
an
A/V
receiver,
the
low
pass
should be set
to
LFE.
For
2-channel applications,
it
should
be adjusted
to
blend
with
the
bottom
roll-off
frequency
of
your
loud-
speakers.
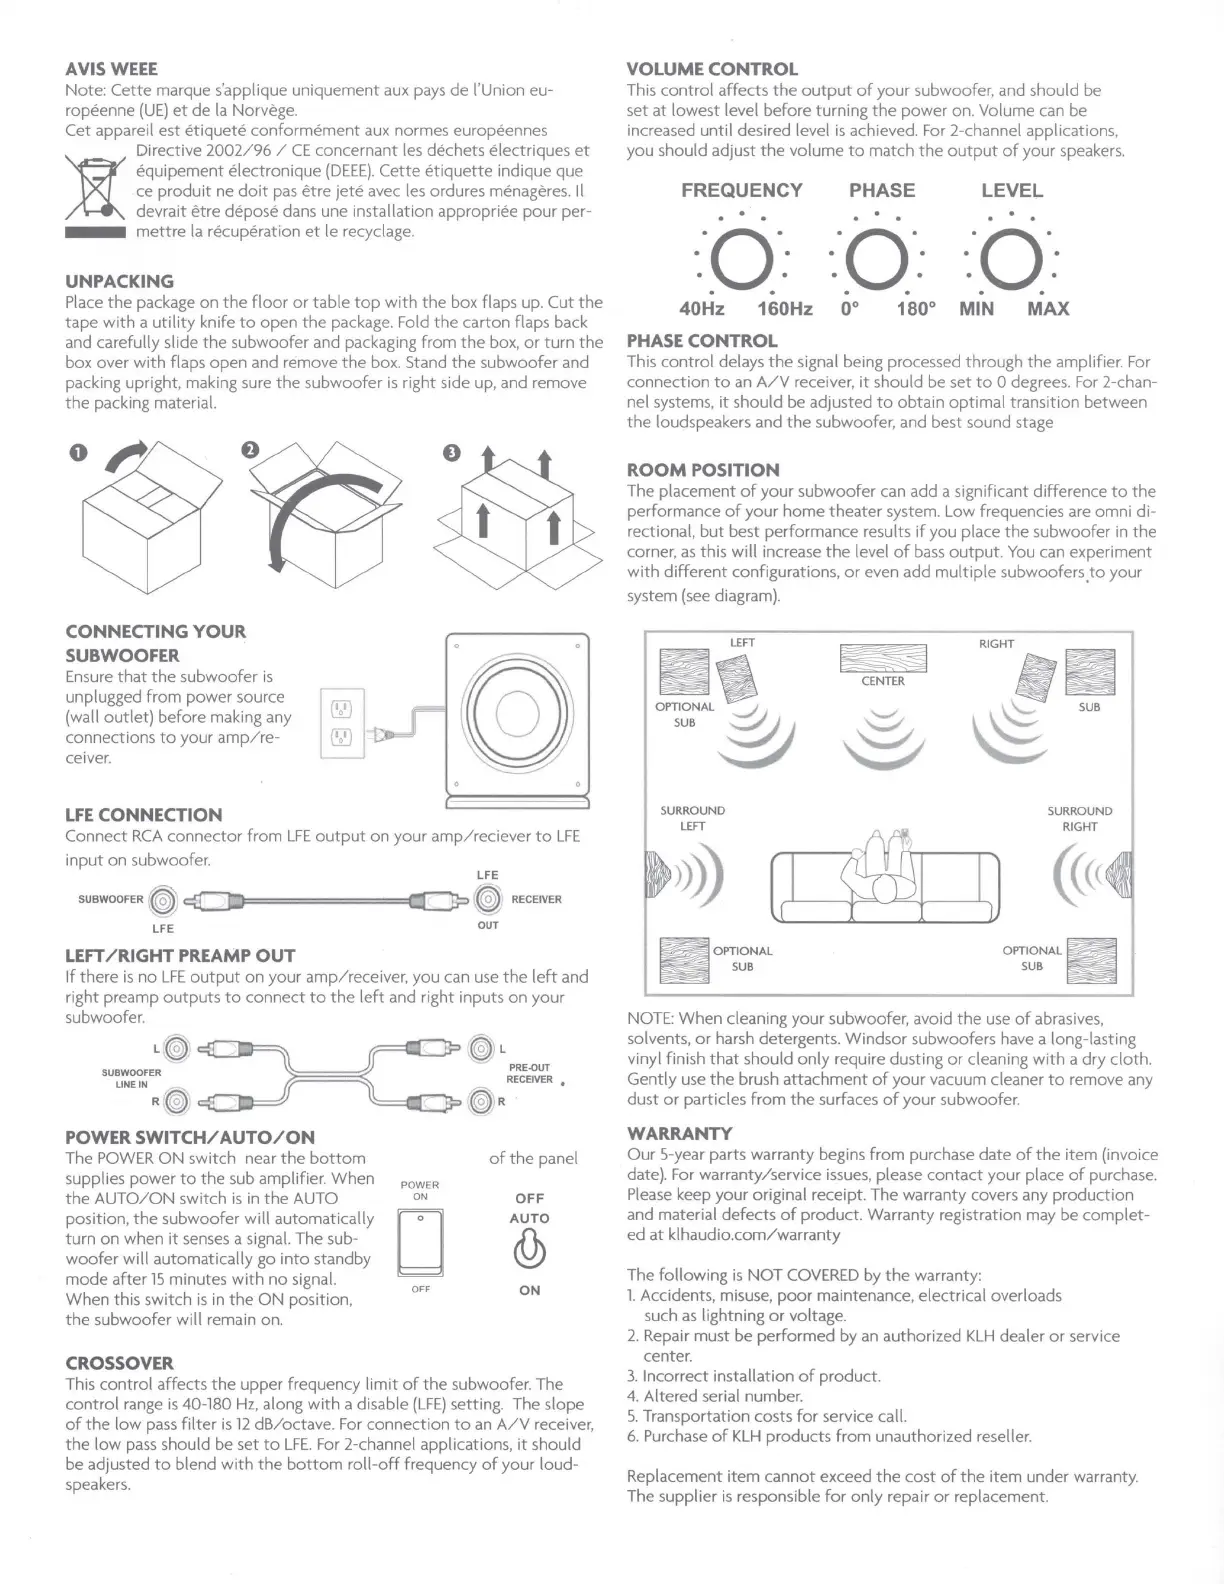
VOLUME CONTROL
This
control
affects
the
output
of
your
subwoofer, and should be
set
at
lowest level before turning
the
power
on
. Volume
can
be
increased until desired level
is
achieved. For 2-channel applications,
you should adjust
the
volume
to
match
the
output
of
your speakers.
FREQUENCY
PHASE
LEVEL
·o·
·o·
·o·
. . . . . .
. . . . . .
. . . . . .
40Hz 160Hz 0° 180° MIN
MAX
PHASE
CONTROL
This
control
delays
the
signal being processed through
the
amplifier. For
connection
to
an
A/V
receiver,
it
should be set
to
O degrees. For 2-chan-
nel systems,
it
should be adjusted
to
obtain
optimal
transition between
the
loudspeakers and
the
subwoofer, and best sound stage
ROOM
POSITION
The placement
of
your
subwoofer can add a significant difference
to
the
performance
of
your
home theater system. Low frequencies are omni di-
rectional,
but
best performance results
if
you place
the
subwoofer in
the
corner,
as
this will increase
the
level
of
bass
output.
You
can experiment
with
different
configurations,
or
even add
multiple
subwoofers,
to
your
system
(see
diagram).
~
RIGHT
CENTER
o~~m,
§
~
\$
SUB
0
SURROUND
SURROUND
LEFT
M
RIGHT
[ I
IJ
(
OPTIONAL
OPTIONAL
SUB
SUB
NOTE: When cleaning
your
subwoofer, avoid
the
use
of
abrasives,
solvents,
or
harsh detergents. Windsor subwoofers have a long-lasting
vinyl finish
that
should
only
require dusting
or
cleaning
with
a dry cloth.
Gently
use
the
brush
attachment
of
your
vacuum cleaner
to
remove any
dust
or
particles
from
the
surfaces
of
your
subwoofer.
WARRANTY
Our 5-year parts warranty begins
from
purchase date
of
the
item (invoice
date). For warranty/service
issues,
please
contact
your place
of
purchase.
Please
keep your original receipt. The warranty covers any production
and material defects
of
product. Warranty registration may be
complet-
ed
at
klhaudio.
com/warranty
The
following
is
NOT
COVERED
by
the
warranty:
1.
Accidents, misuse,
poor
maintenance, electrical overloads
such
as
lightning
or
voltage.
2.
Repair must be
performed
by
an
authorized
KLH
dealer
or
service
center.
3.
Incorrect installation
of
product.
4.
Altered serial number.
5.
Transportation costs
for
service call.
6.
Purchase
of
KLH
products
from
unauthorized reseller.
Replacement
item
cannot
exceed
the
cost
of
the
item under warranty.
The supplier
is
responsible
for
only
repair
or
replacement.
 Loading...