Kolay Kullanım Kılavuzu Türkçe
1
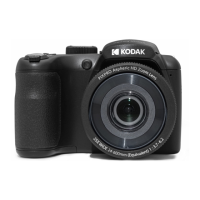
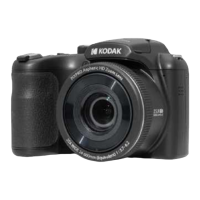
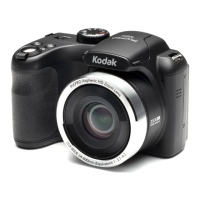
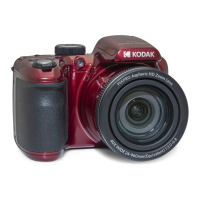
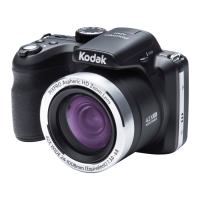
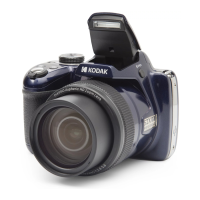
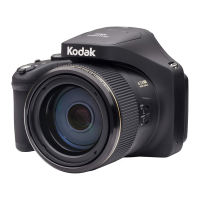
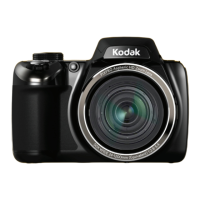
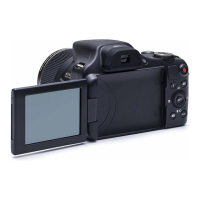
Kamera Görünümü
2
Pili yerleştirme
1. Pil kapağını açın.
2. Şekilde gösterilen doğru yöne göre pili, pil yuvasına yerleştirin.
3. Pil kapağını kapatın.
1.
Aç/Kapa düğmesine basarak fotoğraf makinenizi açınız, dil menüsü ekranda
çıkacaktır. Bir dil seçmek için Yukarı/Aşağı/Sol/Sağ tuşlarını kullanın, ve dili
doğrulamak için tamam düğmesine basın.
2. Tarih ve saati ayarlamak için Yukarı/Aşağı/Sol/Sağ tuşlarını kullanın ve
doğrulamak için tamam düğmesine basın.
3
Tarih/Saat/Dilin Ayarlanması
4
Resim çekmek
1. Kamerayı sıkıca tutun.
2. Resminizi LCD ekranda düzenleyin.
3. Özneye odaklamak için Deklanşör düğmesine yarım basın. Odaklama kutusu
yeşile döndüğünde, fotoğraf çekmek için Deklanşör düğmesine sonuna kadar
basın.
5
Mod Kadranının Kullanımı
Fotoğraf Makinesi modlar arasında kolaylıkla geçiş yapmanızı sağlayan kullanışlı
bir mod kadranına sahiptir. Kullanılabilecek modlar aşağıda listelenmiştir:
Oto Modu
Yüz Güzelleştirici
Program AE
Panoramik Mod
Deklanşör Önceliği Sahne Modu
Diyafram öncelikli pozlama Film Modu
Manuel Mod
Özel Ayarlar
7
Menü tuşunun kullanımı
6
Üstün Özellikler
1. Panorama: Panorama modu panaromik bir resim yaratmanızı sağlar. Kamera
panoramik bir resim oluşturur.
2. Hızlı kayıdı kullanma: Çekim modunda, Kayıt durumuna doğrudan geçmek
ve kayıt yapmak için Kayıt kısayol tuşuna basın. Kaydı bitirdikten sonra,
Kayıt kısayol tuşune ya da Deklanşör tuşuna tekrar basın, videoyu kaydeder
ve çekim ekranına dönersiniz.
Her modda, ayar menüsünü etkinleştirebilirsiniz, düğmesine basın, geçiş
yapmak için düğmesine basın, ayar menüsünü seçin, girmek için
düğmesine basın.
Resim Ayarları Genel Ayarlar
İletim Dosya/Yazılım
1
AF yardımcı ışık/Zamanlayıcı
Göstergesi
16
SET Düğmesi
2 Flaş Lambası 17
Kayış tokaları
3
Mikrofon
18
USB Portu
4
Objektif
19
HDMI Portu
5
LCD Ekran
20
Yakınlaştırma Çubuğu
6
Poz Dengeleme Düğmesi
21
Deklanşör
7
Durum Göstergesi
22
Sürekli çekim düğmesi
8
I Düğmesi
23
Hızlı Video Kayıt Düğmesi
9
Menü Düğmesi
24
Güç Anahtarı
10
Ekran Düğmesi
25
Mod Kadranı
11
Oynatma Düğmesi
26
Flaş Düğmesi
12
AF Düğmesi/Ok Düğmesi (Yukarı)
27
Hoparlör
13
Flaş Düğmesi/Ok Düğmesi (Sağ)
28
Tripod Girişi
14
Sil Düğmesi/Zamanlayıcı
Düğmesi/Ok Düğmesi (Aşağı)
29
Pil Kapağı
15
Makro Düğmesi/Ok Düğmesi (Sol)
6
5
7
1
Camera Views
2
Inserting the Battery
1. Open the battery cover.
2. Insert the battery into the battery slot in the correct position as shown in the
following diagram.
3. Close the battery cover.
1.
Push ON/OFF to turn the camera on and the language menu will appear. Use
the Up/Down/Left/Right button to select a language, then press to conrm
the language.
2. Use the Up/Down/Left/Right Button again to set the date and time, and press
to conrm.
3
Setting the Date/Time/Language
4
Taking a Picture
1. Hold the camera securely.
2. Use the
Zoom Lever to select Tele or Wide positions to zoom in or out on your
subject.
3. Press the Shutter Button half way to focus on the subject. When the focus box
turns green, press the Shutter Button completely down to take the picture.
5
Using the mode dial
This camera provides a convenient mode dial that allows you to manually switch
between. Different camera settings with ease. Available modes are listed below:
Auto Mode Face Beautier
Program AE Panorama Mode
Shutter priority Scene Mode
Aperture priority
Movie Mode
Manual Mode Custom Settings
7
Using the menu button
6
Additional Features
1. Panorama mode: Panorama Mode allows you to create a panoramic picture.
The camera will create a panoramic photo by stitching individual images taken
in panorama mode.
2. Using quick recording:
In shooting mode, press Recording button to begin
recording video. When you are nished, press the Recording button again or
the Shutter key to stop recording. The camera will store the video and return
to shooting mode.
To change the settings in each mode, press button, press to move
between options, select setting menu, then press button to select and
save menu option.
Photo Setup General Setup
Transmission File/Software
Quick Start Guide English
1 AF Assist Beam/Timer Indicator 16 SET Button
2 Flash Lamp 17 Strap Buckles
3 Microphone 18 USB Port
4 Lens 19 HDMI Port
5 LCD Screen 20 Zoom Lever
6 Exposure Compensation Button 21 Shutter Button
7 Status Indicator 22 Continuous Capture Button
8 i Button 23 Fast Video Recording Button
9 Menu Button 24 Power Switch
10 Display Button 25 Mode Dial
11 Playback Button 26 Flash Button
12 AF Button/Arrow Button (Up) 27 Speaker
13 Flash Button/Arrow Button (Right) 28 Tripod Receptacle
14
Delete Button/Self-Timer But-
ton/Arrow Button (Down)
29 Battery Cover
15 Macro Button/Arrow Button (Left)
8
Flash Mode
Press the ash button to open the ash as needed.
8
Flaş Modu
Flaş ışığını açmak için aş açma düğmesi düğmesine basın.
Kolay Kullanım Kılavuzu
Průvodce rychlého spuštění
Gyors indulás menü
Instrukcja szybkiego uruchomienia
Краткое руководство
Quick Start Guide
Printed in China
The Kodak trademark and trade dress are used under license
from Kodak.
Kodak ticari markası ve trade dress Kodak'ın lisansı altında
kullanılmaktadır.
Ochranná známka a obchodní podoba Kodak jsou
používány na základě licence společnosti Kodak.
A Kodak márkajelzés és kereskedelmi jelzés használata a
Kodak engedélyével történik.
Znak towarowy i wzornictwo Kodak, są używane na pod-
stawie licencji Kodak.
Товарный знак Kodak и товарная упаковка
используются по лицензии компании Kodak.
© 2013 by JK Imaging Ltd. All rights reserved.
1411 W. 190th Street, Suite 550, Gardena, CA 90248, USA
www.kodakcamera.jkiltd.com
Licensed Product Lisanslı ürün
Licencovaný produkt
Engedélyezett termék
Produkt z licencją
Лицензированный
продукт

 Loading...