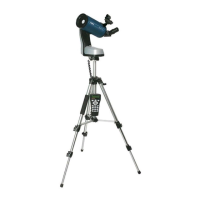
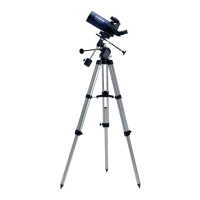
“Go-To” M a ksut ov-Cassegrain
D I G I M A X - 9 0
DIRECTIONAL DIVISION SPAN RANGE IN AZIMUTH
The northern sky 315°-45°
The northeast sky 0° - 90°
The eastern sky 45°-135°
The southeast sky 90° - 180°
The southern sky 135° - 225°
The southwest sky 180° - 270°
The western sky 225° - 315°
The northwest sky 270° - 360°
2. Once the directional division has been selected, the hand control will calculate and
generate a list of the stars located within this region that are brighter than 1.5 in mag-
nitudes. The stars and planets below 10 degrees, higher than 75 degrees in elevation
or fainter than 1.4 in magnitudes will be filtered out.
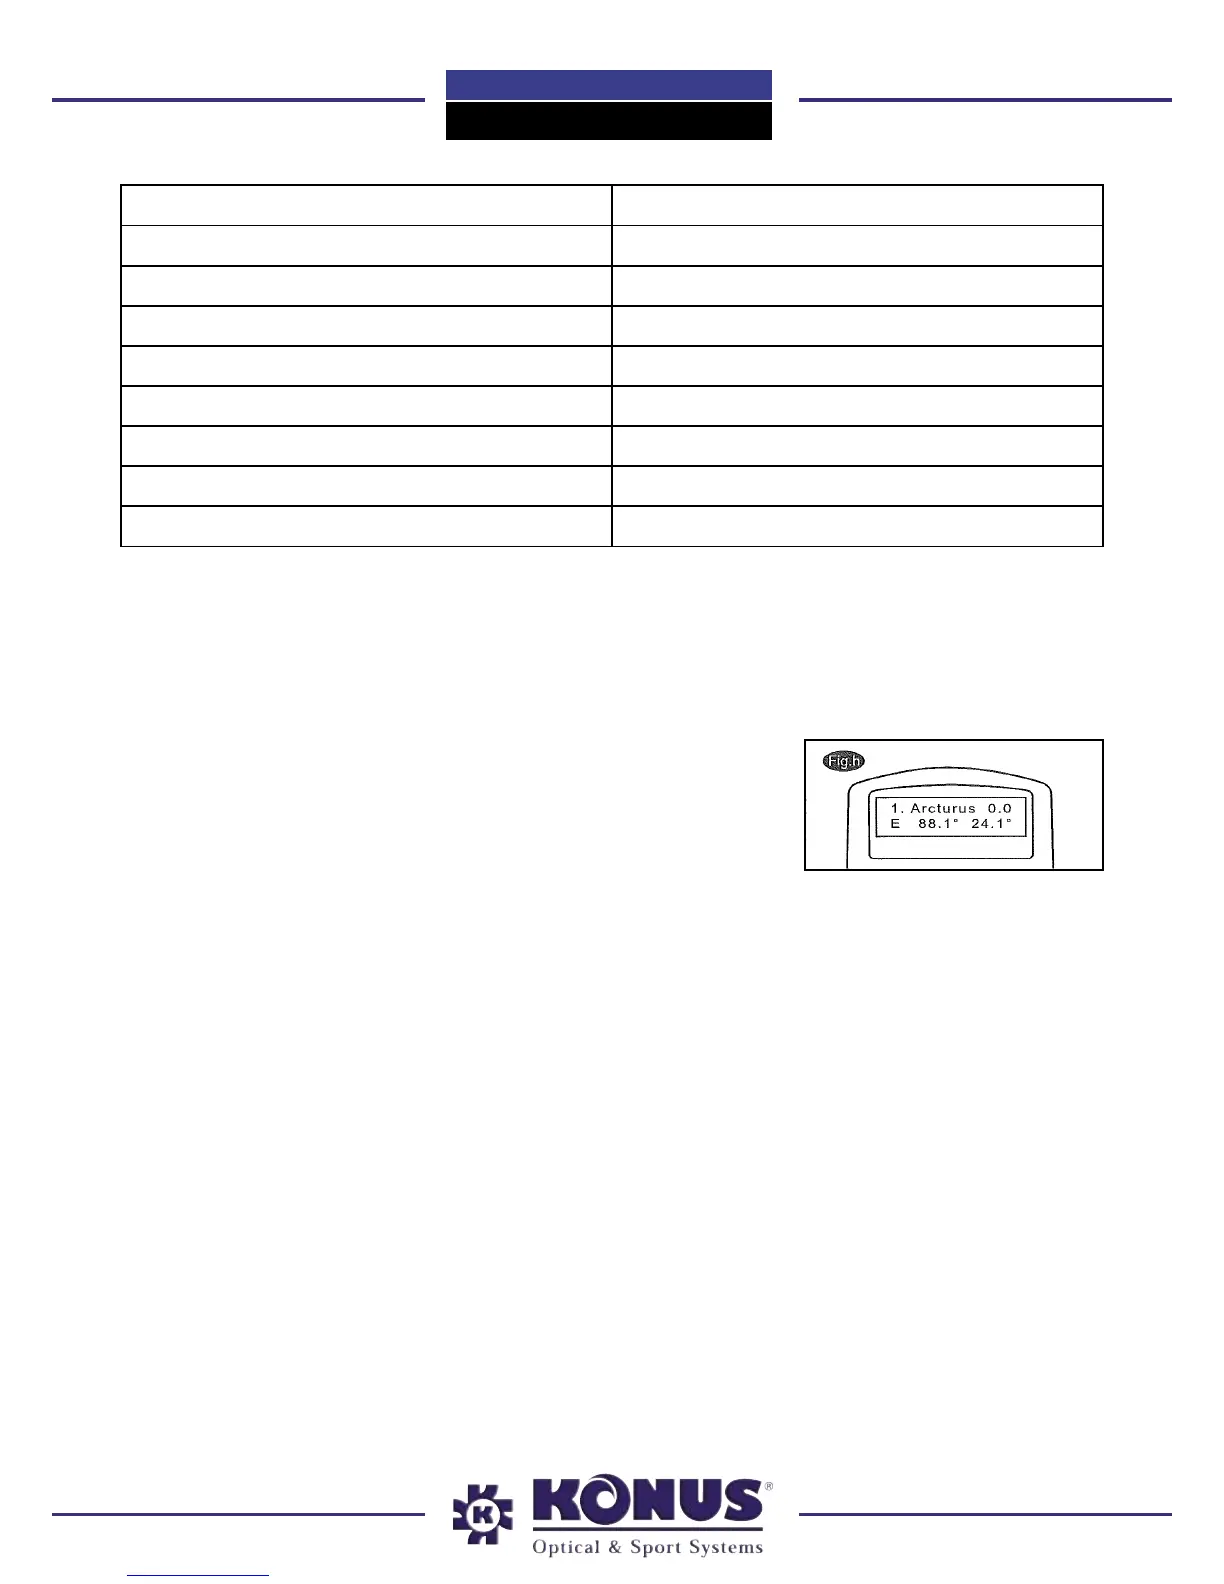
3. The name and magnitude of the alignment star will be
displayed on the first line of the LCD. The approximate
position will be prompted on the second line. For exam-
ple, if Arcturus is prompt as alignment star, its magnitude
is 0.0 and location is at 88.1 degree east and 24.1 degree
above the horizon. You will see the LCD displays as shown in fig. H.
4. For the first alignment star, the mount will not slew to the star automatically. use the
directional buttons to manually slew the telescope to point to the object in the finder
and then center it in the eyepiece. You may change the sweling speed by pressing
the RATE button, and then choose a number between 0 (slowest) - 9 (fastest).
5. Once the star has been centered in the eyepiece, if it is a planet the hand control
will prompt you to reselect a star from the list and the first alignment star. Otherwise
the hand control will prompt a list of objects for you to choose as the second align-
ment star. Select an object from the list. The hand control will command the mount
to slew the telescope to point to the object.
Center the object in the eyepiece again. If both alignment stars are properly aligned
“Alignment Successful” will display on the LCD. Otherwise, the warning “Alignment
ailed” will show and the alignment will have to be done again. You may exit the align-
ment procedure by pressing the ESC key anytime during the procedure.
• The slewing speed can be adjusted by pressing on the RATE button. Then choose
a number between 0 (slowest) - 9 (fastest).
 Loading...