FEATURES
The popularity of backyard ponds continues to grow at a vigorous pace. This Kit includes
everything you need to construct a beautiful, low maintenance water garden.
- 6ft x 6ft non-toxic Pond Liner
- 200gph Filter Free Pump
with protective shell
- Water-bell Fountain Head
- 3-tier Fountain Head
- Telescopic Riser
- 2 silk Water Lilies
- Installation Manual
LINER INSTALLATION
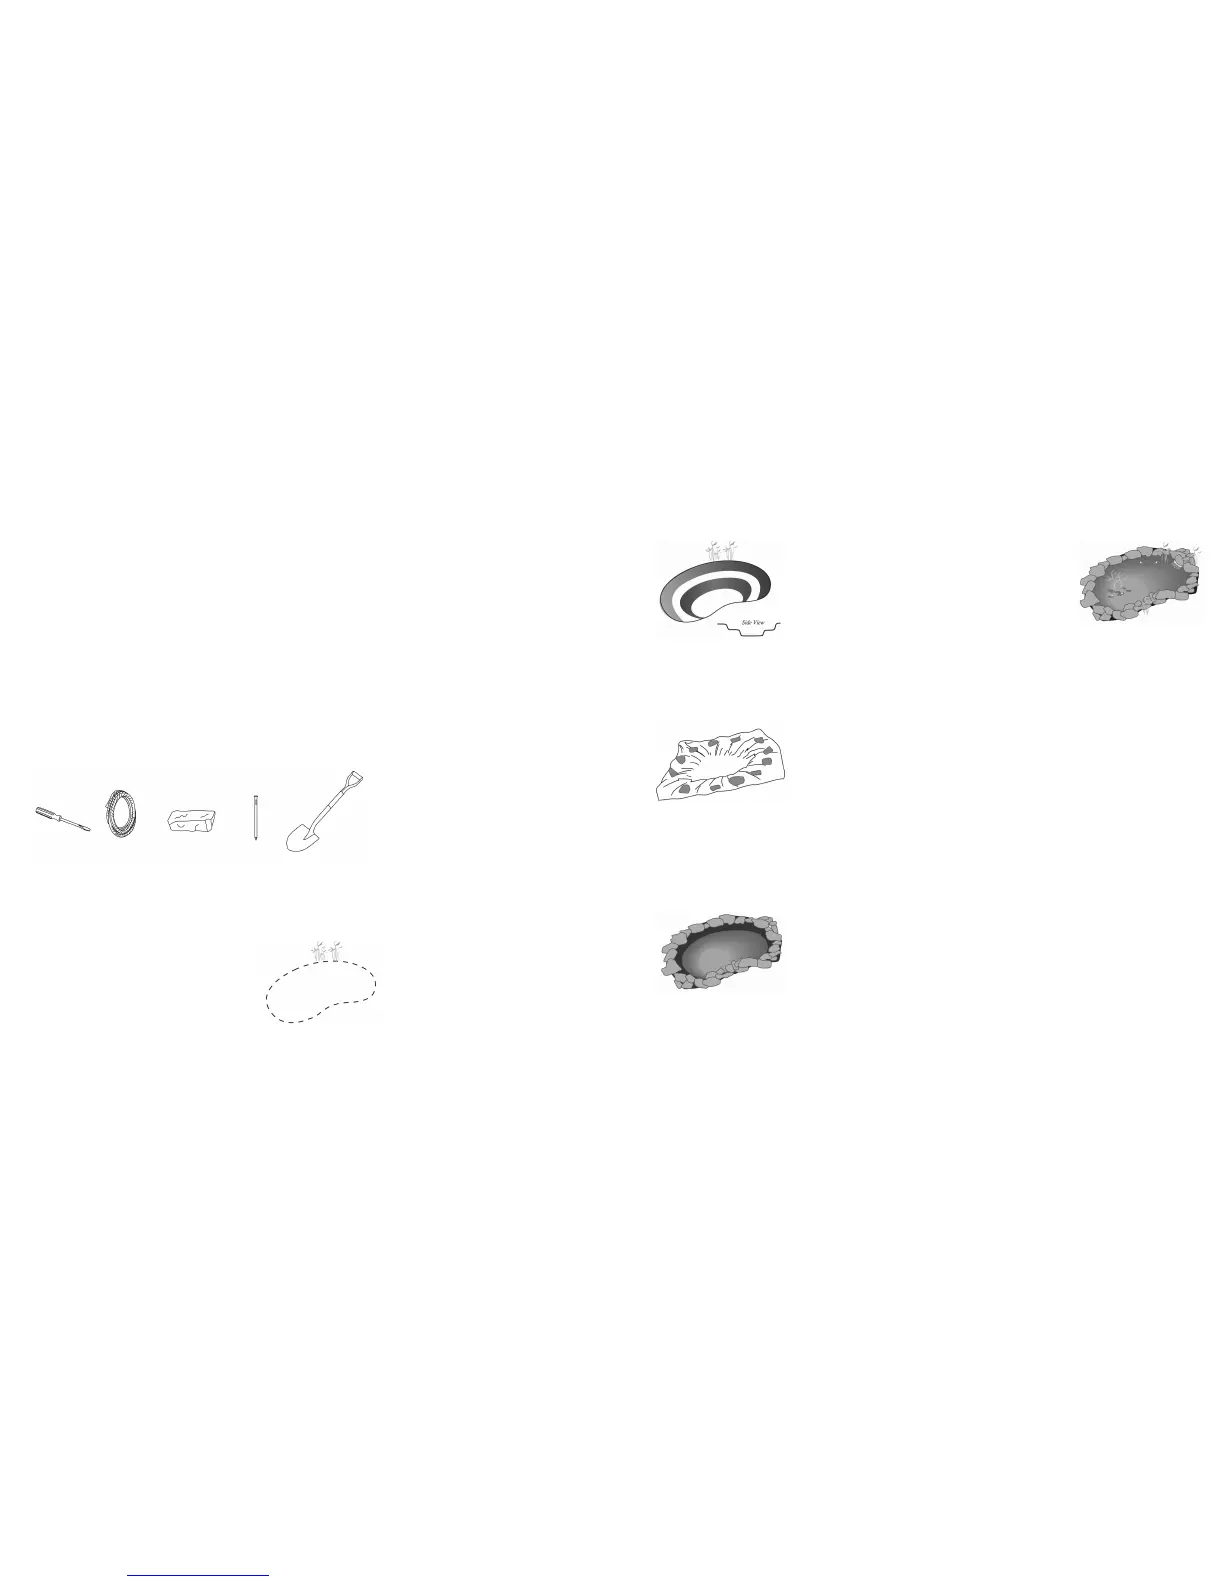
YOU WILL NEED
Flat Head ScrewdriverRope Edging Material Long Nails Garden Shovel
(i.e.rock)
TO START
Once you gathered everything you need, it is time to
start. It is important to take the time to design your
pond before beginning. Keep in mind the depth and
width of your pond compared to the size of liner you
have to work with. Once you have a style and size in
mind mark the shape using heavy rope. Be mindful of
buried wires and pipes. Ensure electric cable will
reach pump.
LINER KIT INSTALLATION (cont.) LINER KIT INSTALLATION (cont.)
ADDING WATER
Your pond is now ready to fill with water. As the pond
is filling you may want to smooth major wrinkles in
the liner by pulling and shifting the liner. Once the
pond is about half full remove some of the anchor
stones to allow the liner to sink to the bottom of the
hole.
CARE AND MAINTENANCE
With the proper care and maintenance this pond will last a very long time and look more
beautiful with each year. Simple steps can be taken to ensure a long life from your pond.
Clean your pump regularly to prevent build up. If your pump stops working, unplug it and
take it out of the pond. Follow the care instructions given in your pump kit box. If there is
a lot of calcium build up on your pump it may stop working. To clean this simply place the
pump motor (remove filter with case and Fountain Head) in vinegar water then plug it in.
Let the pump run for about 30 seconds. Once cleaned rinse your pump with water and
place back in pond.
WINTER CARE
Getting ready for winter may seem like an arduous task, but if the right steps are taken it
can be very beneficial to your pond and any life within it. During the fall months the pond
should be kept free from fallen leaves and other debris that may rot and cause harmful tox-
ins in your pond. Once the temperature reaches 43°F (6°C) outside, it is time to winterize
your pond. The first step is to remove any submersible pumps and clean them for winter
storage. If you have fish the next step is to add a Pond Breather or Floating Pond Heater
to circulate oxygen and release toxic gases. After the pond has been winterized and the
ice has formed, there isn’t much work to be done during the winter months. The fish will
naturally go to deeper depths of the pond where the water is warmer and require no feed-
ing during these cold months. Never allow water to freeze in the pump.
FINISHING
Once your pond is full you should use some long
nails to secure the liner in place. Cut off any excess
liner. Using decorative rocks around the edge will
help hold the liner in place and give your pond a
more natural look. Place the pump in your pond, then
plug it in. If adding plants to your pond you should
wait 48 hours after completion, and if adding fish you
should wait 72 hours after completion.
DECORATE AND ENJOY.
DIGGING
Start by removing the sod in the area you have
marked with the rope. It is best to start digging from
the middle out. This will allow you to easily remove
dirt with a wheelbarrow. When digging, keep in mind
that most ponds have plant shelves. These shelves
are traditionally 9"-12" below water level and should
be at a 20° angle for support.
PREPARATION
To prepare the hole for the liner you must remove any
sharp stones or roots. Sharp objects could puncture
or ruin your liner. You may put 5-8cm (2-3in) of sand
at the bottom of the pond, but it is not necessary.
Once the area is clear, place the provided underlay
inside the hole. The underlay may not cover the
entire hole, but as long as the bottom is covered it is
okay. Now you can put the liner over the hole, friends
or family may be required for help. Hold the liner in
place using some of the rocks for the edging.
 Loading...