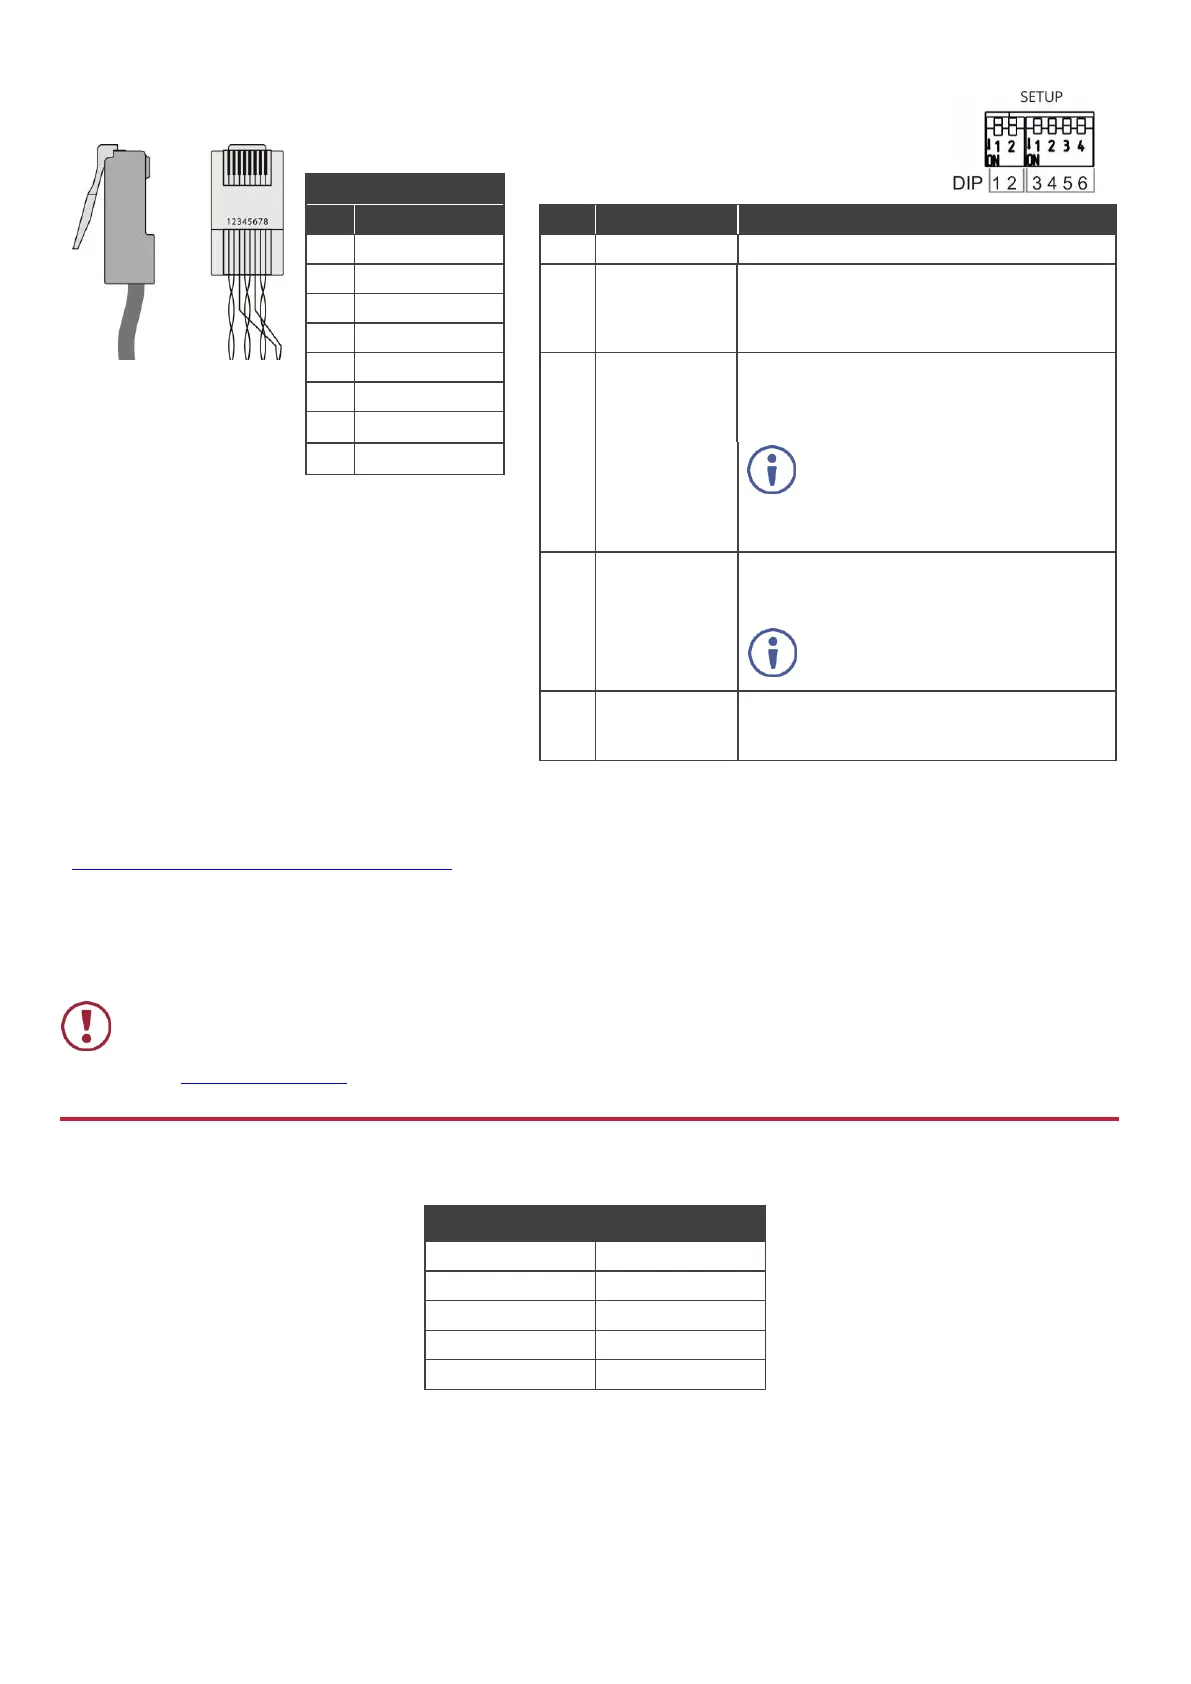
For the Ethernet connector, see the wiring diagram
below:
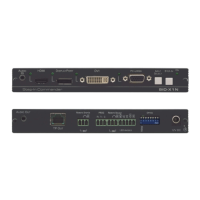
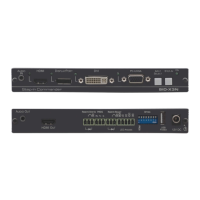
All DIP-switches are set to Off (up) by default.
Changes to DIP-switches 4 and 5, only take
effect after power cycling the device.
OFF – Low compression level is applied.
ON – High compression level is applied to
gain better extension reach performance.
OFF – Compression is applied only to signal
resolutions higher than 1080p.
ON – Compression is applied to all signal
resolutions.
Compression can be applied for a
TP-583T/TP-583R
paired-connection only, thus
preserving backward compatibility
with standard-HDBT extenders.
OFF, OFF – Normal operation mode.
ON, OFF – HDBT FW upgrade mode.
ON, ON – Compression FW upgrade mode.
When either DIP-switch is set to
ON, the device extension operation
is disabled.
OFF (up) – Frequency is 38kHz.
ON (down) – Wide-range modulated IR
frequency.
For optimum range and performance use the
recommended Kramer cables available at
www.kramerav.com/product/TP-583T, TP-583R.
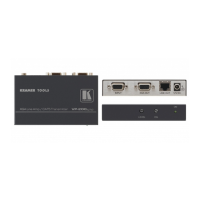
Step 5: Connect the power
Connect the 12V DC power adapter to TP-583T/TP-583R and plug it into the mains electricity.
Safety Instructions
There are no operator serviceable parts inside the unit.
Use only the Kramer Electronics power adapter that is provided with the unit.
Disconnect the power and unplug the unit from the wall before installing.
See www.KramerAV.com for updated safety information.
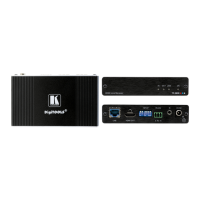
Step 6: Operate TP-583T/TP-583R
Operate TP-583T/TP-583R
remotely, by RS-232 serial
commands transmitted by a touch
screen system, PC, or other serial
controller
 Loading...