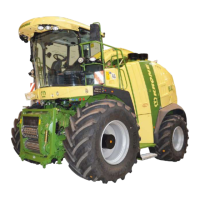
Maintenance – supply system
710
BX750046_1
1
3,4,5
350Nm
180Nm
!
!
3,4
3,4,5
350Nm
Fig. 662
Damage to machine parts due to loose components!
If the counterblade is not securely attached, it may become detached and damage the blades
on the cutting drum or the entire cutting drum.
• Secure the screw connections identified by
on the right and left of the machine with
medium strength LOCTITE.
Mounting the new counterblade
• Place the new counterblade (1) on the counterblade support and mount hand-tight by using
hexagon head screws (3), detent edged washers (4) and washers (5) centre bottom.
• Check the distance from counterblade to drum shell (2) and set the dimension
a = 87 - 89 mm by using the adjusting spindle, if necessary.
• Align the counterblade (1) in parallel to the ground backs of the blades on the counterblade
support.
• Tighten all three screw connections of the counterblade with the specified torque, refer to
figure BX750046.
• Fit intake unit.
• Set counterblade (1) via manual operation on the platform in parallel with the ground
surface of the blades, refer to chapter Operation “Blocking the Counterblade”.
 Loading...