Commissioning
27
Pos: 19.9.1 /Übersc hriften/Übersc hriften 2/F-J/G elenkwelle @ 0\ mod_119978 1879794_78.doc x @ 34542 @ 2 @ 1
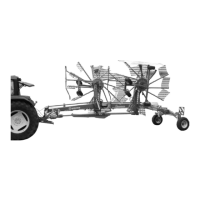
5.3 PTO shaft
Pos: 19.9.2 /Übersc hriften/Übersc hriften 3/K-O/L ängenanpassu ng @ 1\mod_ 1201687632810_ 78.docx @ 5 3589 @ 3 @ 1
5.3.1 Length adjustment
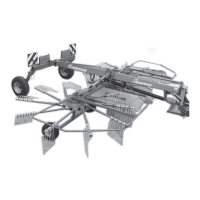
Pos: 19.9.3 /BA/ Inbetriebnah me/Erstinbetriebn ahme/Gelenkwelle /Schwader/Lä ngenanpassung Bild Sch wader @ 2\mod_120 2364902991_ 78.docx @ 5884 8@ @ 1
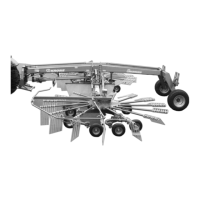
3
2
SW9070007
1
Fig. 5
Pos: 19.9.4 /BA/ Inbetriebnah me/Erstinbetriebn ahme/Gelenkwelle /Schwader/Lä ngenanpassung_ mit Weitwin kelT ext_Schwad er @ 2\mod_12 02365111491 _78.docx @ 58 868 @ @ 1
The PTO shaft (1) length must be adjusted.
• Disassemble the PTO shaft.
• Install each half (1) and (2) on the tractor and machine side respectively.
(The wide-angle coupling must be installed onto the machine. Observe the marking on
the PTO shaft.)
• Position rotary rake in the shortest PTO shaft position setting. (Completely the three-point
frame inwards.)
• For additional operating instructions refer to the operating instructions of the PTO shaft
manufacturer.
Note
Check the swivel range and clearance of the PTO shaft! Damage can be caused if the tractor
or the machine touch the PTO shaft. (e.g. hitching device, hitching frame)
Pos: 19.10 /BA/--- ------ ------Seitenumbruch---- ------------ @ 0\m od_1196175311 226_0.docx @ 4 165 @ @ 1
 Loading...