12
electric motorcycles
KUBERG
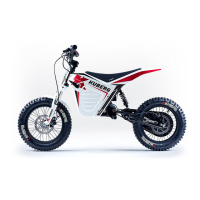
SPECIFICATIONS - KUBERG TRIAL E
KUBERG TRIAL E is the world cham-
pion concept. TRIAL E is the perfect
machine for riders from 5 to 10
years old but will easily carry rider
up to 220lbs! Amazing extra
powerful motor delivers serious
riding experience. This bike will
easily climb steep hills and leap up
large rock steps. The motor deli-
vers smooth linear power and has
lots of instant torque for incredible
acceleration. Speed dial control
and other safety features allow
setting the bike top speed respon-
sibly to match the actual skills of
the young rider.
specifications - kuberg trial e
Powertrain
Motor 750W, 36V
Batteries 14Ah 3x12V, SLA
Controller PWM, 40 amp
Range up to 2 hours
Input Standard 110V or 220V
Transmission Clutchless direct drive
Final drive T90/13
Top Speed Approx. 18 mph (28km/hod)
Charge time 100% - 6 hours
Chassis
Frame Double-cradle tubular steel
frame, powder-coated
Wheelbase 37" (95cm)
Seat Height 21" (53 cm)
Handlebar Height 29" (73 cm)
Front Brake Disc Type
Rear Brake Disc Type
Brake discs - diameter 160 mm
Forks Telescopic
Shock absorber Spring
Tires 16" x 2.4" KENDA
Weight 66 lbs. (30 kg)
Colors White
Carrying capacity 220 lbs. (100 kg)
electric motorcycles
KUBERG
21
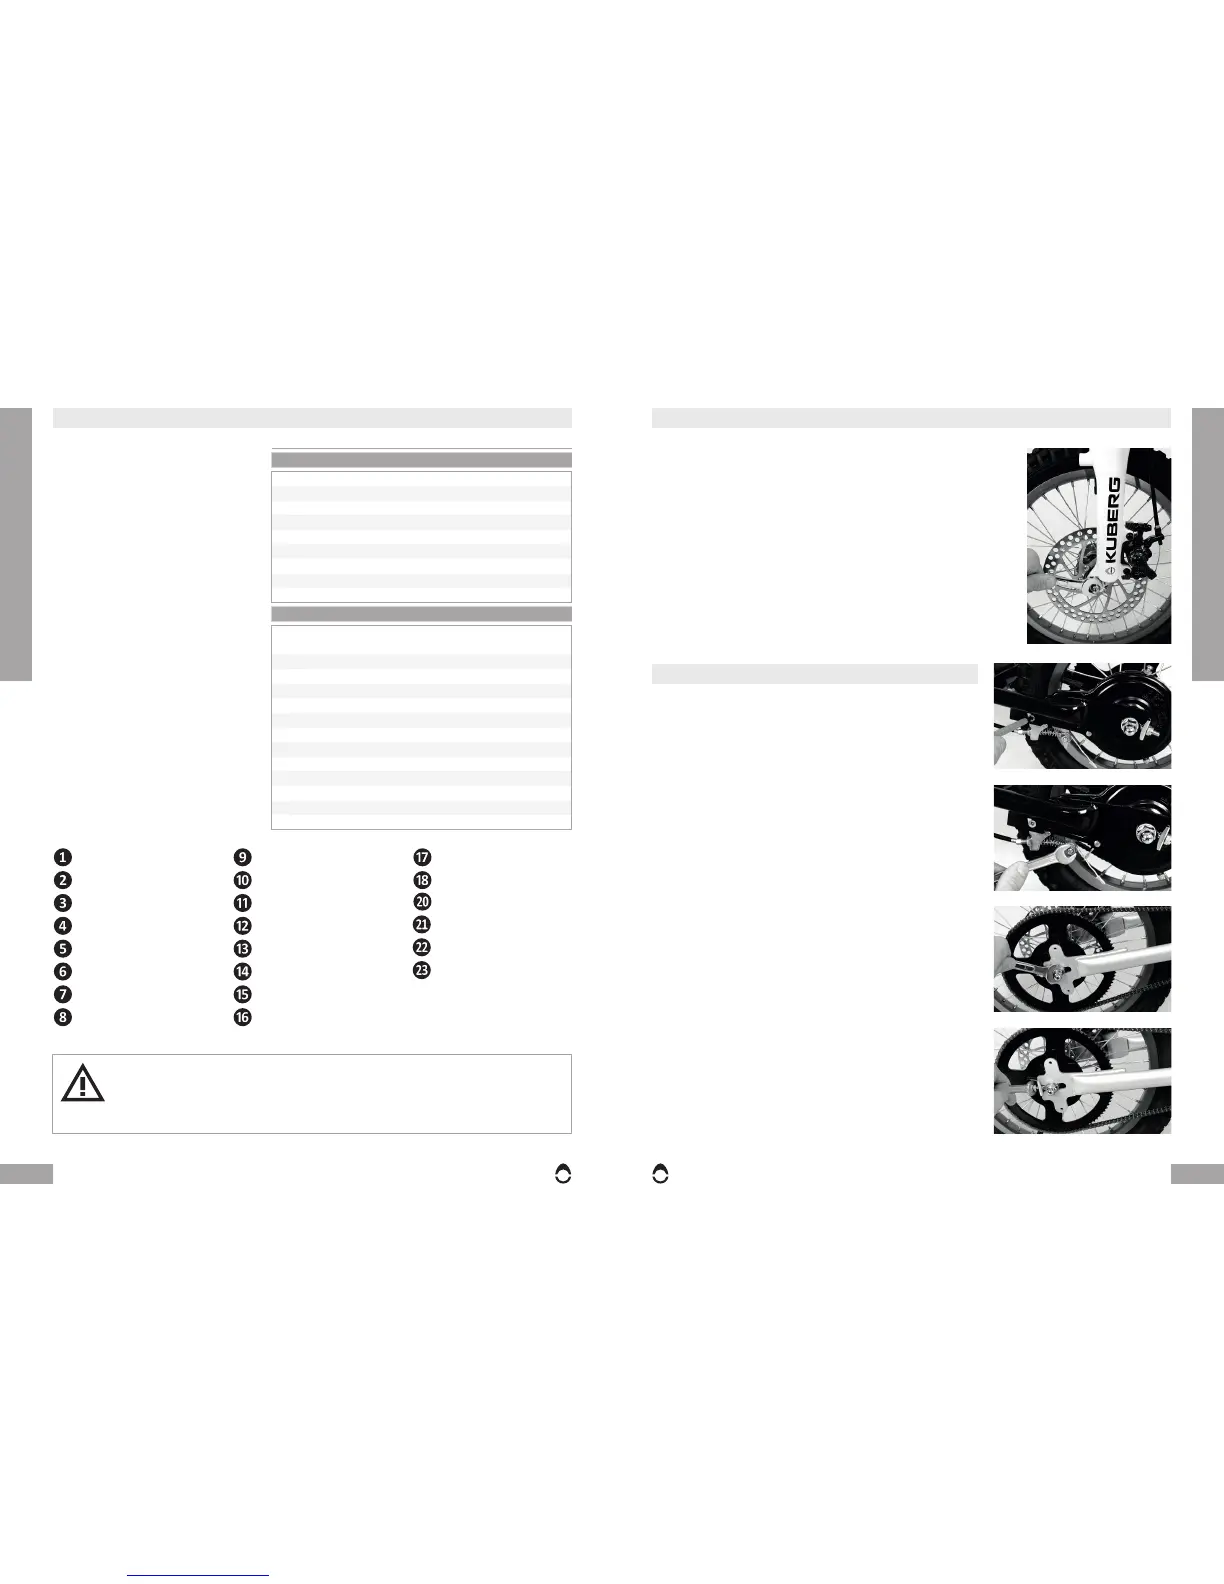
wheel removal and installation
FRONT WHEEL REMOVAL AND INSTALLATION
1. Ensure power is switched off.
2. Lift the bike onto a block or stand so the wheels are off the
ground.
3. On KUBERG 12.5, disconnect the V-Brake cable by squee-
zing the two sides together and release the cable end from
the mount.
4. Loosen the axle bolts and lower the wheel away from the
front forks.
5. To re-install the wheel, reverse the above procedure and
ensure the wheel is aligned correctly and the axle bolts are
tight.
6. Spin the wheel to ensure it is centered and spins freely.
REAR WHEEL REMOVAL AND INSTALLATION
1. Ensure power is switched off.
2. Lift the bike onto a block or stand so the wheels are off
the ground.
3. Remove the chain-guard by removing the 4 bolts
securing it.
4. Release the band brake cable by undoing the cable
pinch bolt.
5. Remove the band brake securing bolt.
6. Loosen the axle bolts.
7. Loosen the chain adjustment nuts to the point where
the wheel can be pushed forward, and the chain
slipped off to the right of the sprockets.
8. Pull back on the wheel to remove it.
To re-install the wheel reverse the above procedures.
Ensure the chain is correctly adjusted, the wheel is aligne-
d, and all nuts and bolts are tight. When everything else is
tight, re-attach the rear band brake cable pinch bolt such
that the brake is adjusted correctly. Minor adjustments
can be made at the brake lever.
owner´s manual
owner´s manual
Throttle
Handlebar
Stem
Number plate
Front Brake
Fender
Tire
Front forks
Potentiometer
Foot pegs
Kick stand
Motor
Shock absorber
Key switch
Charge port
Controller
Seat
Kill Button
Battery
Upper plastic
Seat holder front
Seat holder rear
WARNING: ALWAYS RIDE WITH CHAIN COVER
The chain cover should help to prevent accidental injuries from chain. Never
ride your motorcycle when the chain cover is not in place. Operating your motor-
cycle without chain cover can result in serious injury.
 Loading...