5
When all the laser is on, the output is as the following:(Models that end with D can output 2 front dots)
5 lines 3 lines
4.12 Tilt mode button
The tilt mode button hides inside the battery box slot(see the following picture).
When the instrument is in locking status, push up this switch to enter the tilt mode,mount the battery box, the power
LED illumination is lighted, and tilt mode indication LED is flashing.
When the instrument is in slope mode status, the usage of laser output controlling button and receiving mode button is
the same as the above description.
Note
:
▲ Tilt mode function is just suitable for using in the circumstance with no need of horizontal or vertical reference.
▲ The instrument cannot enter into tilt mode in unlocking status, tilt mode button is ineffective. If the instrument using in
tilt mode, unlock it, the instrument will exit from tilt mode, the tilt mode LED is extinguished and the instrument enters
into self-leveling status.
▲ If tilt mode is not needed, please switch the tilt mode switch to OFF.
5.Self-check and calibration
5.1 horizontal line accuracy self-check (transversely)
a) Find a flat wall, place the instrument 5m away from the wall, and level the bubble.
b) Fit the instrument on the elevating or tripod and face to the wall.
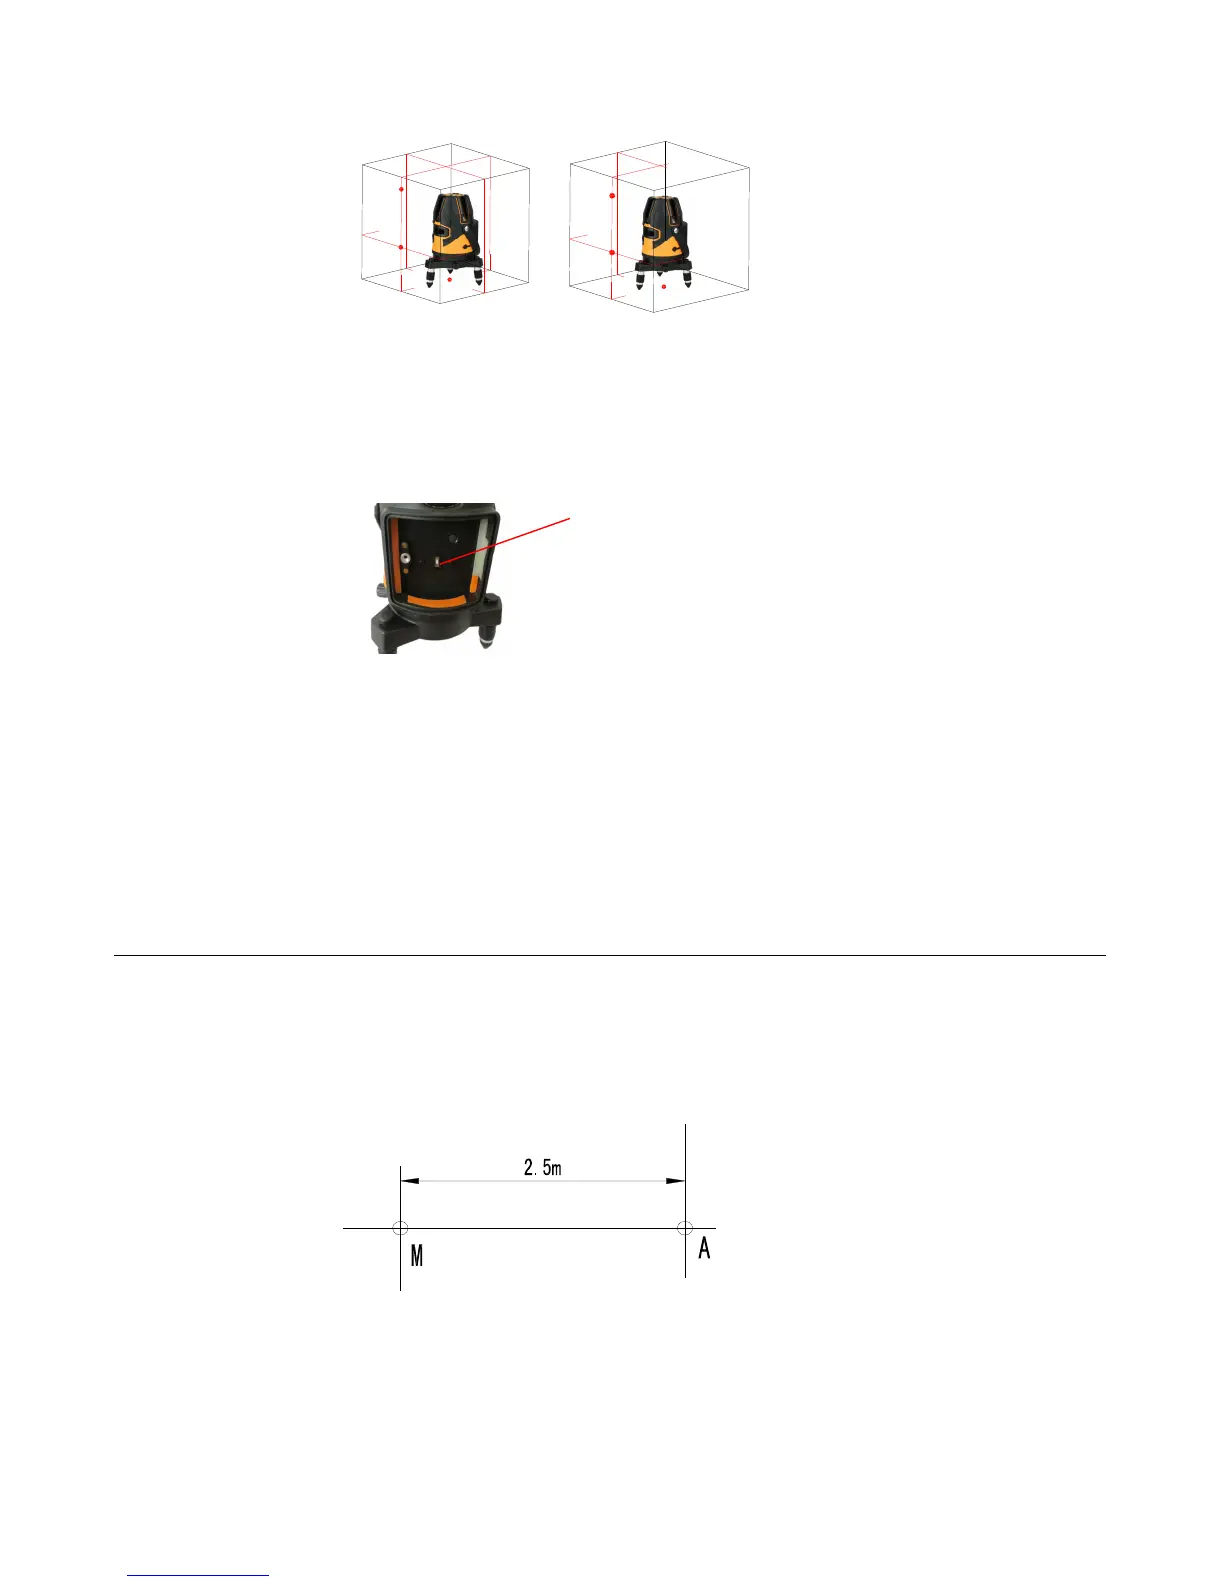
c) Open all laser lines; there will be cross laser line on the wall, set the center of cross line as A dot.
d) Mark A and M on the horizontal line separately (the distance of A and M is about 2.5m).
e) Turn the instrument, let the center of the cross line point B 5ms away from point A
Tilt mode
switch

 Loading...