Lanier R/C
10
MOUNTING THE COWLMOUNTING THE COWL
Although the cowl comes painted, it needs more work on it
before it is ready to install.
1. Mount the cowl on the fuselage and tape it in place
with masking tape. Drill out the four retaining holes with a
#28 drill bit. Remove the cowl from the fuselage. Now drill
out the holes in the retaining lug with a 3/16” drill bit.
2. Locate the Cowl Hardware and find the four 6-32 T –
Nuts. Install one in each of the holes in the mounting lugs.
Apply thick CA to the edges of the T-nuts to hold them in
place.
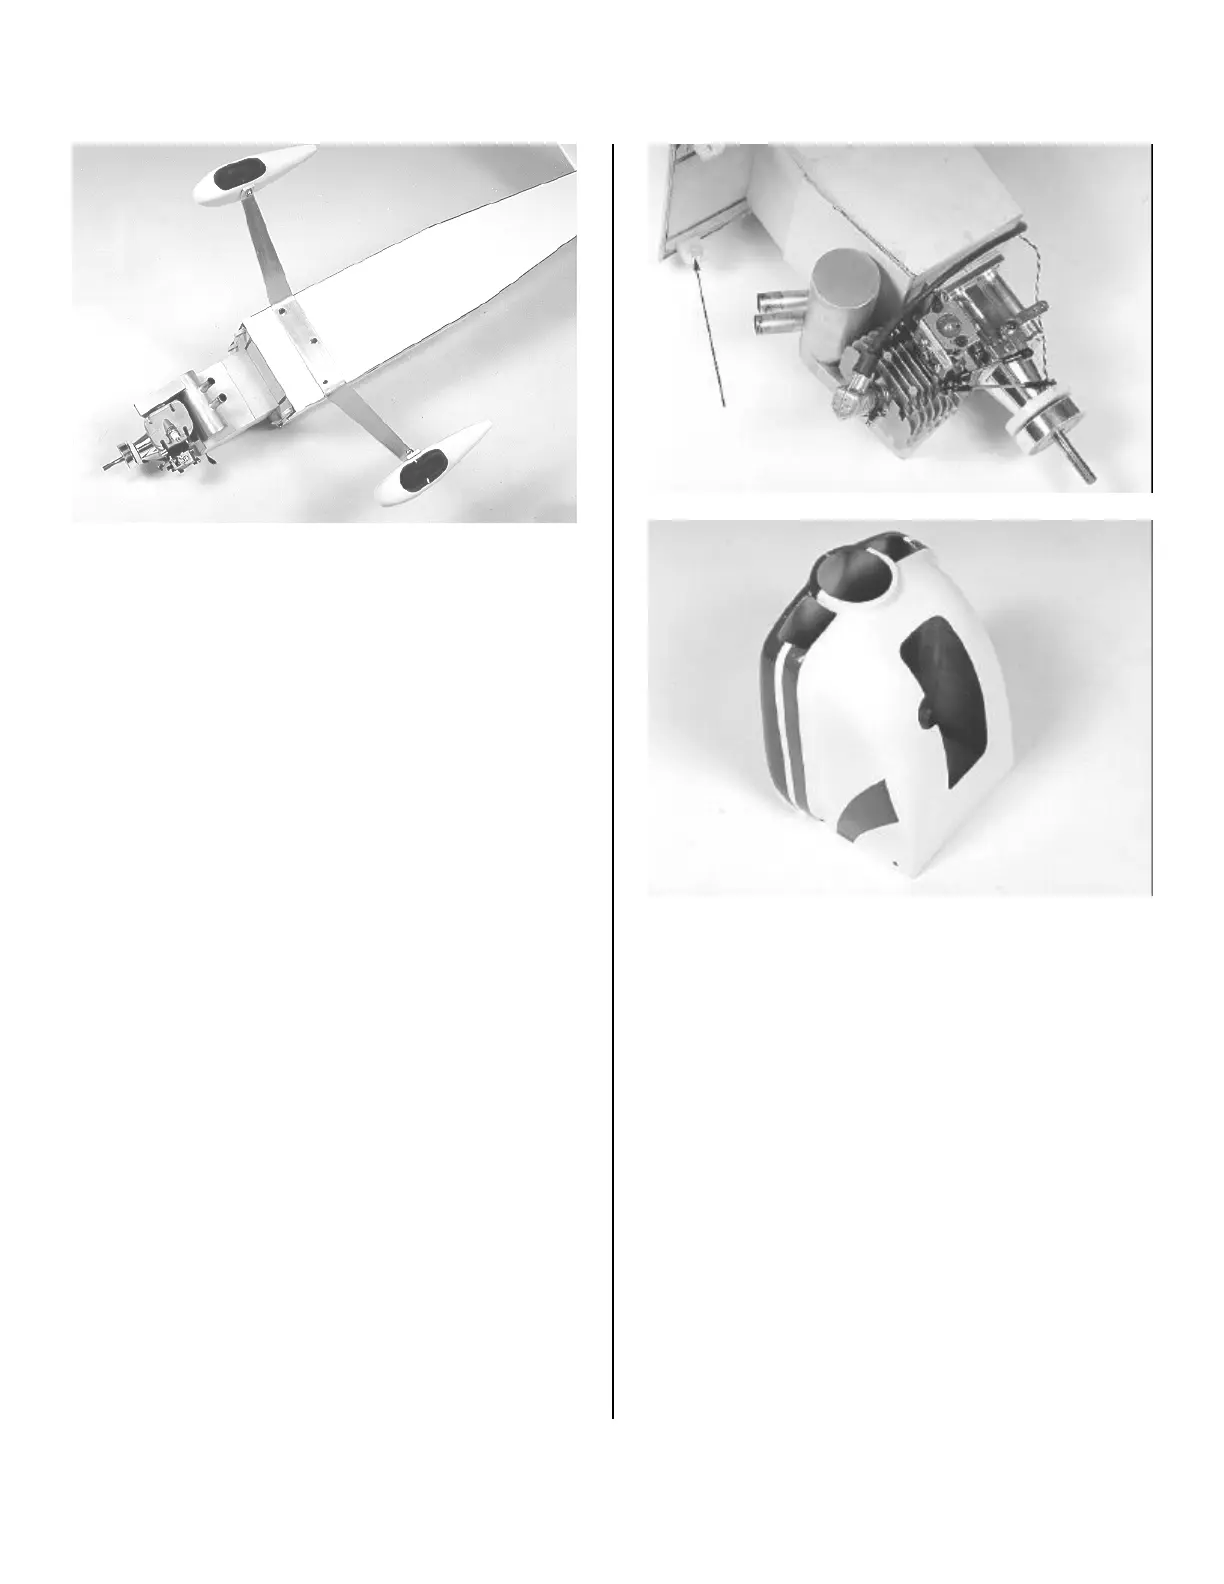
3. Cut out an opening in the bottom of the cowl for the
engine head and muffler. Make sure the opening is large
enough for proper cooling. Use a Dremel Tool
with a sanding drum for best results. Began the cut
out small and enlarge it by steps so you can see your way
through it. Other engines will require a different cut out
configuration.
4. In order to install or remove the cowl, we cut the
exhaust pipes off short enough to clear the cowl ring at the
back edge of the cowl., when it passes by them. Once the
cowl is installed, a 3” piece of silicon tubing, ½” ID, is
mounted on each pipe. An automotive clamp is installed on
each to hold them in place.. In order to remove the cowl it will
be necessary to remove the exhaust extensions. This will
provide a positive way of installing the cowl with the least
amount of work on the cowl.


 To Next Page
 Loading...