Lanier R/C
13
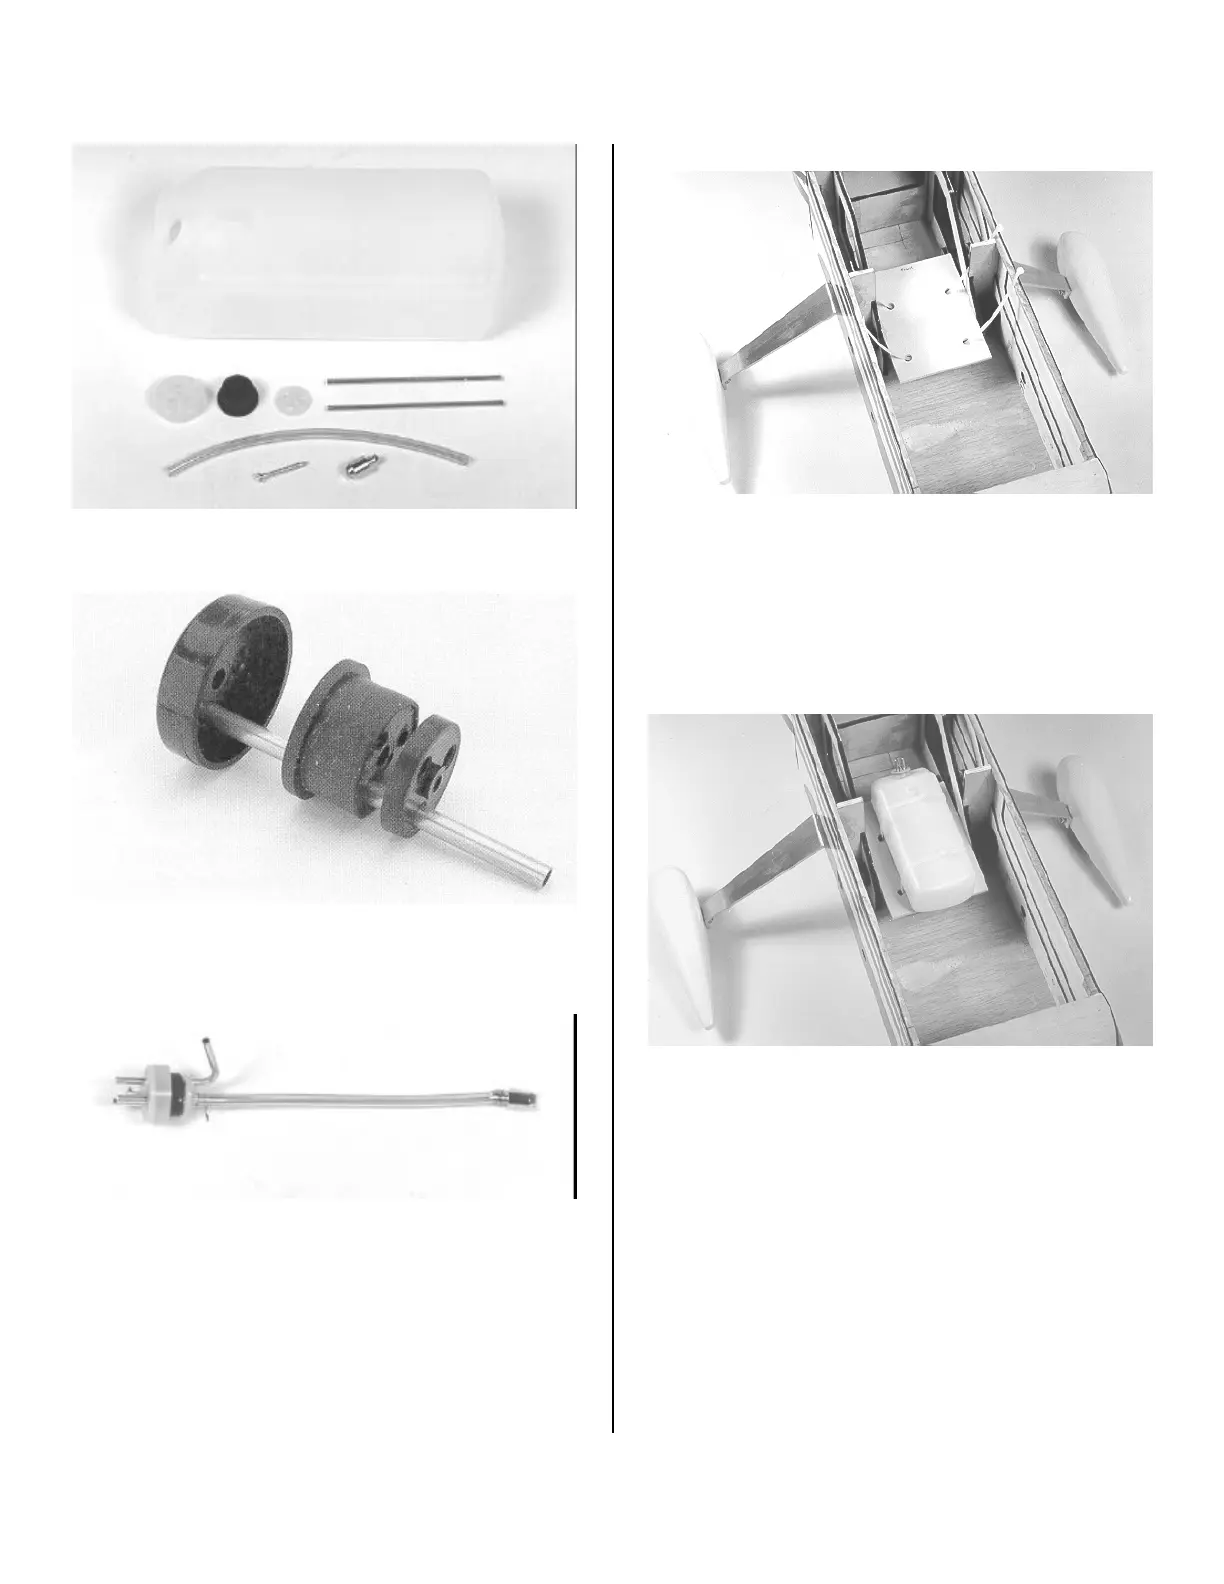
Fuel Tank Parts
1. Push the tube through the stopper. It is a tight fit and
you will have to force it. Parts are painted black to see it
better. Parts have been painted black for photo purposes.
2. Make up a stopper assembly. Carefully bend the vent
tube as shown. The Du-Bro Tube Bender does a great job of
bending with no kinking. When bent and positioned properly it
should extend into the bubble in the top of the tank. Cut the
pickup line to proper length when installed so the clunk will
move freely when tank is turned up-side-down. Tie the pickup
line to the stopper assembly with the wire tie wrap. An extra
third line should be installed for filling the tank.
3. Locate the tank mount and the two tie straps. Thread
the ties through the holes as shown and center them. Mix up
some 5-min. epoxy and glue the mount to the engine box
sides and wing tube housing. Center the mount over the tube
housing keeping it parallel with the top edge of the fuselage.
Allow epoxy to cure.
4. Place a piece of ¼” foam, (not supplied) the size of
the tank, (not supplied) on the tank mount. Now pull the tie
straps tight. Check to see that tank is securely in place.
Mounting the WingsMounting the Wings
1. Remove the covering from the holes in the side of the
fuselage. Use a sharp X-acto knife. Remove possible glue
build-up in wing spar tube so aluminum spar can be inserted.
Carefully use a Dremel Motor with sanding drum. If tube does
not slide through the fuselage, do to tolerances, sand the
inside of the tube in the fuselage with a large dowel with 220
paper glued to it until it does.


 To Next Page
 Loading...